
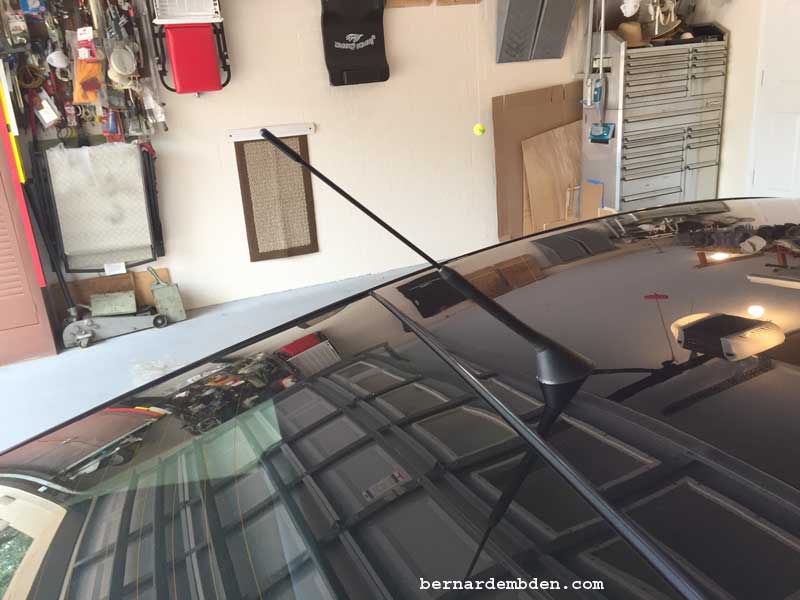
For owners of pre 2008 Aston Martin Vantages there exists a love hate relationship (primarily hate) with the roof mounted radio antenna.
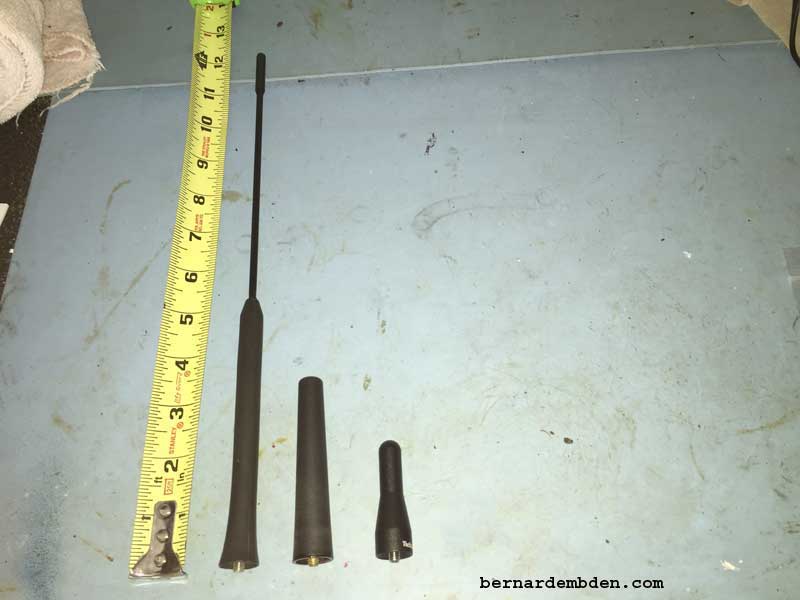
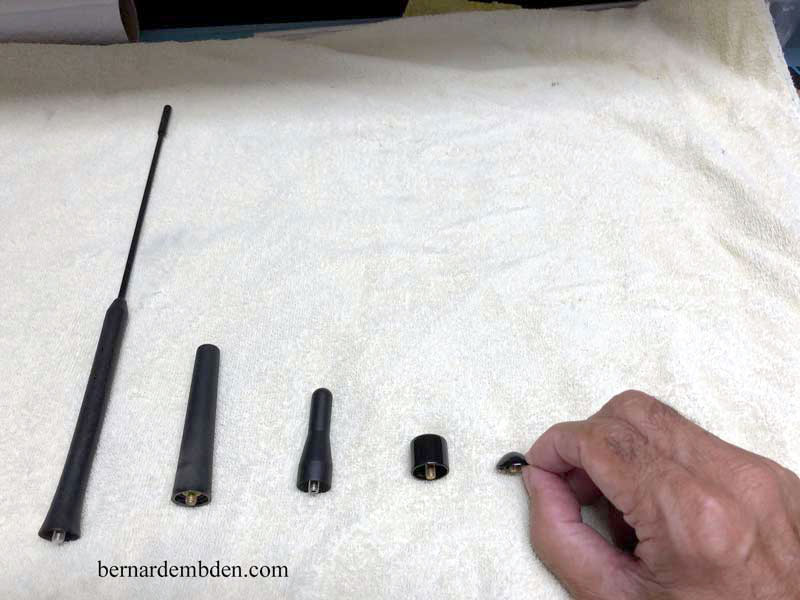
Personally I believe the original antenna is somewhat out of scale for the car. Its way too long. This original antenna is 12 1/4 inches long. (Photographed below)
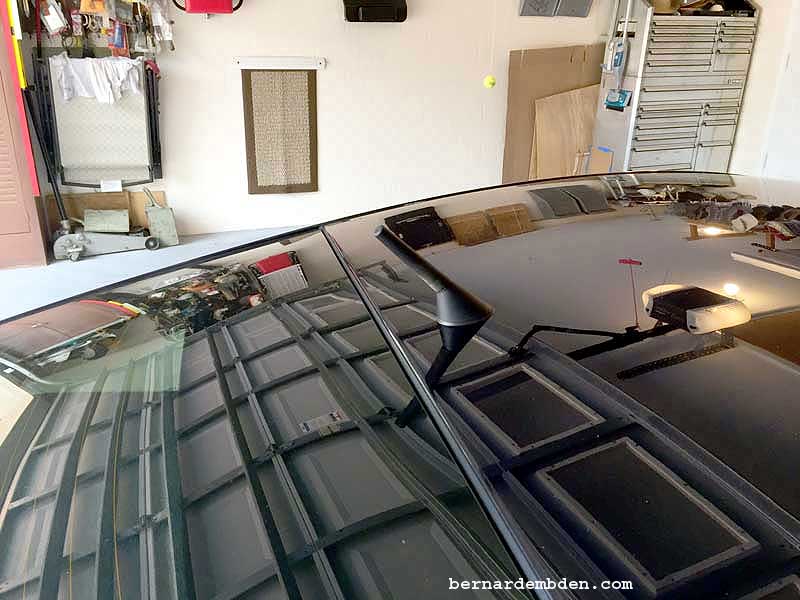
Note that some photographs were taken in my garage and the reflection of the garage door appears in those antenna photographs
A popular solution is to use the stubby sport antenna from the Mini Cooper (part number 65-20-2-296-772). This antenna is only 3 3/4 inches long and screws into the Aston's antenna base on the roof.
A comparison of both antennas is photographed below.
There happens to be another solution. Craven Speed, located in Portland Oregon, has developed an even shorter antenna which they call just "Stubby". This Stubby antenna measure 2 inches long. (Below is a photograph of all three antennas.)
I decided to install both the 3 3/4 inch Mini Cooper Stubby and the 2 inch Stubby antennas to test AM reception in the real world.
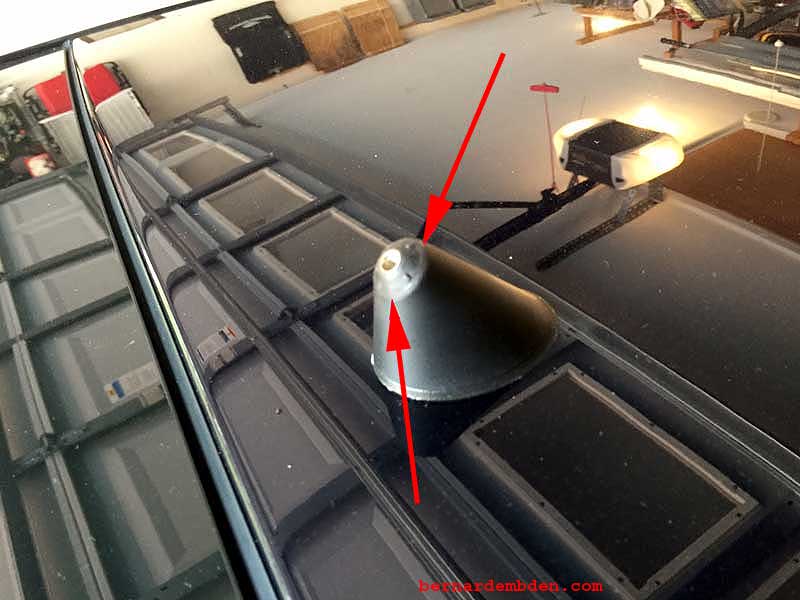
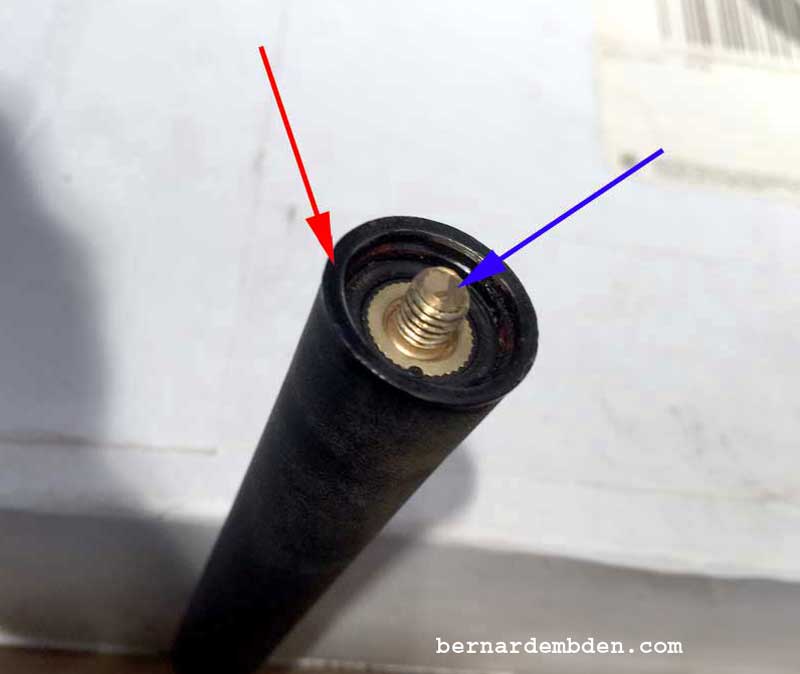
In looking at the base of the 3 3/4 Stubby sport antenna, I saw a potential problem. The problem was that the base of the roof antenna is not flat. Looking at the base of the original antenna you can see that it's designed to overlap the rounded antenna base. (Arrows in photographs below)
When the Mini Cooper's antenna was originally screwed onto the antenna base there was a gap between the flat Mini Cooper's antenna's bottom and the original Aston Martin's rounded antenna's base.
This was not satisfactory for me. I solved that problem by grinding the inside of washer to a thin ring. I then glued that to the base of the Mini Cooper's antenna to close up the gap. (red arrow photograph below). In addition, I cut the screw to further seat the antenna into the base. (blue arrow photograph below)
This almost worked for me. The scale was almost right and it looked significantly better than the original antenna. Radio reception on both AM and FM was as good or better that the original.
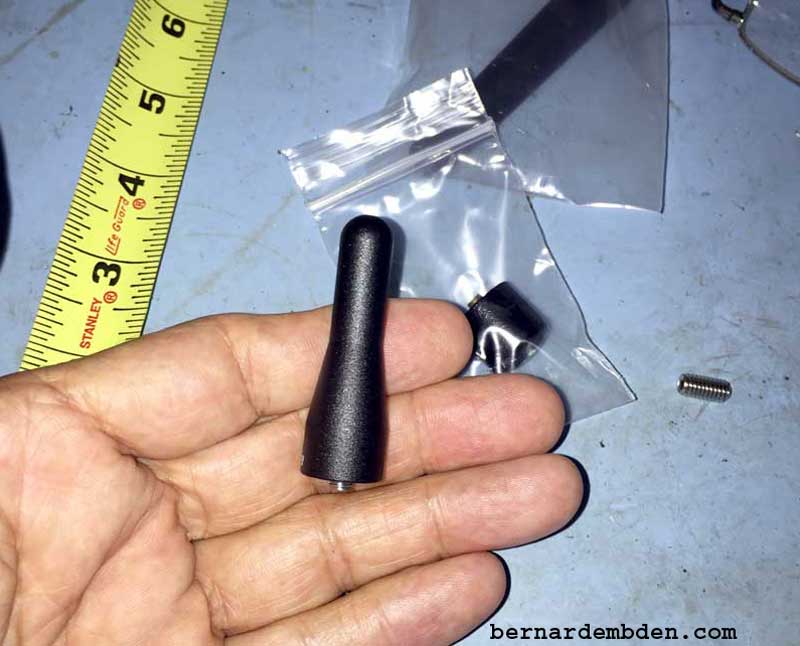
Next was the 2 inch Stubby from Craven Speed. This mini antenna comes with two set screws with different threads. The antenna is cleverly designed to accept both set screws based on the threads of the antenna base that it will be used on. Once the proper set screw is selected, an Allen wrench is used to tighten it to the antenna base. (red arrow photograph below)

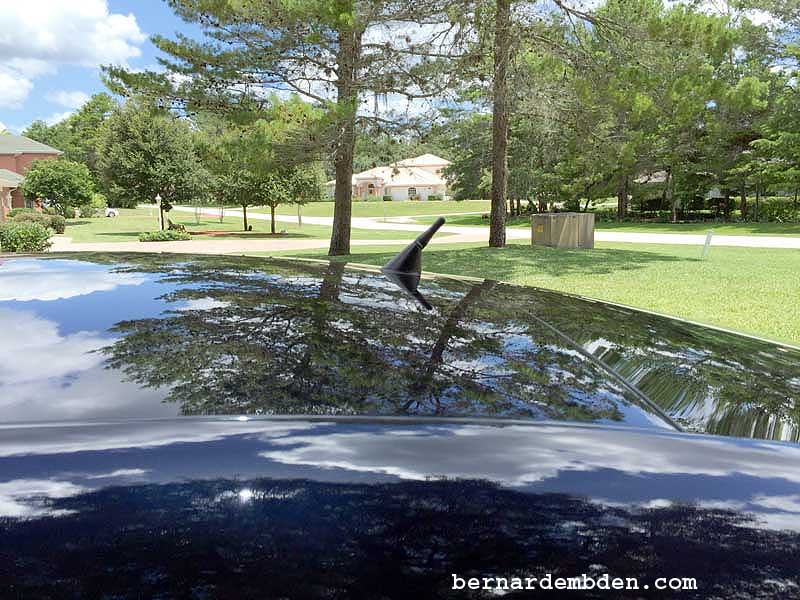
This small stubby antenna screwed into the antenna base with virtually no gap between the base and antenna. (photographs below)

I wanted more
I just could not leave this alone. I kept wanting the antenna to be even shorter. Essentially to mimic the short roof mounted satellite antennas. I was willing to give up some AM reception to accomplish this.
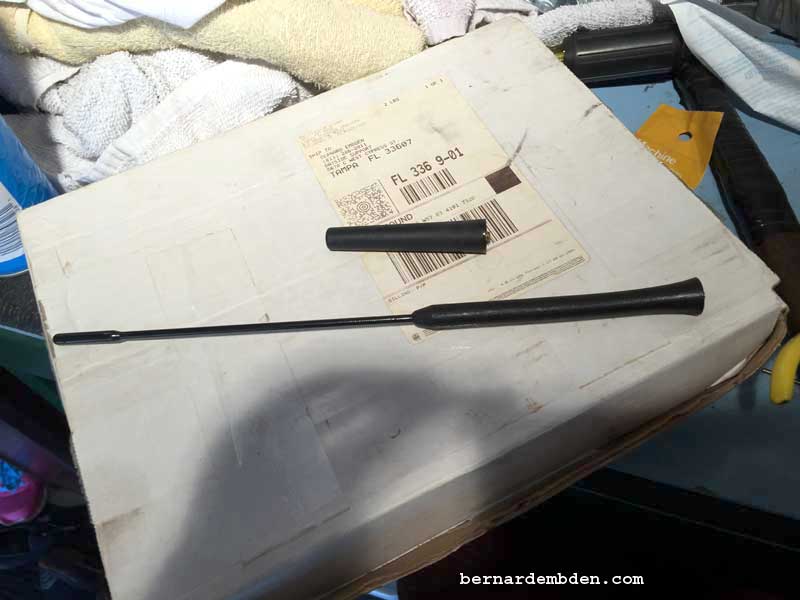
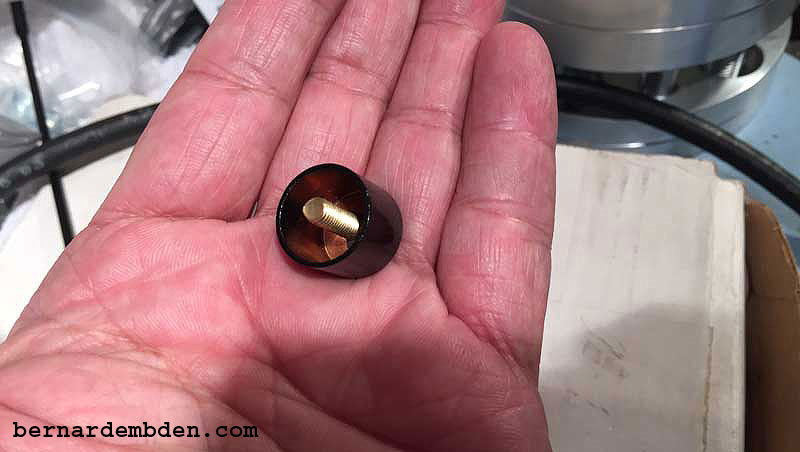
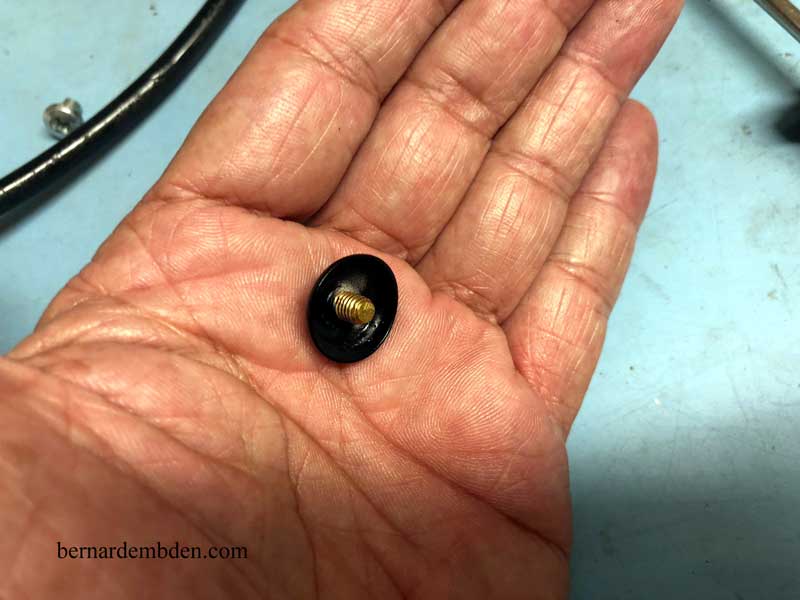
I would have to fabricate something. First stop at the local hardware store for a 1/2 inch copper pipe cap and a couple of brass or copper screws. The screw should be M5.80. If that size is unavailable, 10-32 x 3/4 inch. (Photographed below) can be used as a substitute.
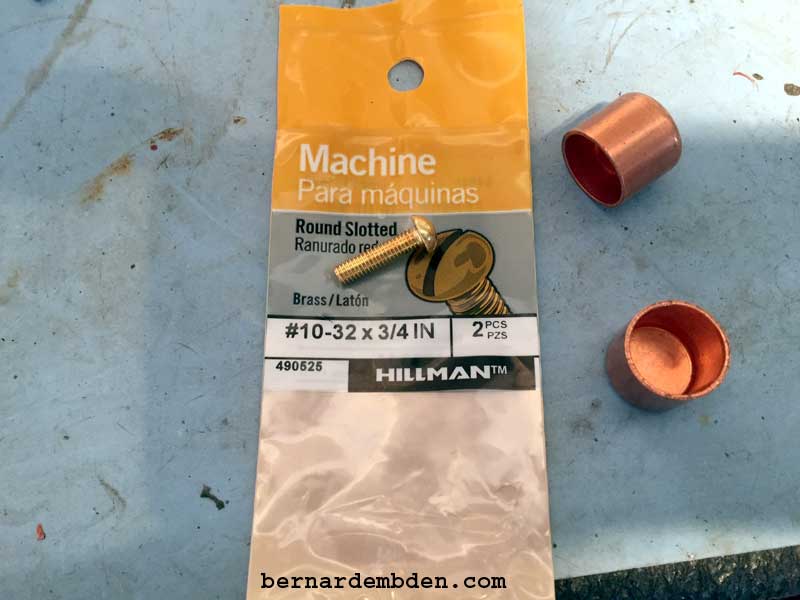
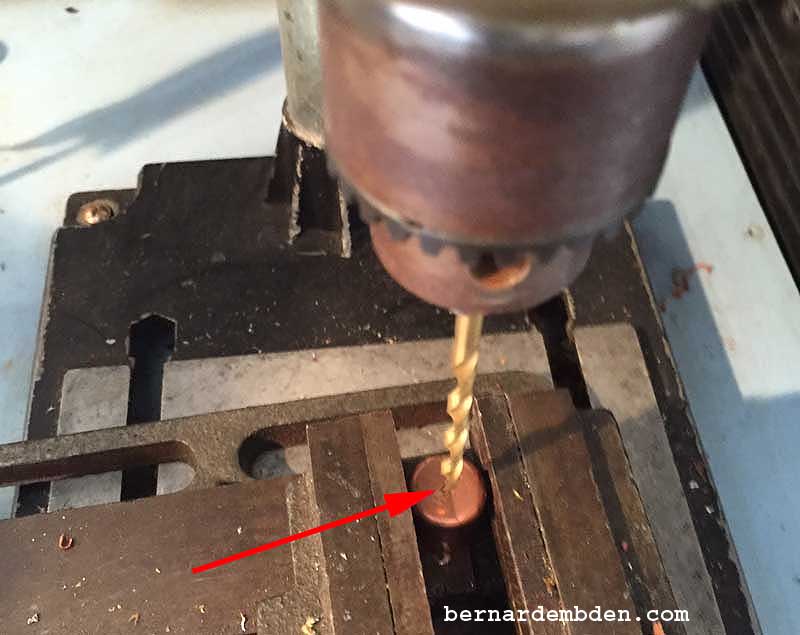
Drill a hole in the center of the copper pipe cap. The hole should be slightly smaller than the diameter of the brass screw. (red arrow Photograph below)
Force the brass screw into the hole and screw it all the way down.
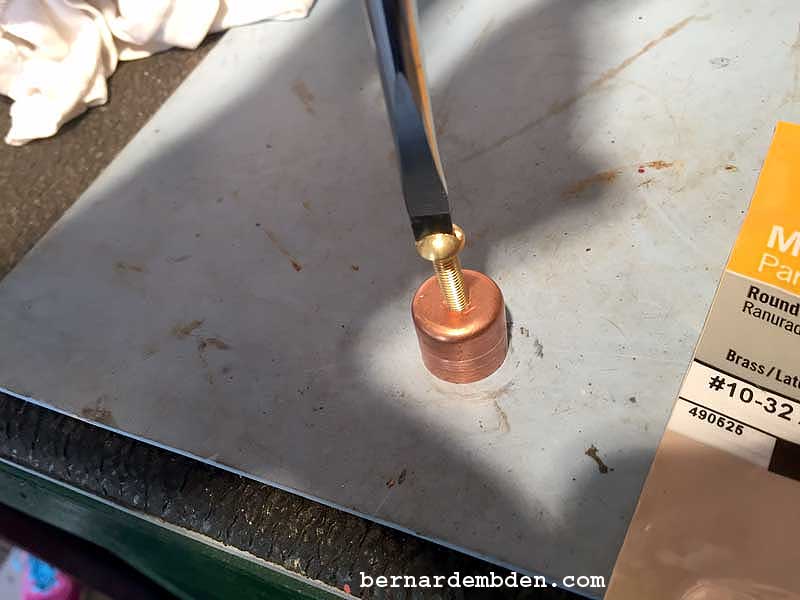
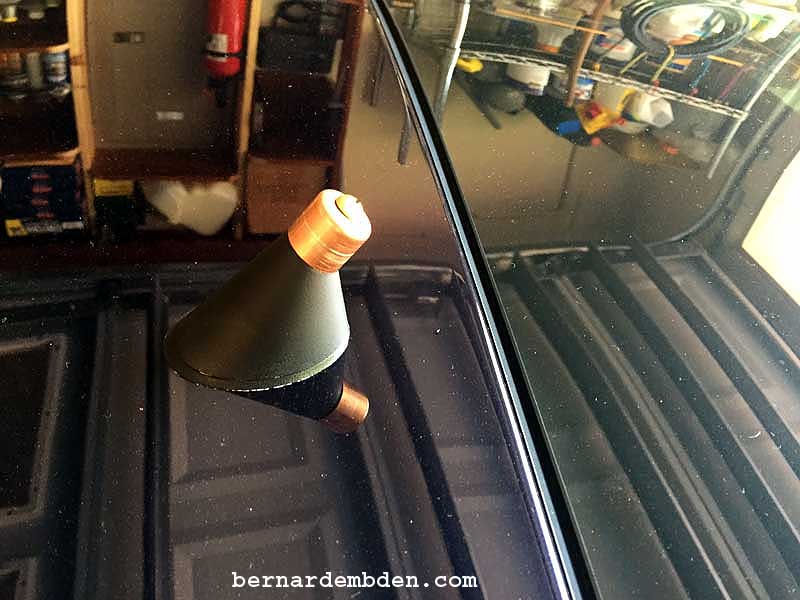
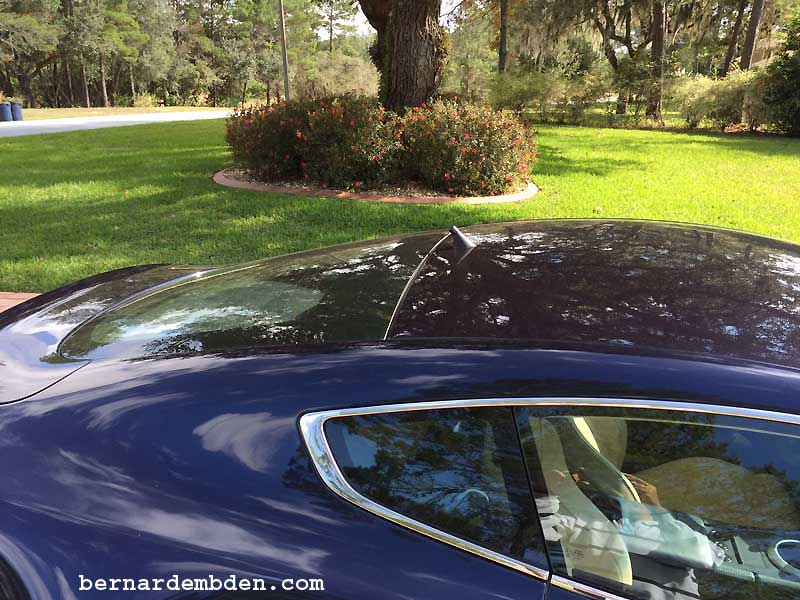
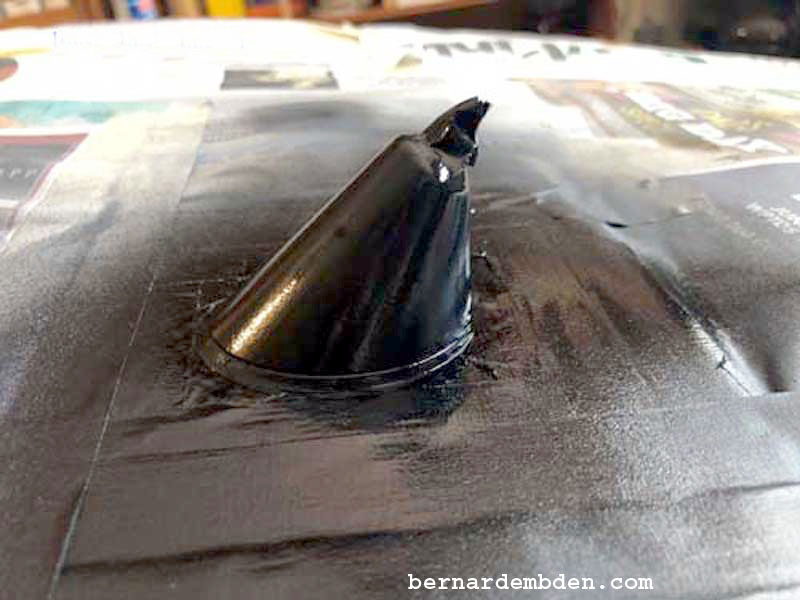
Test fit on the car's antenna base (photograph below) shows the length of the unfinished cap and more importantly a flush fit around the antenna's base.
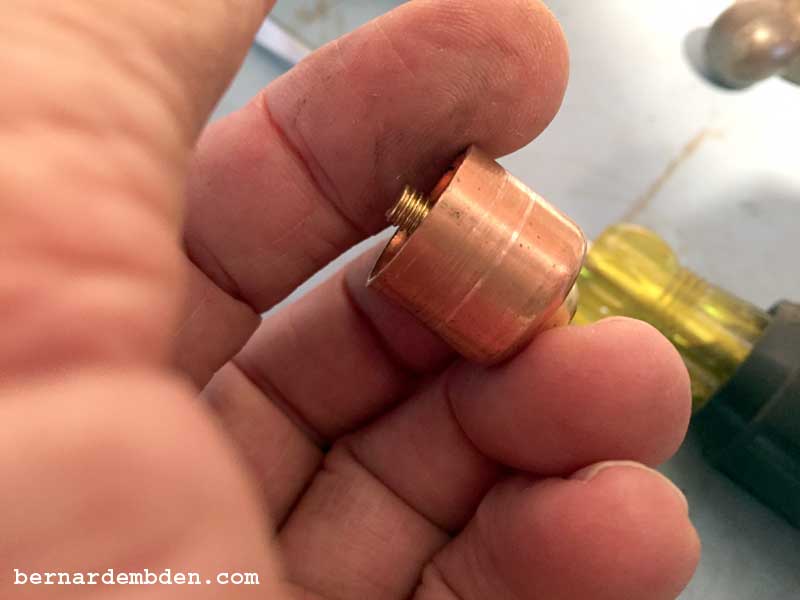
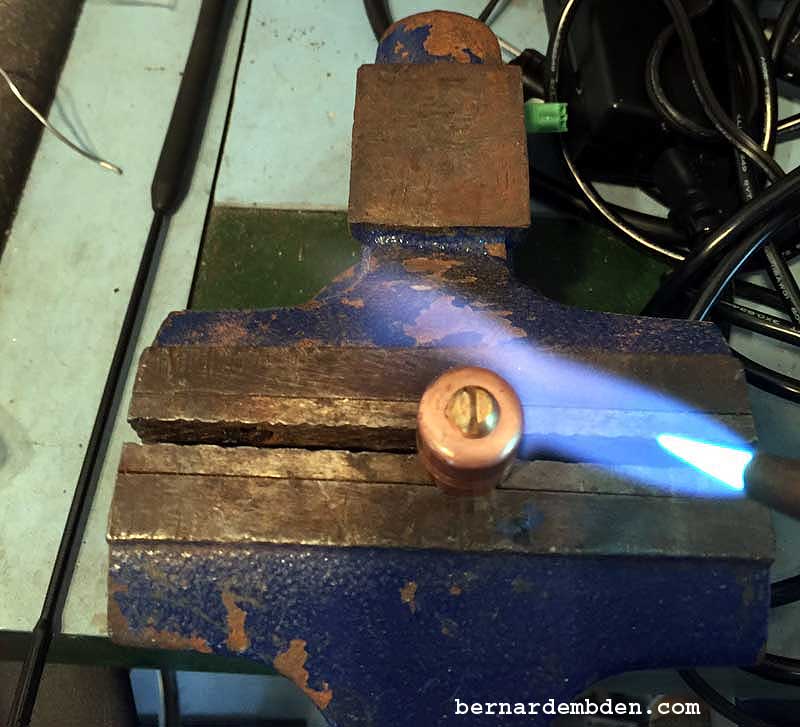
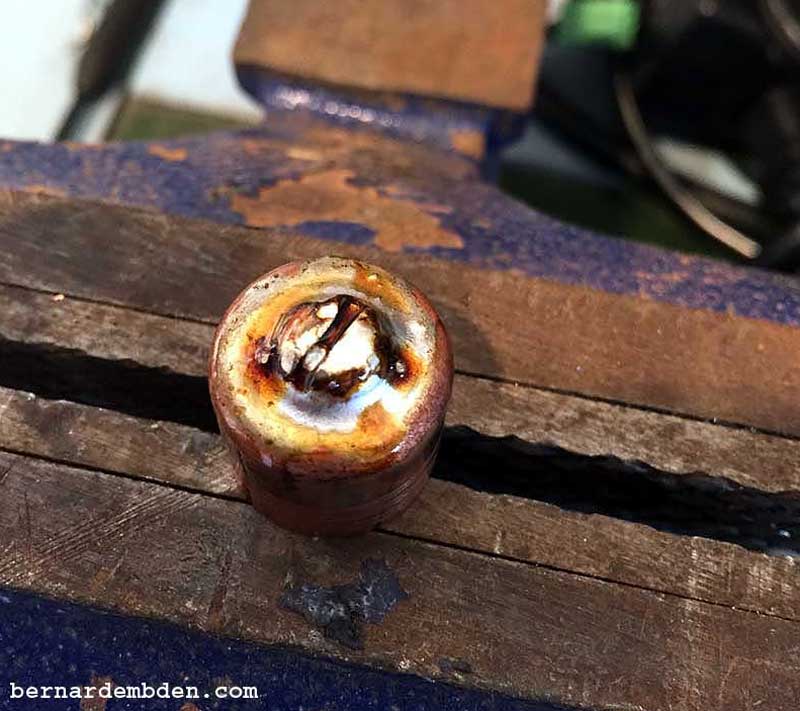
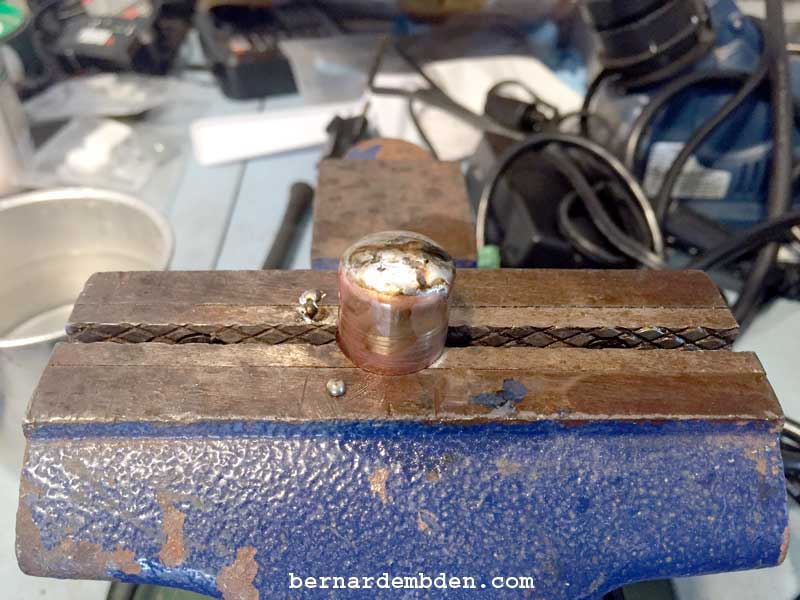
Clean the top of the copper cap and screw, secure in a vise and solder the screw to the cap. (photographs below)
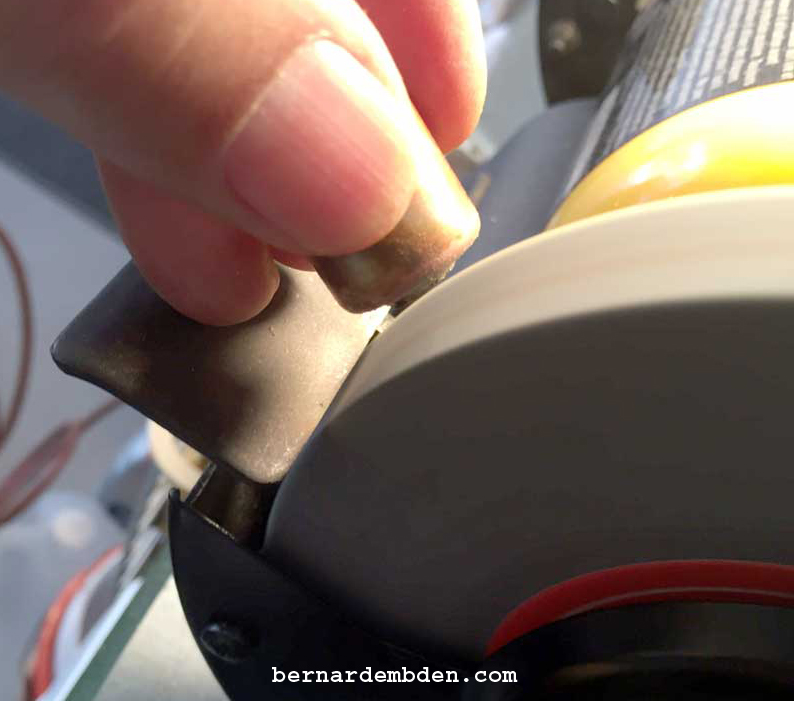
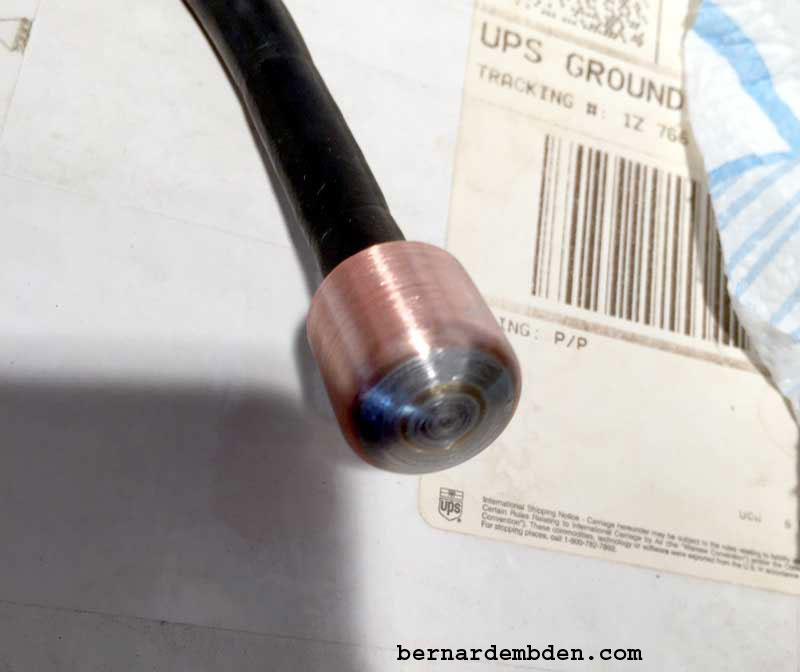
Use a grinding wheel to grind the screw top until it's almost flush with the copper cap. (photograph below)
Clean the top and edges of the cap and screw. Apply flux liberally and add solder to the top of the cap until the screw and edges are completely covered. (photograph below)
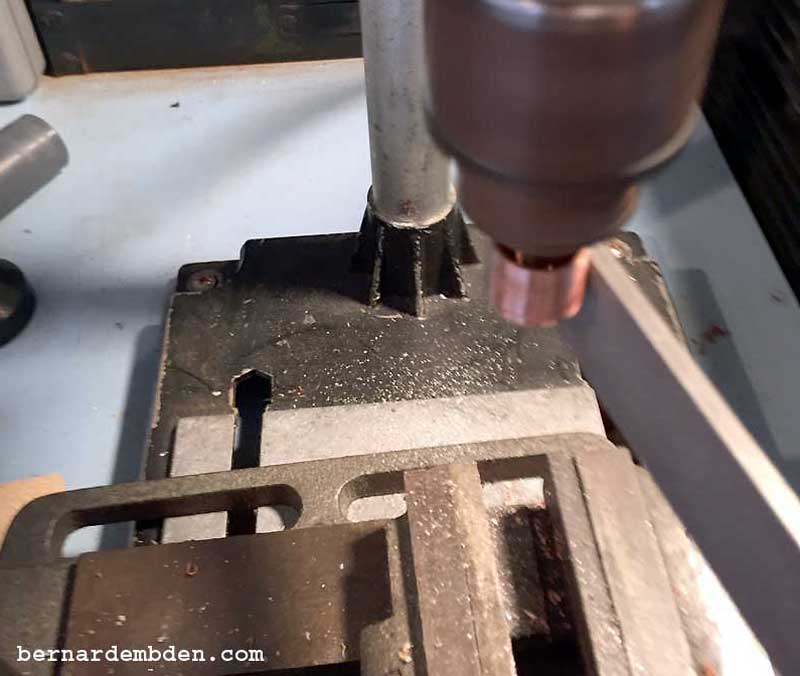
I then put the soldered cap into the chuck of my drill press to use as a modified lathe.

With the drill press running, I used a file to remove unwanted solder from the sides and bottom, and to shaped the end of the cap. Finish off with 100 grit and then 600 grip sandpaper. (Photographs below)
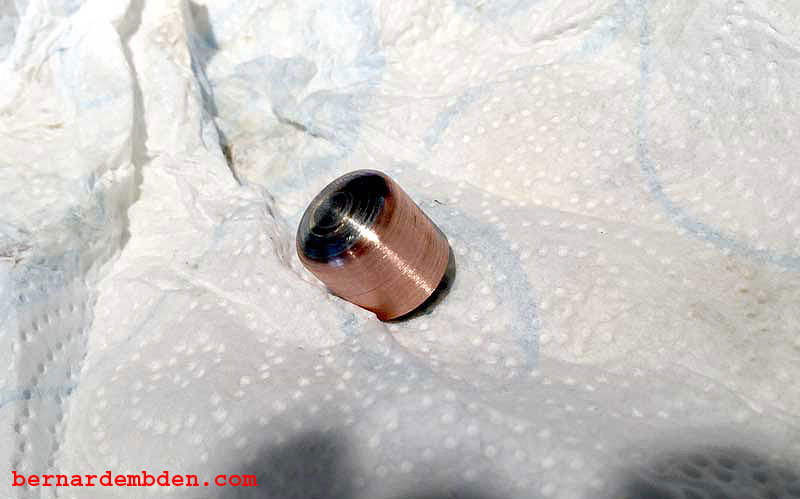
Take your time on this. If done right it should look like the following photographs.
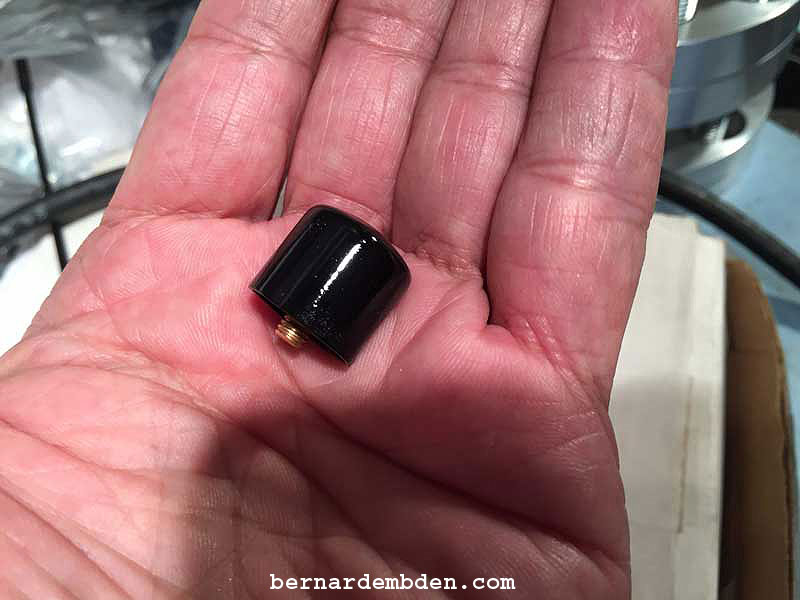
Use a small diameter hose to hold the cap. Apply one coat of primer and two coats of satin black paint and allow to dry overnight. (Photographs below)
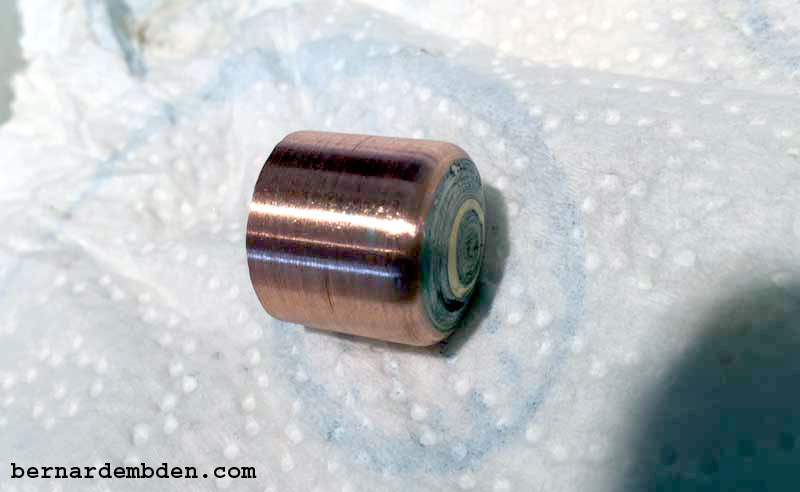
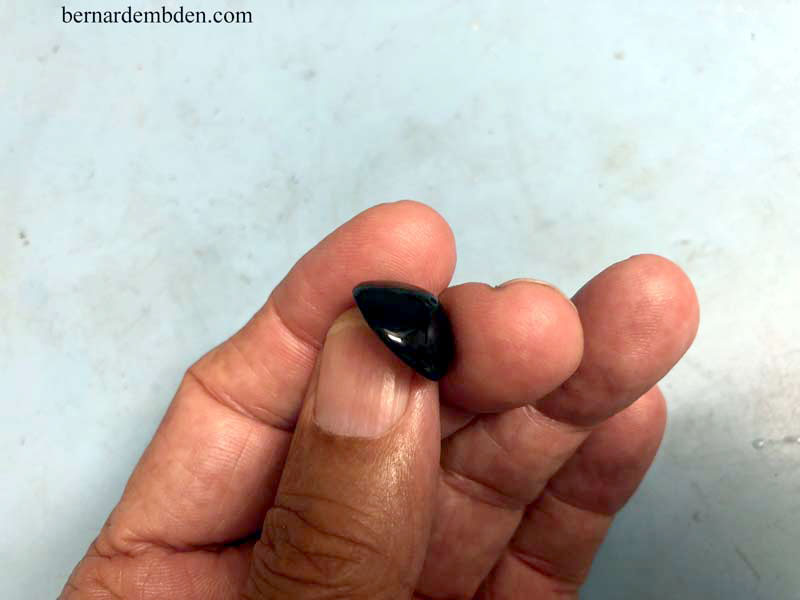
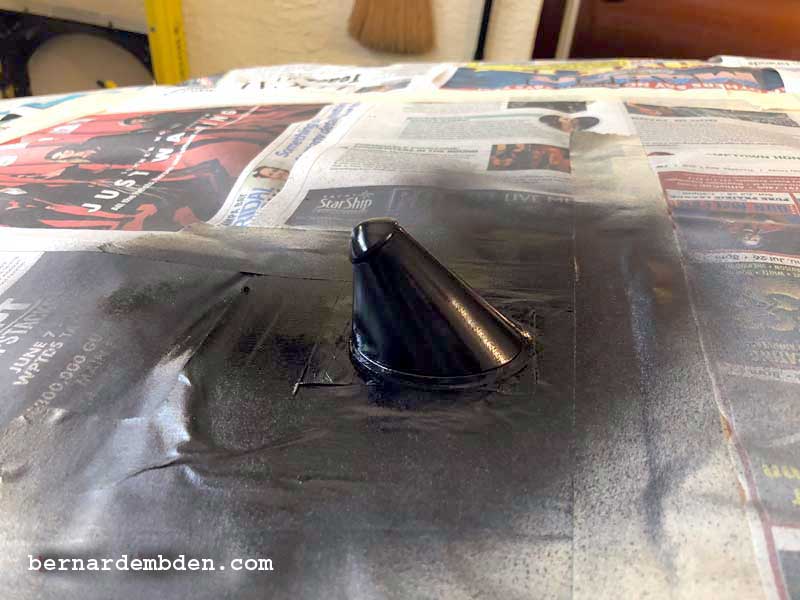
Finished product should look like the following photographs.
The finished cap is photographed below. While AM reception is diminished, there is no discernable difference in FM reception.
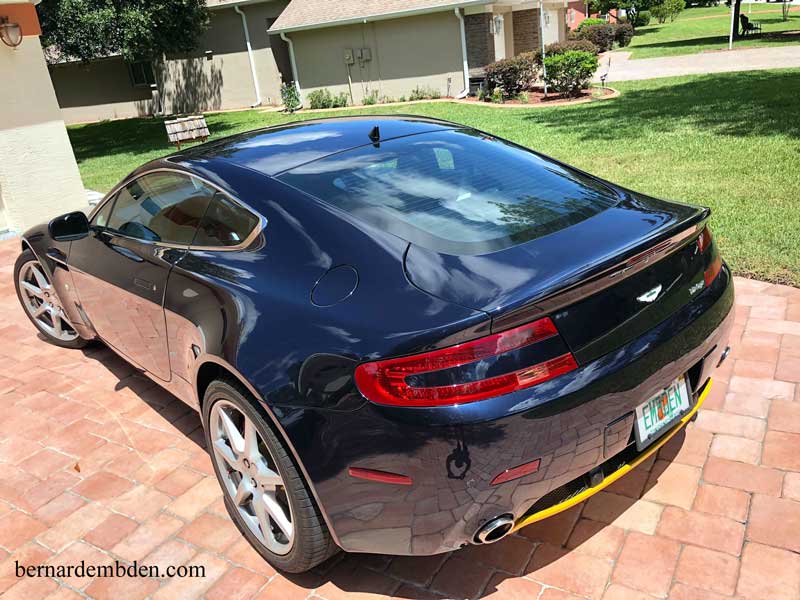
As I looked at the car over the next few months I was convinced that there was still something not quite right.
My critical eye was convinced I could do better. The antenna cap was about the right height, but it did not flow with the lines of the antenna base. Essentially the end of the cap was too angular for my taste. In addition the plastic antenna base had weathered to the point where the color, once black, was now a crappy grey.
Back to the drawing board.
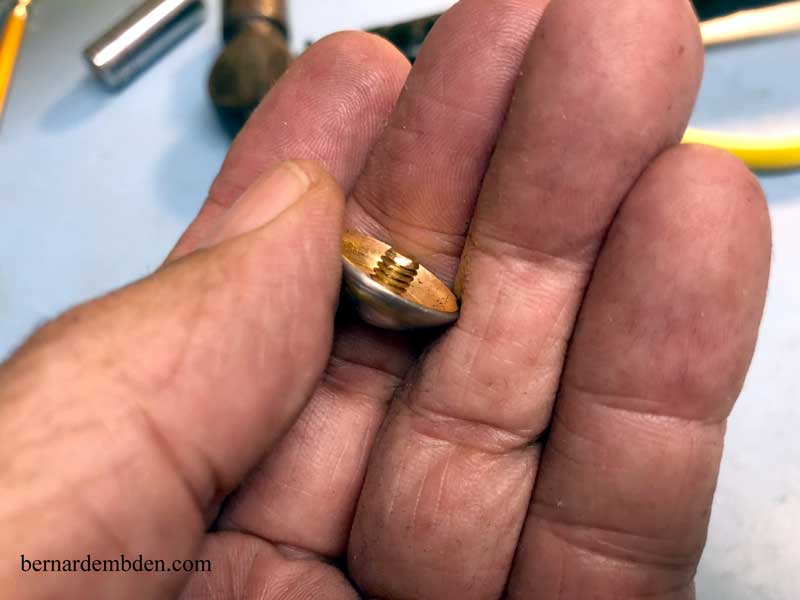
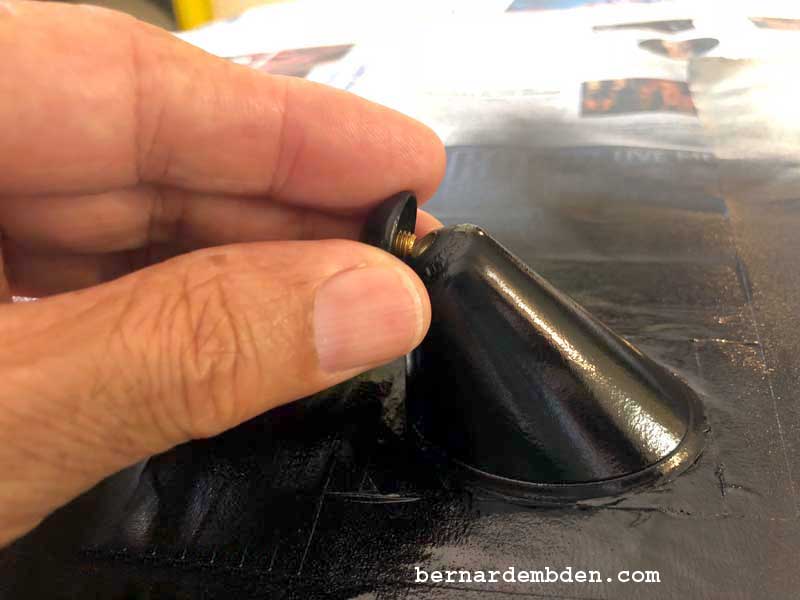
This time I started the project with a simple flat copper washer that was the diameter of the antenna top. The process started by hammering the washer convex so that the lines would flow from the base to the now convex washer.
Once the curvature was right, a copper screw (M5.80) was cut and brazed to the center of the cap. Solder was applied to fill in and cover the brazed area. My drill press was once again used as a lathe similar to the copper cap process to finish the mini cap to the desired contours. (see photographs below)
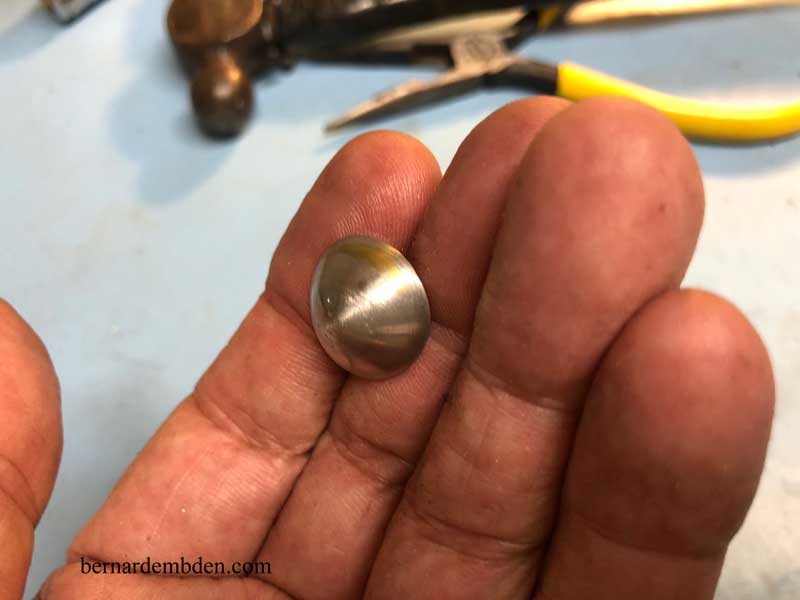
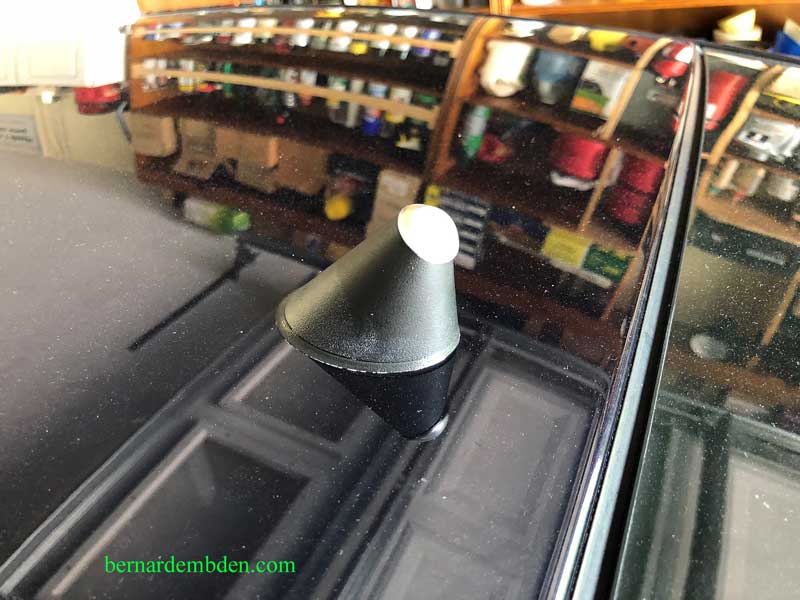
Antenna mini cap test fitted to the antenna base. (photograph below)
The other issue was the weathered antenna base.
I decided to paint it.
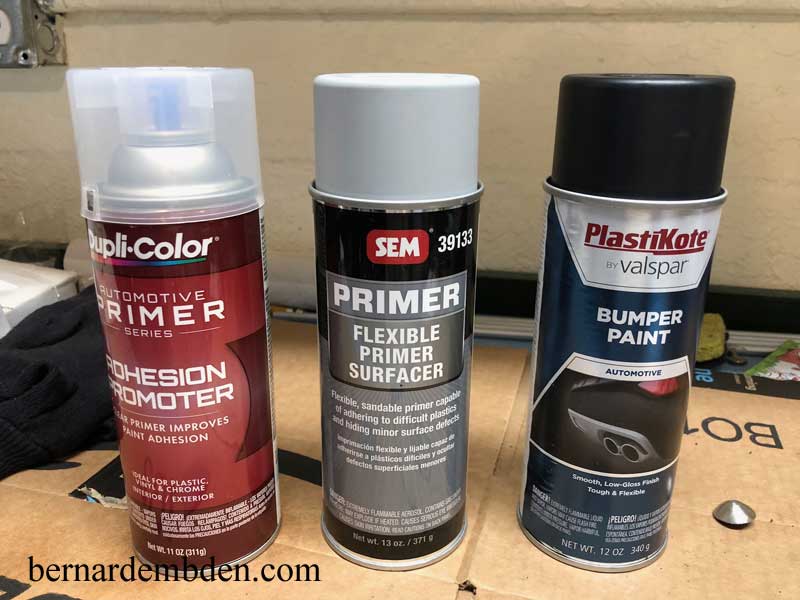
Painting plastic is tricky. With all painting, preparation is important. With plastic, preparation and paint selection is vital. I decided to use an adhesion promoter, a flexible primer and bumper / plastic paint. (photograph below)
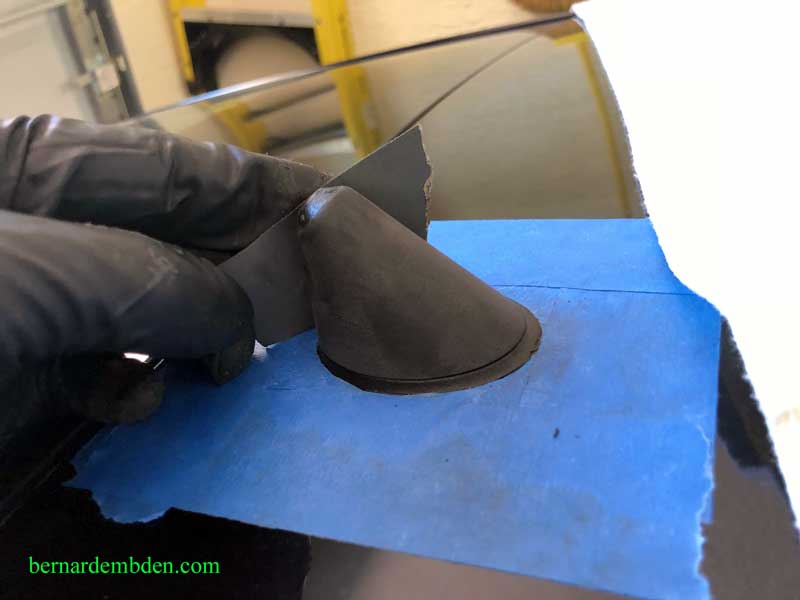
First, mask the area around the antenna base carefully. Screw up here and you will need therapy. You will have paint on the roof of your car that you cannot remove.
After masking, I used 600 grit sandpaper to sand and prepare the surface of the antenna base to accept paint. (Photograph below)
Two coats of clear adhesion promoter, two coats of primer, three coats of plastic / bumper black paint and one coat of clear on both the antenna base and new fabricated mini antenna cap. (photographs below).
The photograph below compares the length of the original antenna, the two stubby antennas, the new antenna cap, which is 1/2 inch in length and finally the antenna mini cap.
Antenna mini cap to antenna base. (photographs below)
Paint masking tape removed from car. (see photographs below) I am still intrigued by a small shark fin radio antenna. However I must admit that this project turned out well.

All the antennas in this project will give virtually the same FM reception. The real difference is on the AM band.
The Stubby from Craven Speed and my fabricated antenna caps gave lousy AM reception. The Stubby might be slightly better that my antennas caps, but in reality it was too close to call.The Mini Cooper Stubby sport, at 3 3/4 inches was as good or better that the original antenna on both AM and FM bands.
My conclusion is that if AM reception is important to you, install the Mini Copper Stubby antenna.
If AM reception is not important to you, and you want the car to look somewhat different, then the Craven Speed Stubby is your choice.
If AM reception is not important to you, and you only care what your car looks like, have a lot of free time on your hands, then start fabricating the custom antenna mini cap.
