This might seem like a joke. For years home mechanics have been jacking up their vehicles and putting them on jack stands while working on their cars.
The problem is that modern high performance cars now have aluminum suspension parts and underbelly trays. Finding cars with a live axel differential to place a jack stand under are long gone.
Performance cars now have identified, specific "Jacking Points". This by itself is not a problem, the problem is that the car manufactures insist that the jack stands must be placed at the same specific jacking points.
There have been some attempts by amateur enthusiasts to solve this problem. One solution is a custom jack saddle that transfers to a specially made jack stand, thus utilizing the same jacking points.
For the Aston Martin Vantage in particular, I believe there is a simpler solution.
A typical floor jack's saddle is 5 t 6 six inches above the floor. (Photograph below)
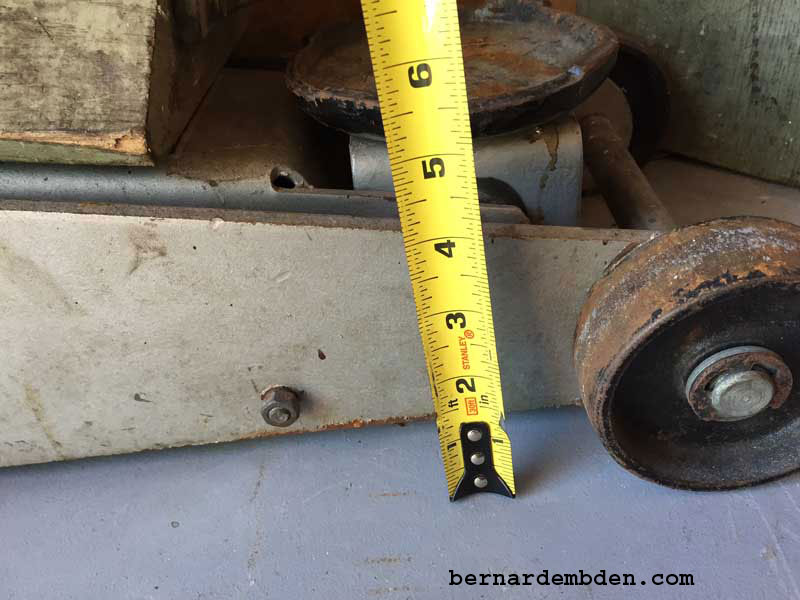
The Aston Martins Vantage has only about 4 inches of clearance. A normal floor jack will not fit below the sill, and thus cannot get to the cars jacking point. Some have driven the front wheels unto scraps of wood to get enough clearance for a floor jack.
Come on, you own an Aston Martin. Don't drive over driftwood in order to jack your car up! A better solution is to purchase a low profile jack.
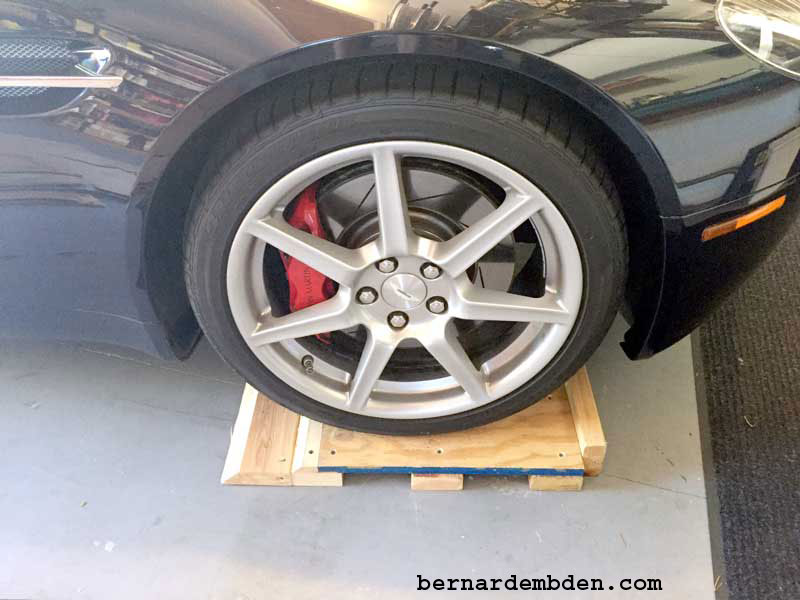
Or you could fabricate two low ramps to lift the car 3 to 4 inches.
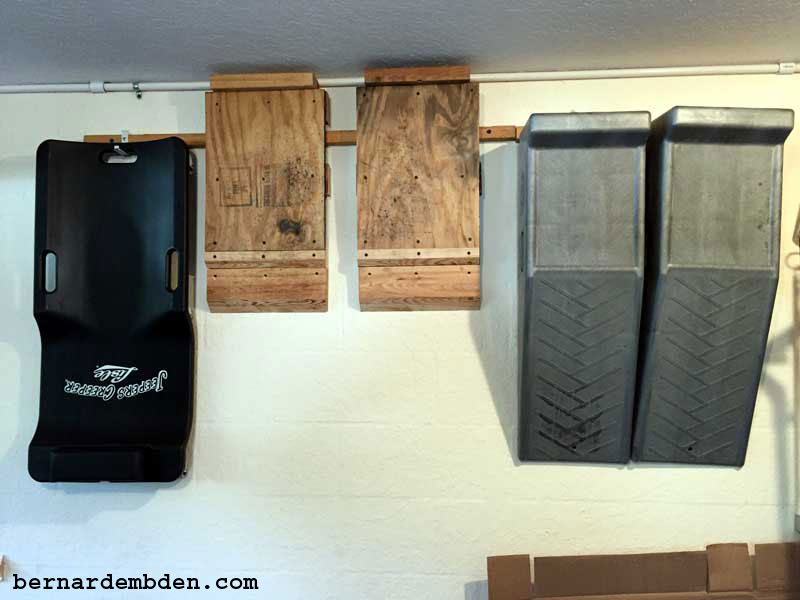
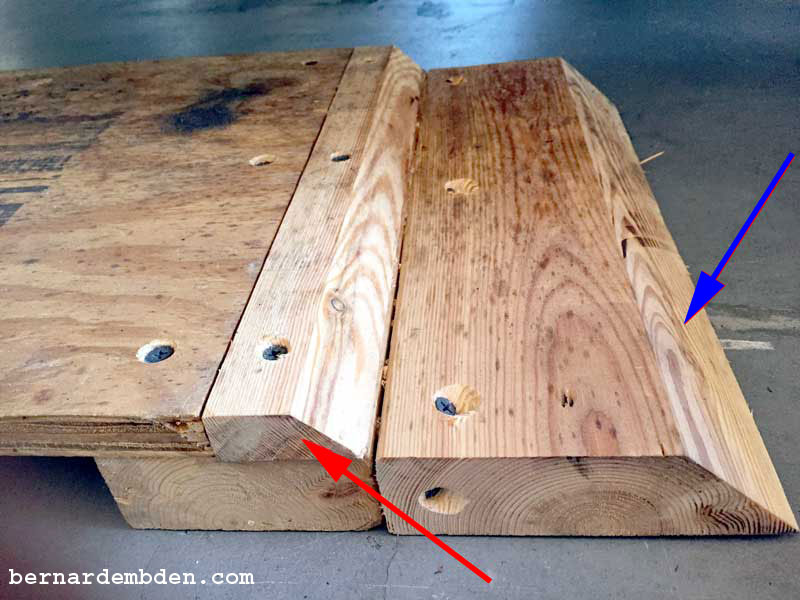
You know that would be my solution. I used 3/4 inch plywood for the base, and added 3 sections of 2x4" to the center and each end. I cut the long end of a 2x6" at a 45% angle to facilitate driving up the ramp. A small strip of right angle aluminum was added to the underside of the ramps that allowed me to hang them on the garage wall. (blue arrow, photographs below)
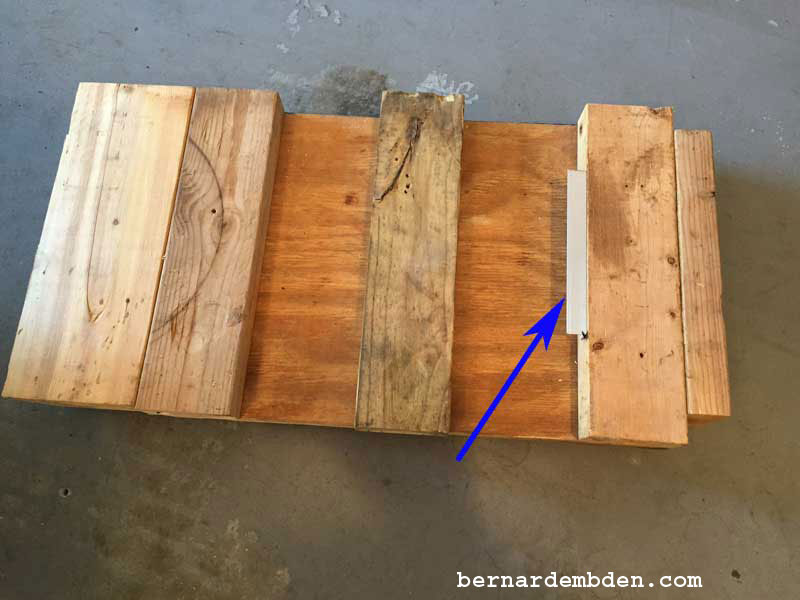
In addition, a small transition piece was also cut at a 45% angle to transition onto the 3/4" plywood. (red arrow). Note primary transition angle (blue arrow).
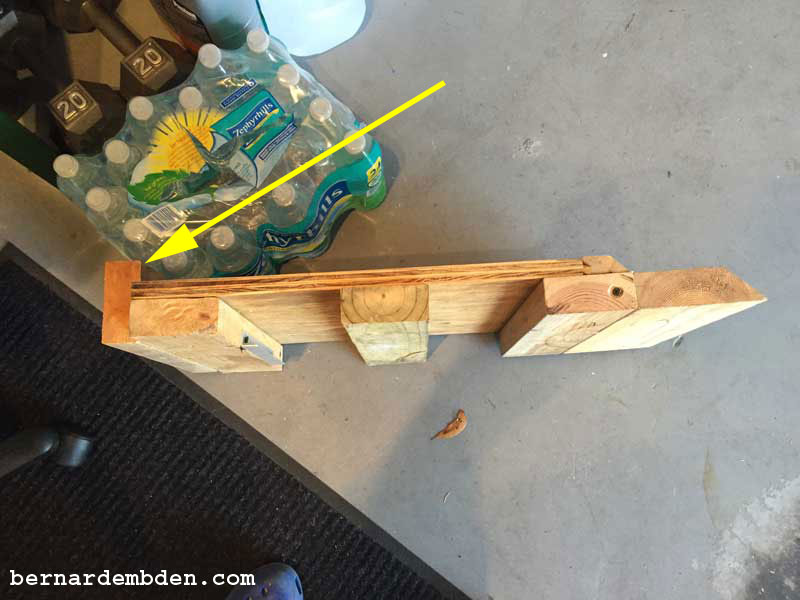
Finally a section of 2x4" was screwed to the end of the ramp to give me an indication when to stop. (yellow arrow photograph below).
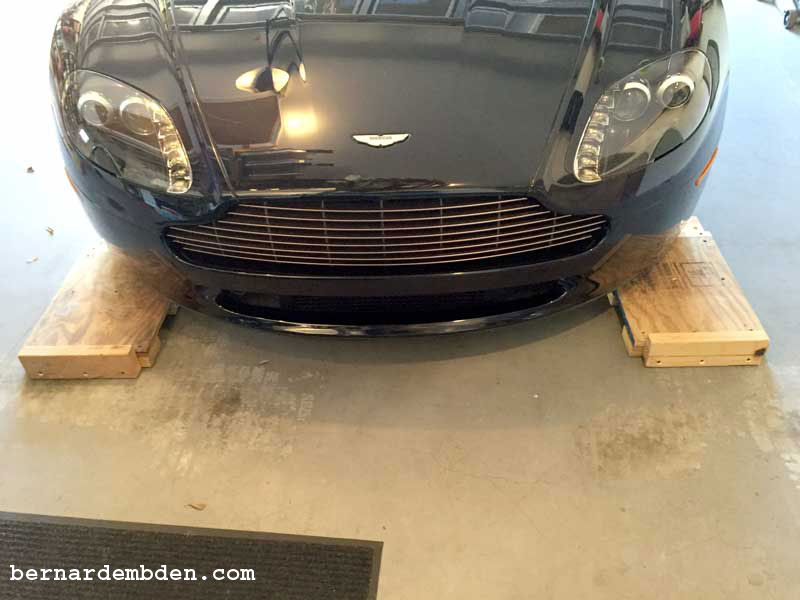
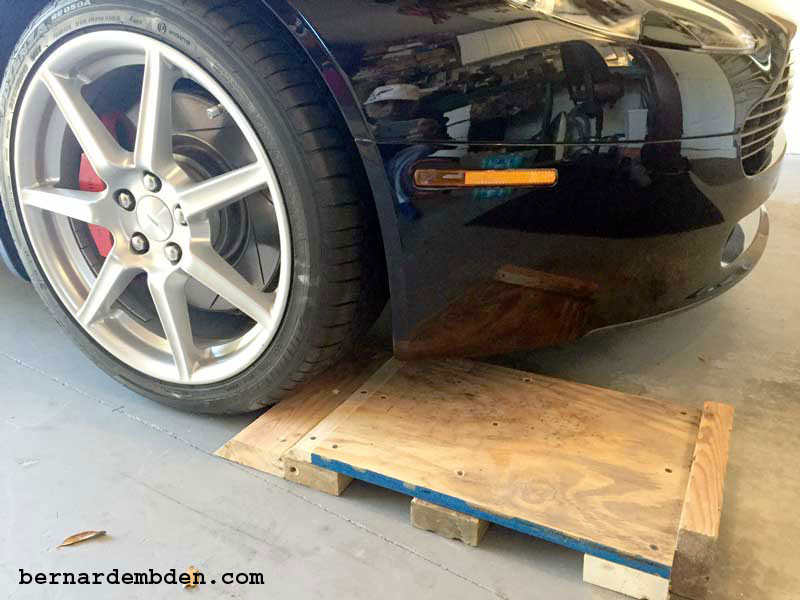
The ramps are positioned just in front of the front wheels and the car driven up onto them.
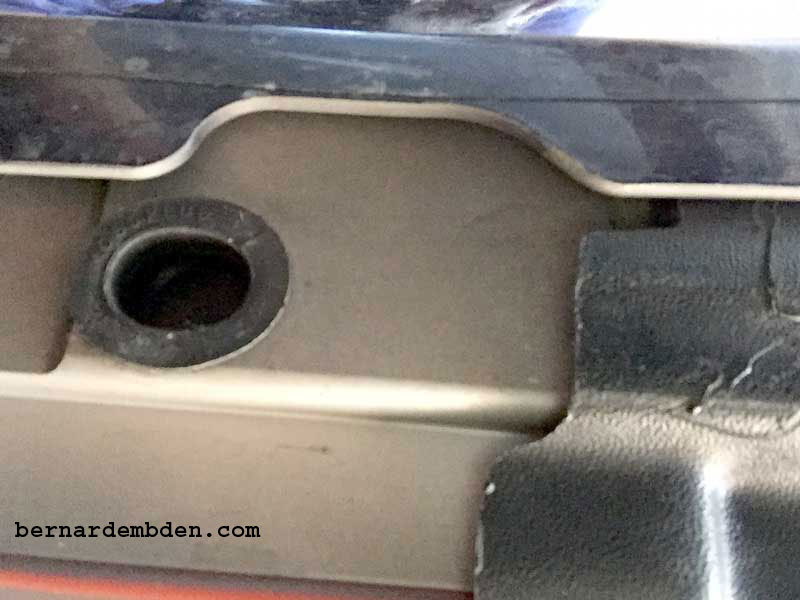
I identified the front and rear jacking points. (Photographs below).
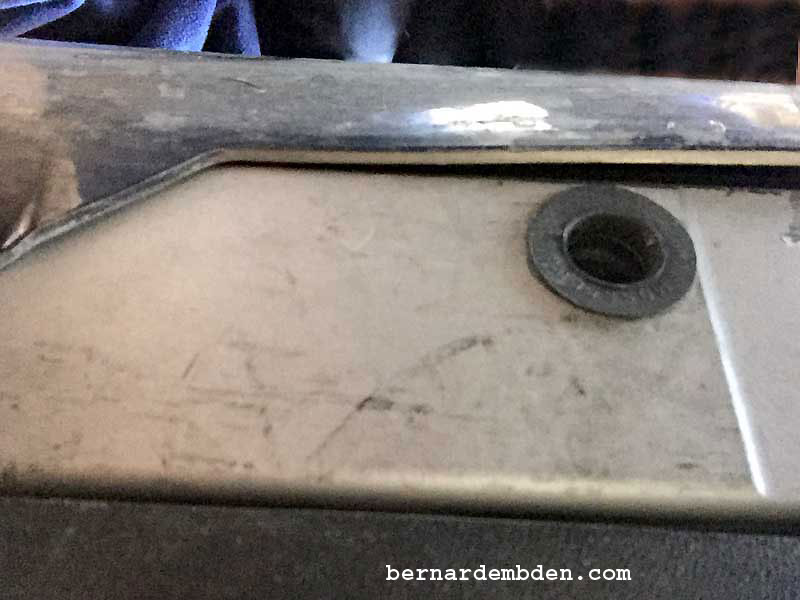
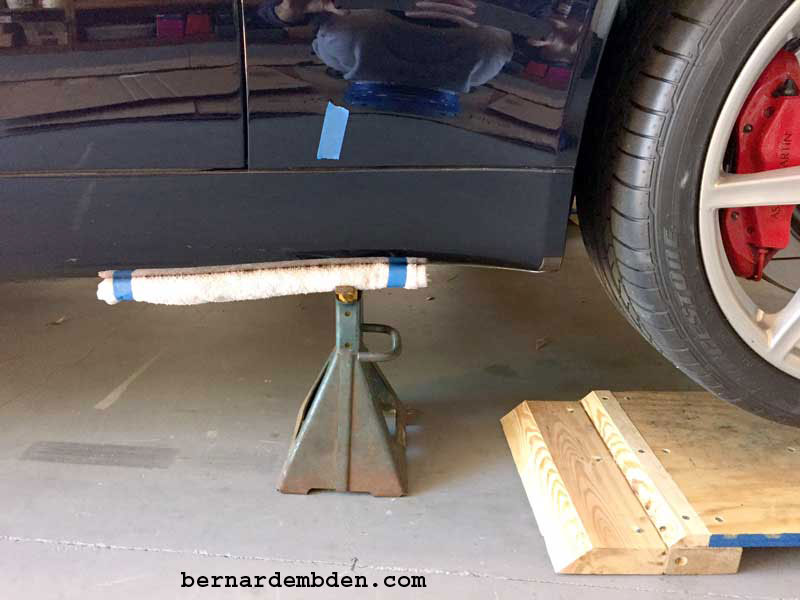
I then marked the location of the front jacking point with some blue tape. (Photograph below)

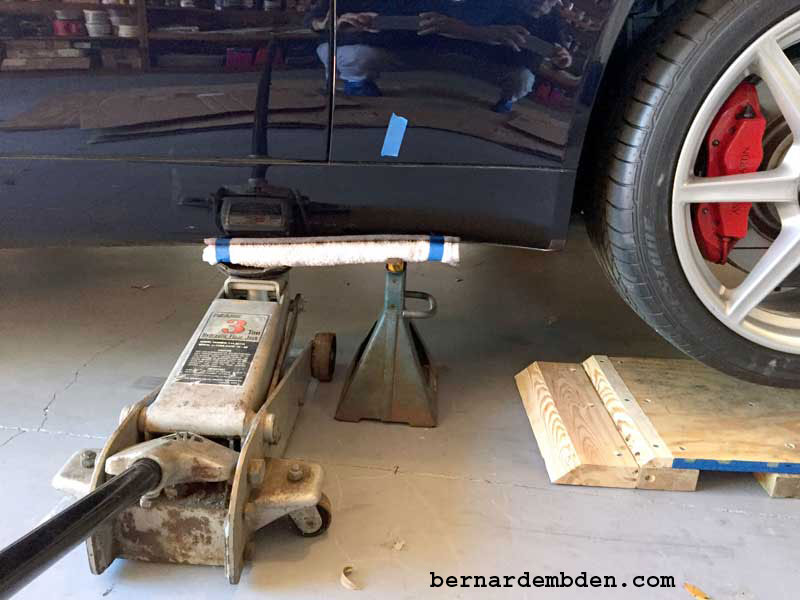
I wanted to place the floor jack as close to the jacking point as possible, while still leaving room to put the Jack stand at the cars jacking point identified by the blue tape. I measured the points between my floor jack and the jack stand.
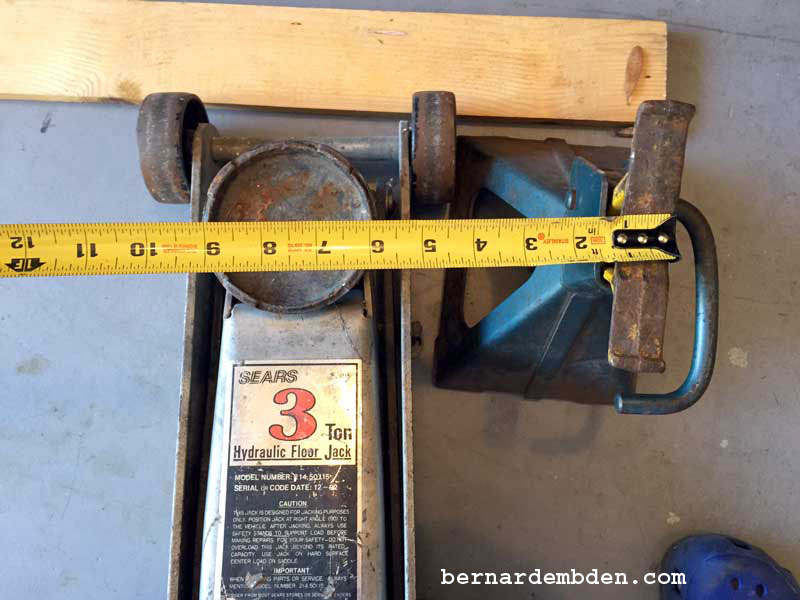
Based on the above measurements I needed to jack the car up 7 to 8 inches from the jacking point. This is not a problem as the jacking point beam extends well beyond this point.
I cut a 1x3 inch piece of hardwood 16 inches long and wrapped it with a towel (photograph below)

Offer up the towel wrapped hardwood and the floor jack so that the floor jack's saddle is approximately 8 inches from the blue tape marking the vehicle's jacking point.
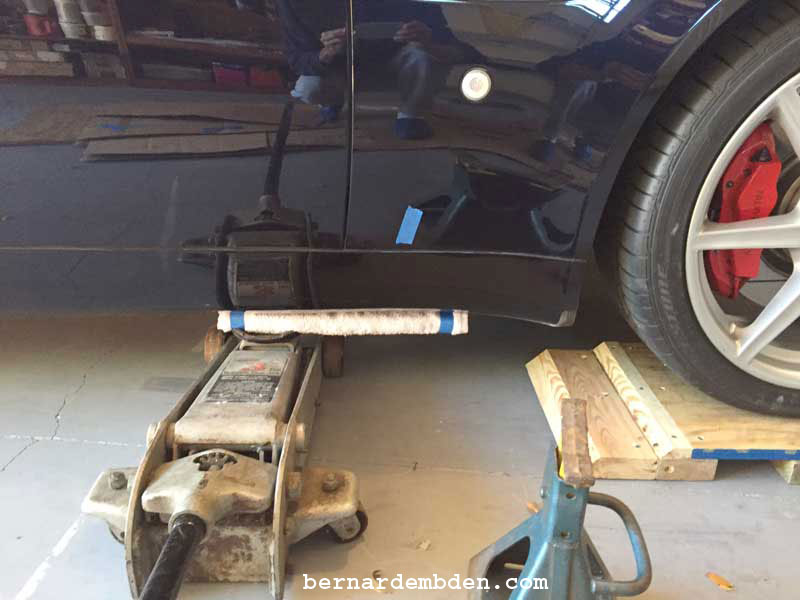
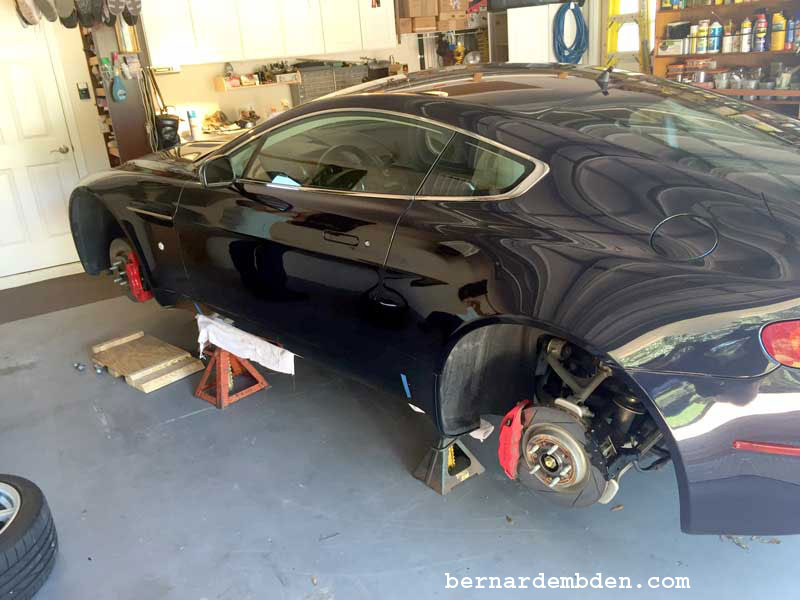
Jack the car up and put the jack stand under the vehicle's jacking point, lower and remove floor jack. (photographs below).
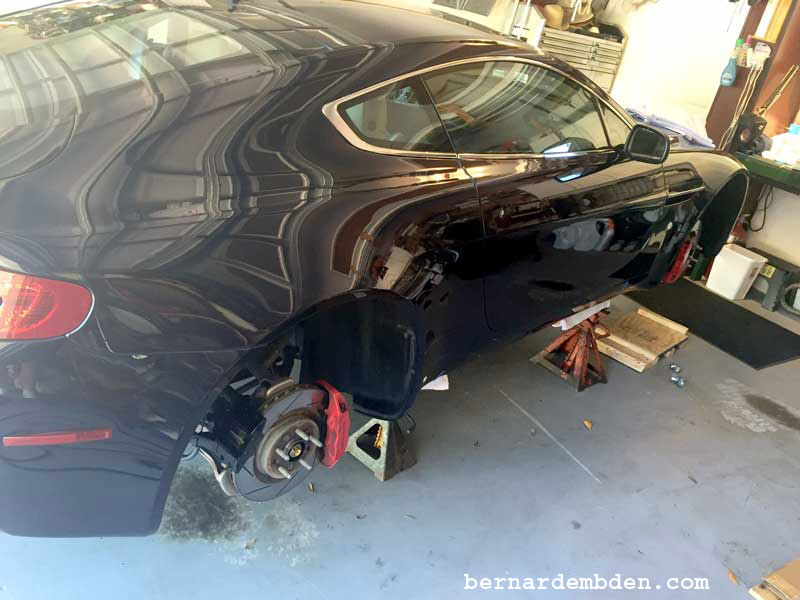
Note that if you continue jacking you can raise the rear wheels as well, making it possible to support the entire side via two jack stands. (Photographs below)
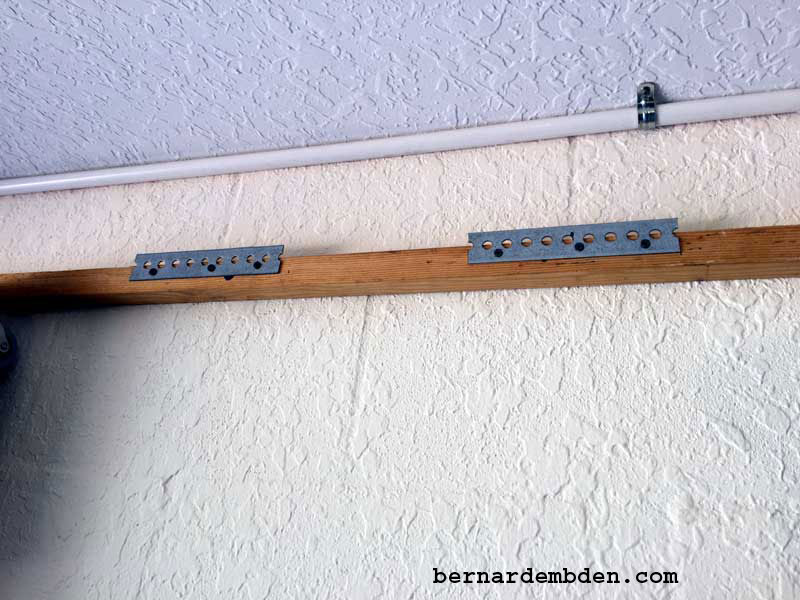
I attached two metal strips to hang the ramps on my garage wall.