
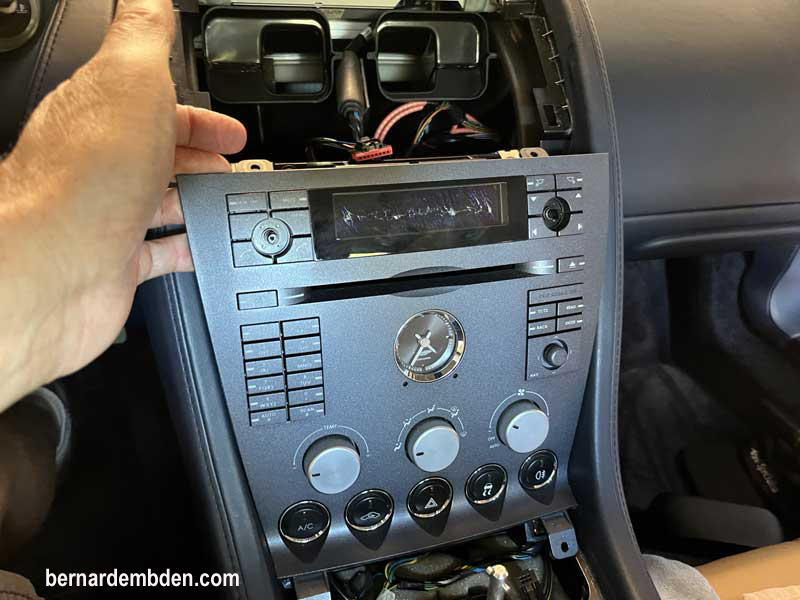
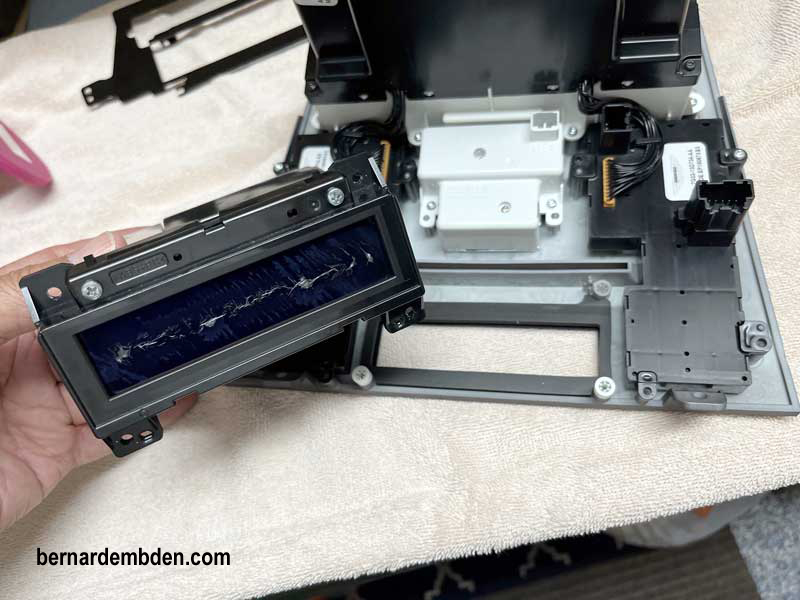
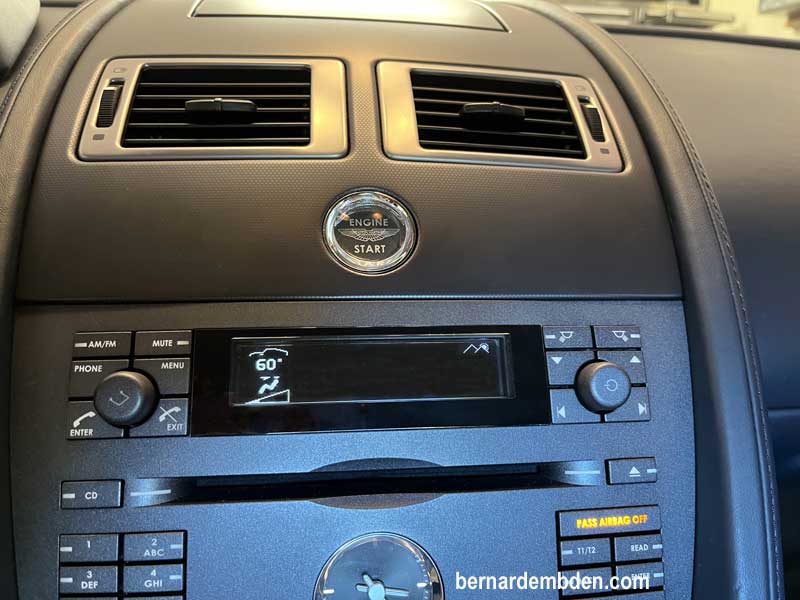
Similar to the problem with the dashboard screen, I could no longer read the radio display.
As I wrote on the link on this website where I repaired the dashboard display, as part of Aston Martin's manufacturing process, a polarizing film was installed on the dashboard and radio display surfaces, ostensibly to enhance reading the vehicle's display in the sunlight.
This was a terrible idea for the dashboard. Not content with that debacle, they applied the same polarizing film to the radio display as well.
Over time, and heat, the polarizing film became hard, brittle and opaque. Not content with obscuring all visibility of the radio's display, the polarizing films adhesive bonds with and becomes part of the top surface of the plastic display panel.
Essentially, this film is now part of the top level of the vehicle's plastic display, and virtually impossible to remove.
This is not an isolated problem. I believe that all Aston Martins built from approximately 2003 to 2017 used the same dashboard and radios with the same polarizing film.
Those vehicles that are over 10 years old are now seeing these issues. My car, a 2007 Vantage started exhibiting problems when reading the display a couple of years ago. At first I attributed the problem to failing eyesight, then realized that the display was literally being obscured before my eyes.
Purchasing a new radio was not cost effective. The only solution was to fix the problem.
I was certain of one thing. The fix would not include replacing the polarizing film.
This project starts by removing the waterfall above the radio. You will no doubt hear conflicting advice about removing the waterfall.
Example:
1) Do not use a trim tool between the waterfall and leather sides. If you do the leather will be destroyed. Instead, remove the clips from the navigation door; open the door to get access to the navigation door's opening, and grasp firmly and pull straight up like you rented the vehicle until the four clips are released.
2) Remove clips from navigation door. Use a trim tool right below the starter button and pry the waterfall out.
3) Remove clips from navigation door. From the navigation door insert your hand, or a long screwdriver/pry tool and reach toward the front clips. Twist or pry the screwdriver to release the front clips. Duplicate for the back clips.
4) Uses a J hook through one of the vent openings and pull straight out to unlock the clip.
In my opinion option 1 is a terrible idea. The waterfall is subject to breaking/cracking by the navigation's door opening. This method would only hasten that.
Option 2 is asking for trouble. Scratching the waterfall or radio surround is a real possibility.
Option 3 has some merit, but you are working blind.
Option 4 is the best option for most people. (but not for me). The problem I have with the J hook is that it might slip and wipe out the vent louvers, thus creating a bigger problem.
Below is my suggestion. Use it at your own risk.
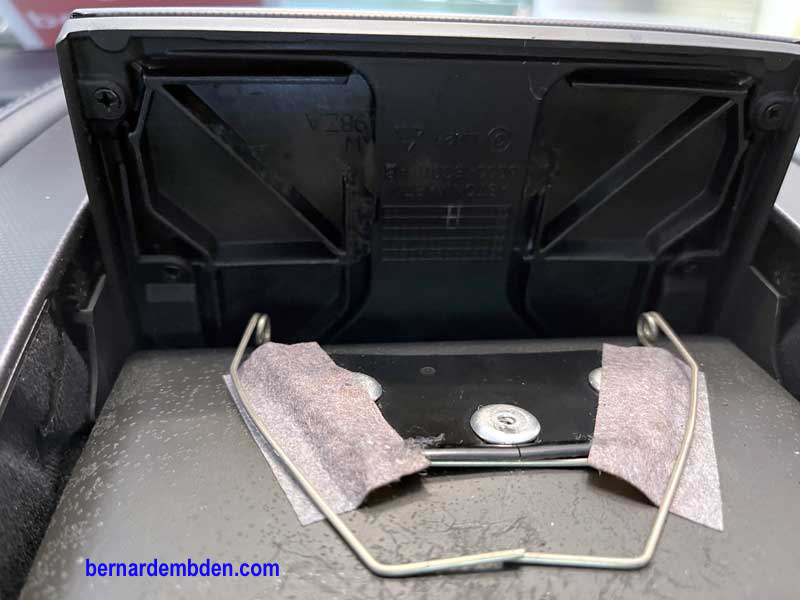
First lift up the navigation unit’s top cover and release the two spring clips. This only applies to cars with the earlier clips. (photograph below)
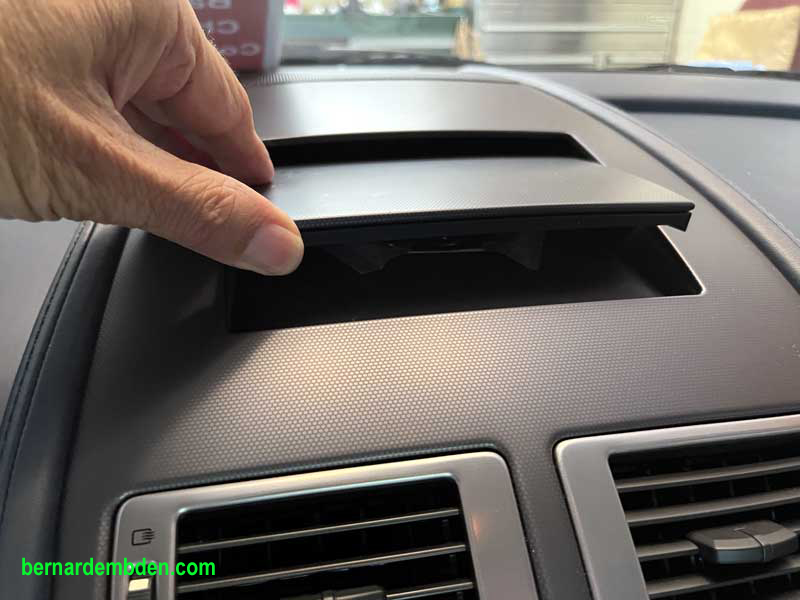
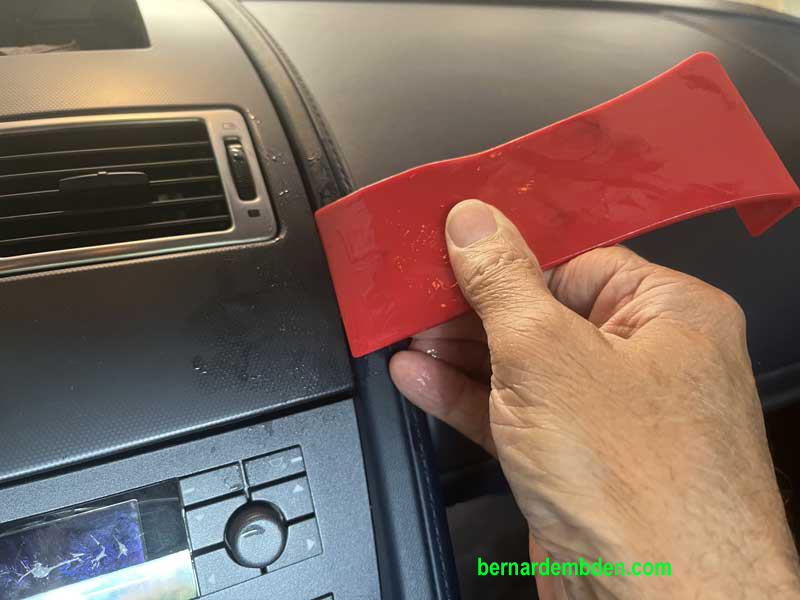
Next step is removing the waterfall. IMHO, The most effective way of removing the waterfall is with a plastic trim tool. That said, scratching the adjacent leather is a real possibility.
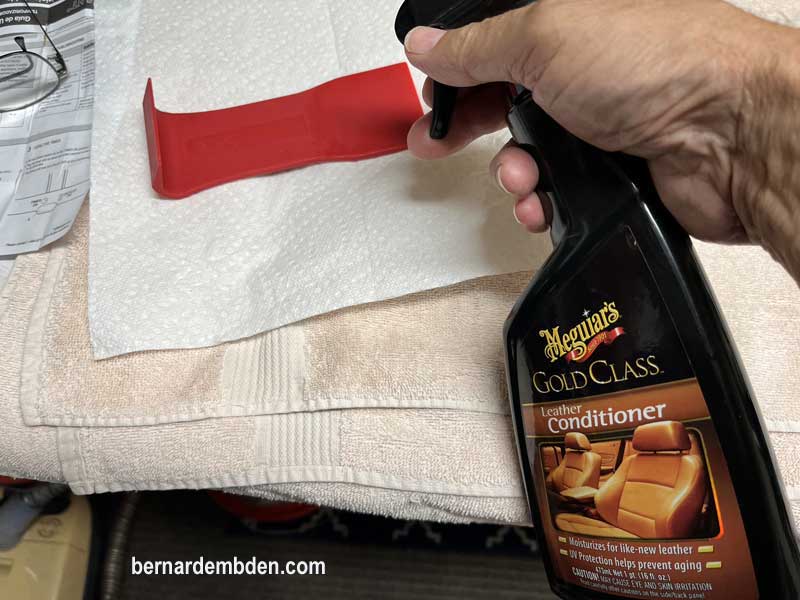
To mitigate that possibility, I liberally coat the trim tool and the adjacent leather with a leather conditioner. Not just any leather conditioner, but one with the consistency of syrup. The one I recommend is Meguiars Gold Class Leather Conditioner. I apply it liberally, like it’s a free sample, to the trim tool and the leather at the locations that the trim tool will be used. (see photographs below)
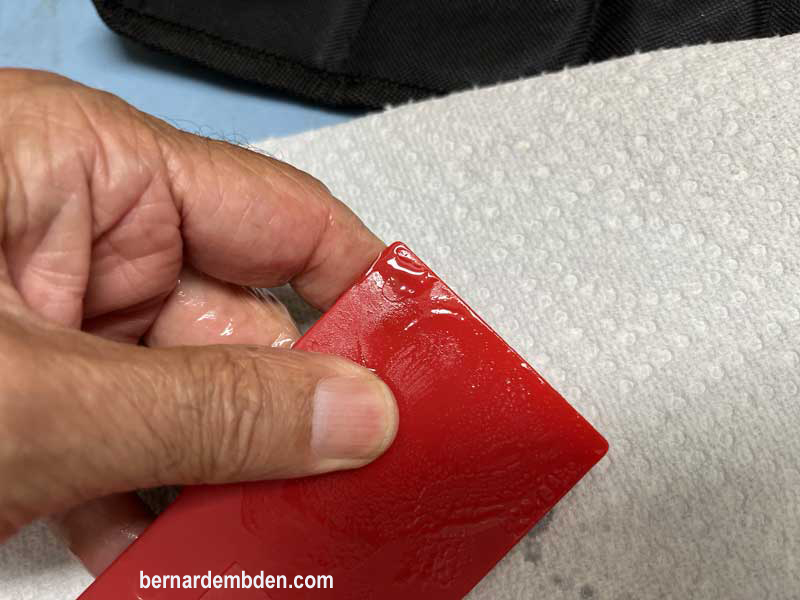
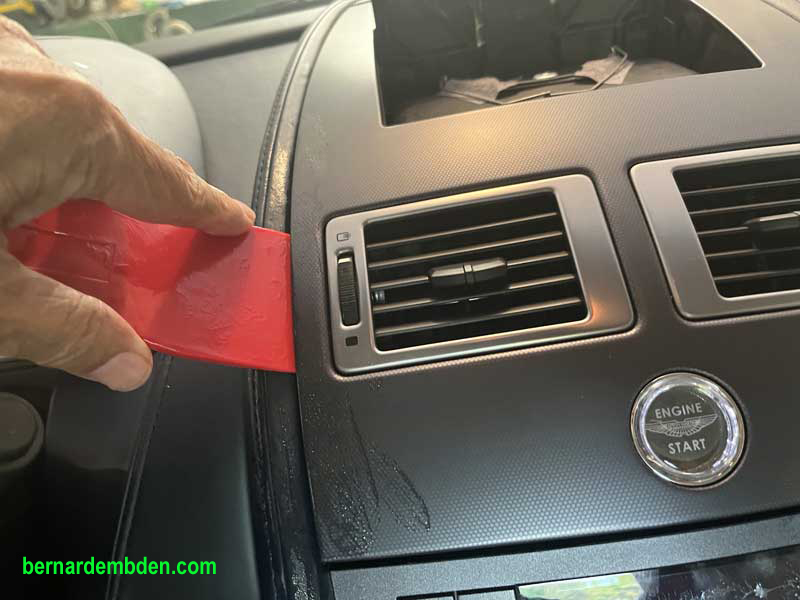
After applying the Meguiars Gold Class Leather Conditioner magic syrup liberally to the trim tool and the adjacent leather, insert the trim tool between the waterfall and adjacent leather trim and pry up at all four corners. I use a wide trim tool to spread the load and minimize potential damage to the adjacent leather. (photographs below)
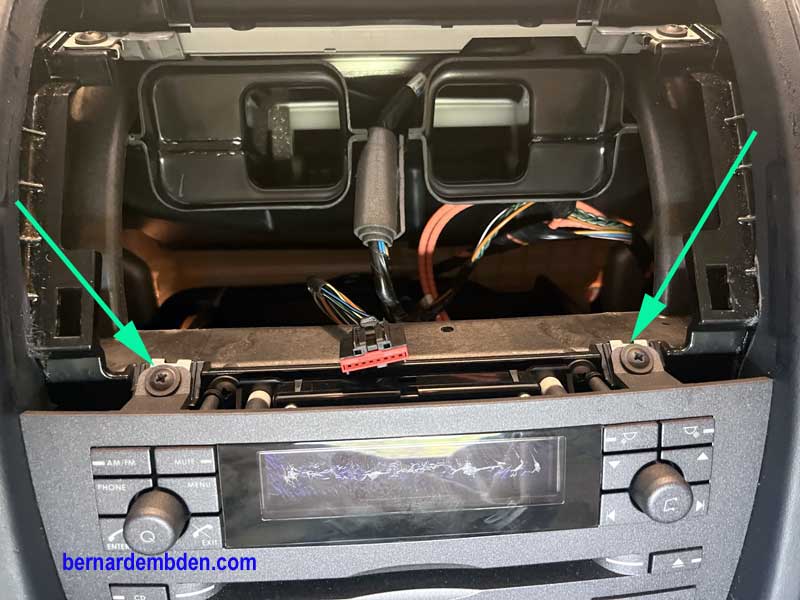
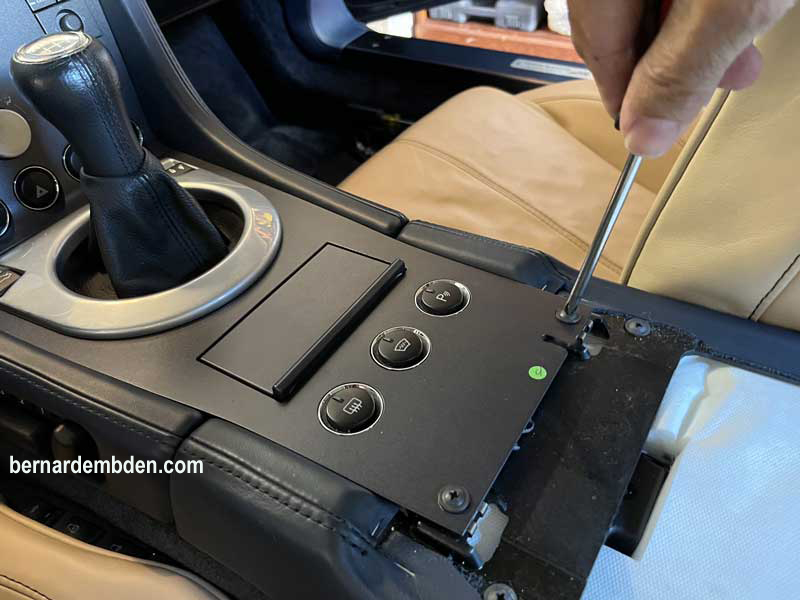
Unplug the wiring plug from the starter button. (Sport shifts cars will have four more connections.) and remove the waterfall. Note green arrows indicating screws that have to be removed later in this process. (photograph below)
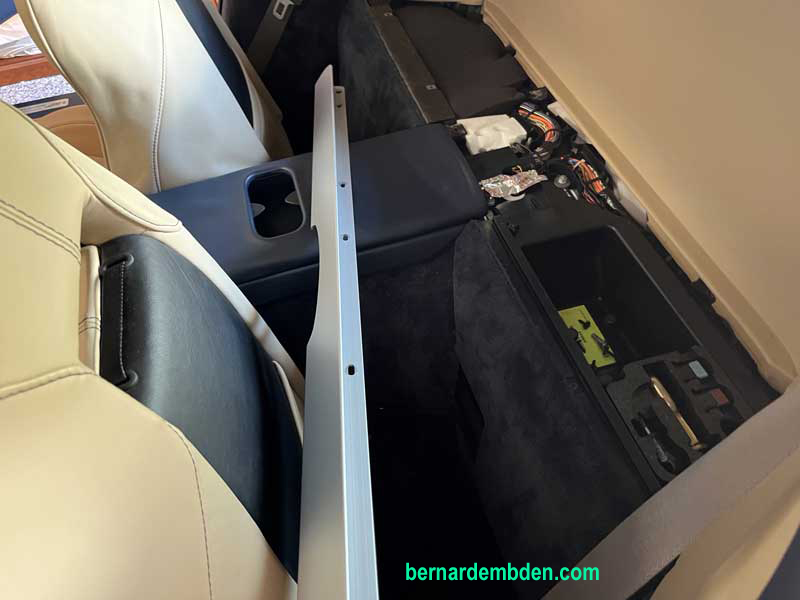
Remove parcel shelf from behind seats. Using a Philips screwdriver and a 5/16 socket for the bolt by the battery compartment. This releases the parcel shelf bar. Note: Be very careful removing this bar, as its sharp ends attracts leather. (photograph below)
Removing the parcel shelf bar also releases the back screw from the console cup holder. Lift the back slightly and pull back to remove the cup holder assembly. With the cup holder removed, you have access to the two screws that secure the gearshift surround. Using a Phillips screwdriver remove both screws. (Photograph below)
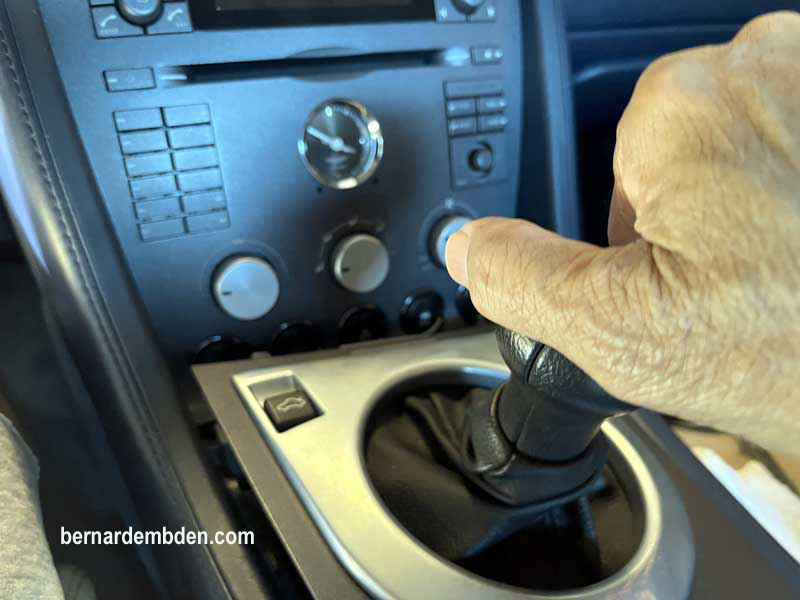
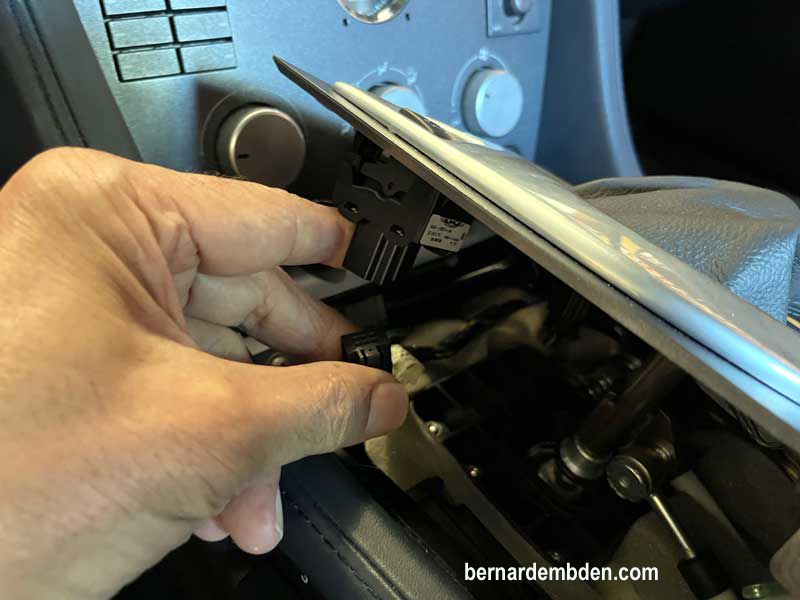
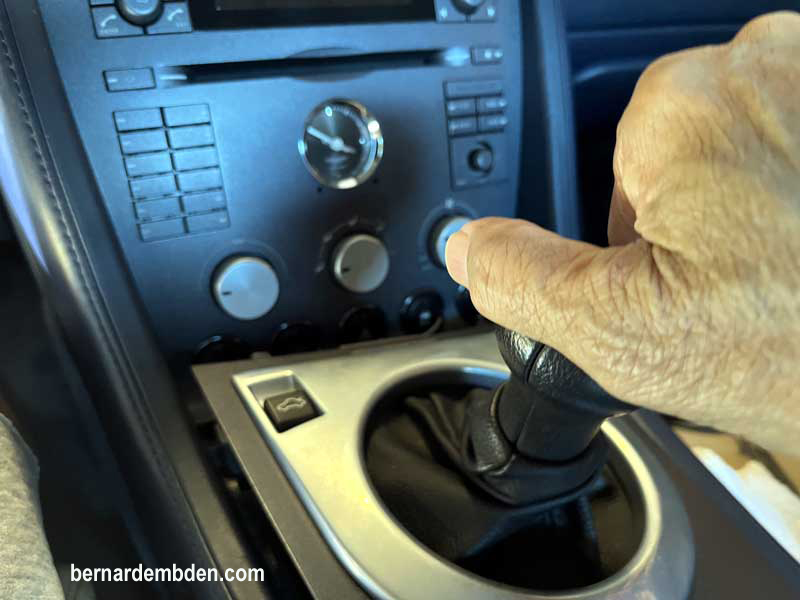
Pull the gearshift surround back up and out to release it from the bottom of the radio/HVAC console. Press down firmly on the gearshift knob and twist anticlockwise to release it from its shaft. (Photograph below)
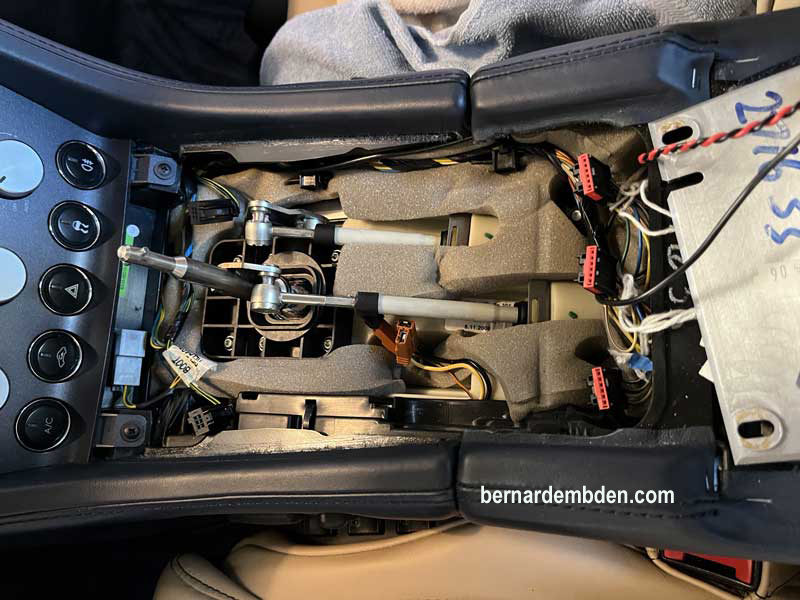
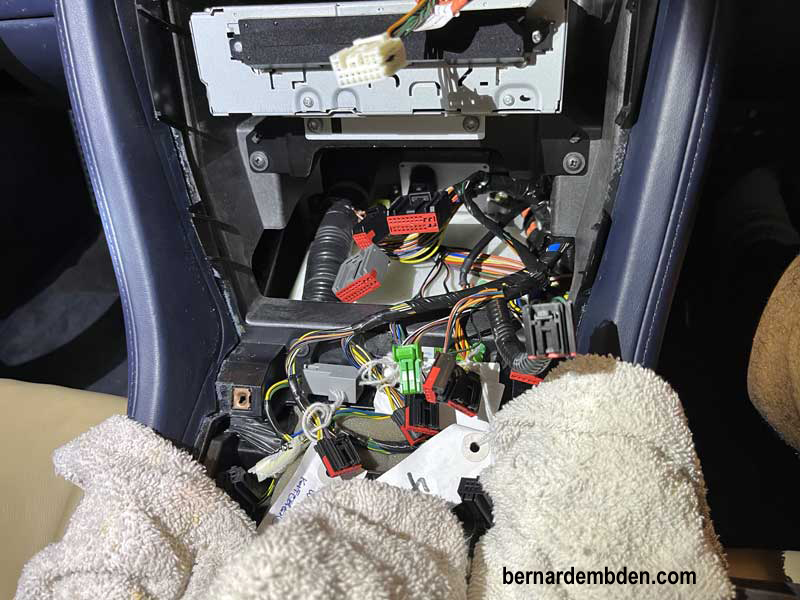
Remove plugs for Bluetooth, trunk release, window heating etc. My recommendation, tag all switch plugs, because the vast majority look exactly alike. (photograph below).
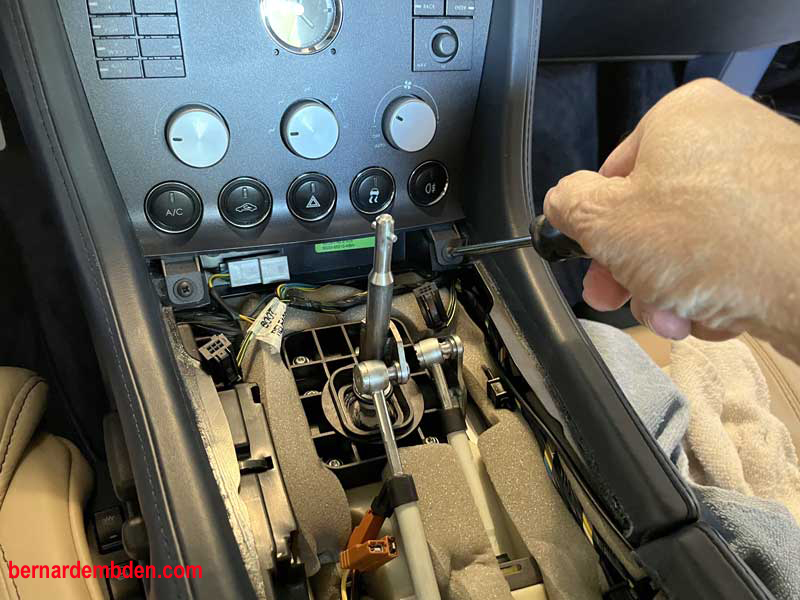
Remove the four screws that secure the radio/HVAC display console. (Photographs below)
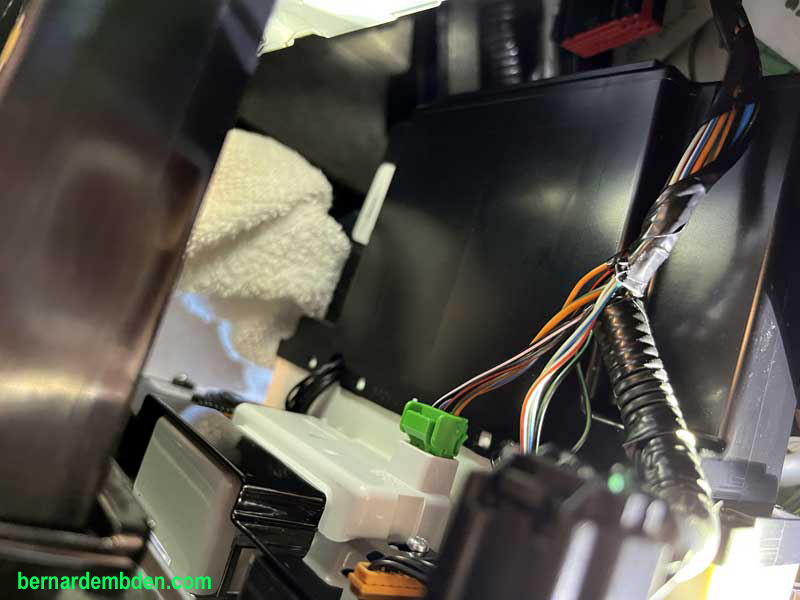
Remove electrical plugs from behind display console. There are 12 plugs to be removed. Space is extremely limited. Small hands, preferably belonging to a small person, helps. Tag the bottom 5 plugs as they all look alike.

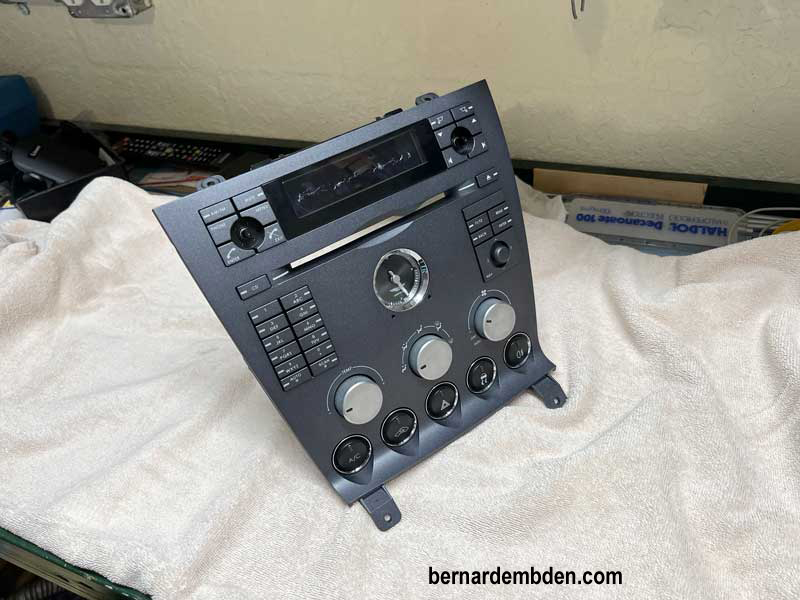
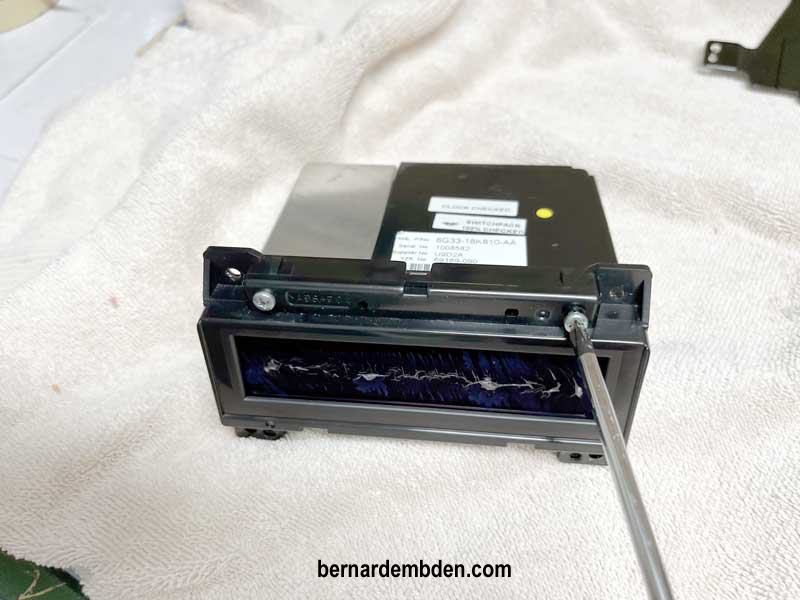
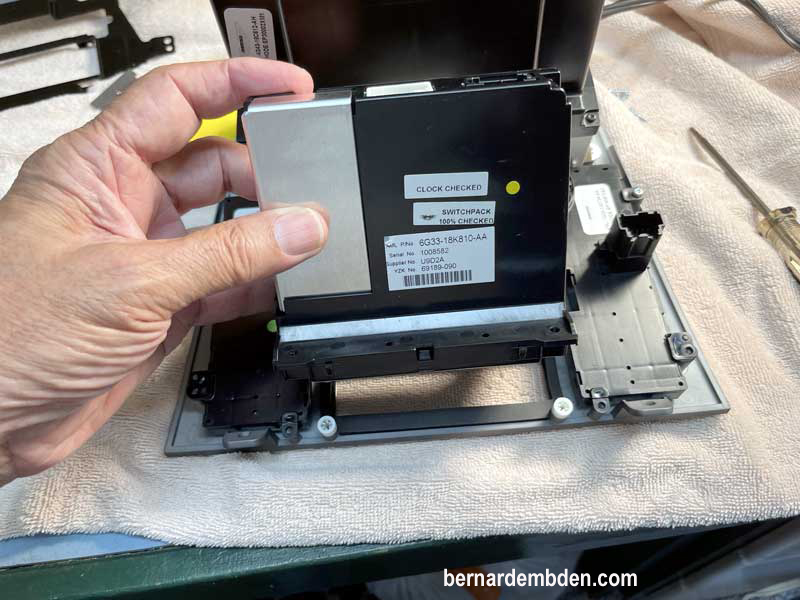
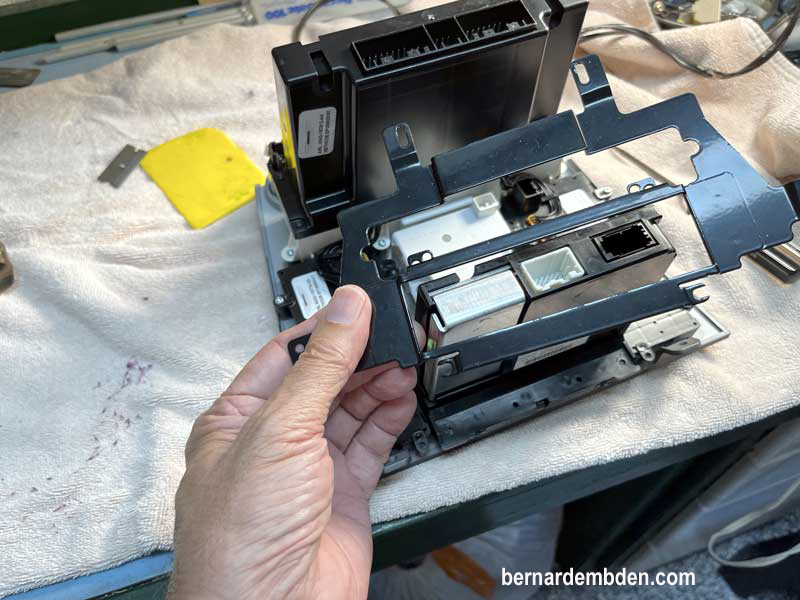
Place display console face down on a towel. Using a T10 Torx screwdriver, remove screws holding down radio support bracket. Remove bracket and radio. (photographs below)

The problem is even worse that I thought. This will need a lot of work, but I was confident that it could be fixed.
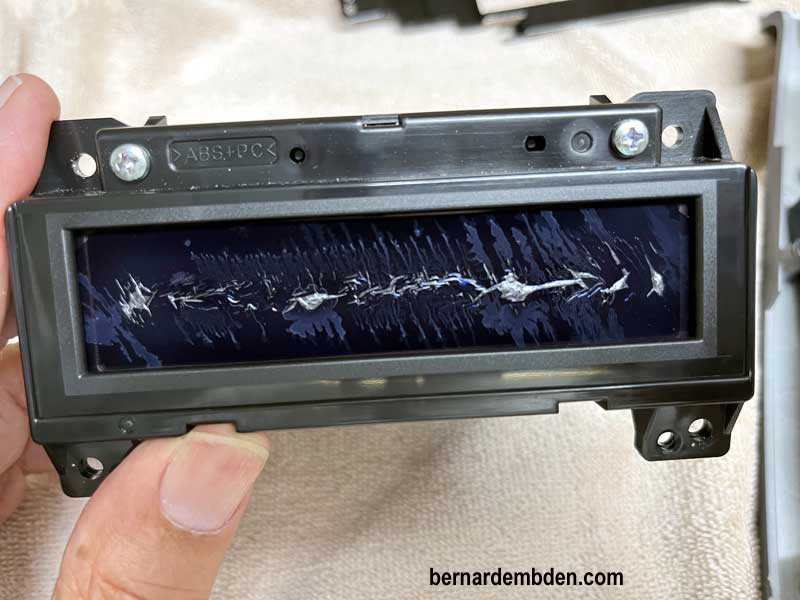
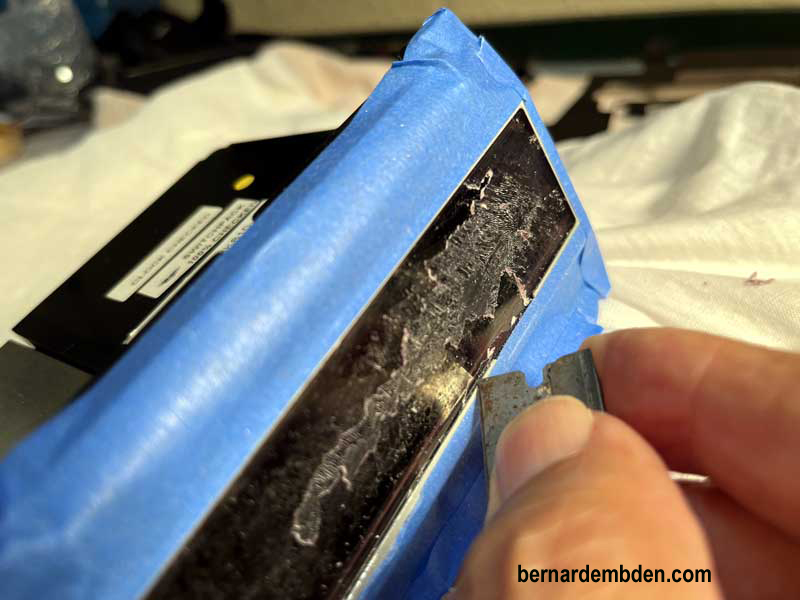
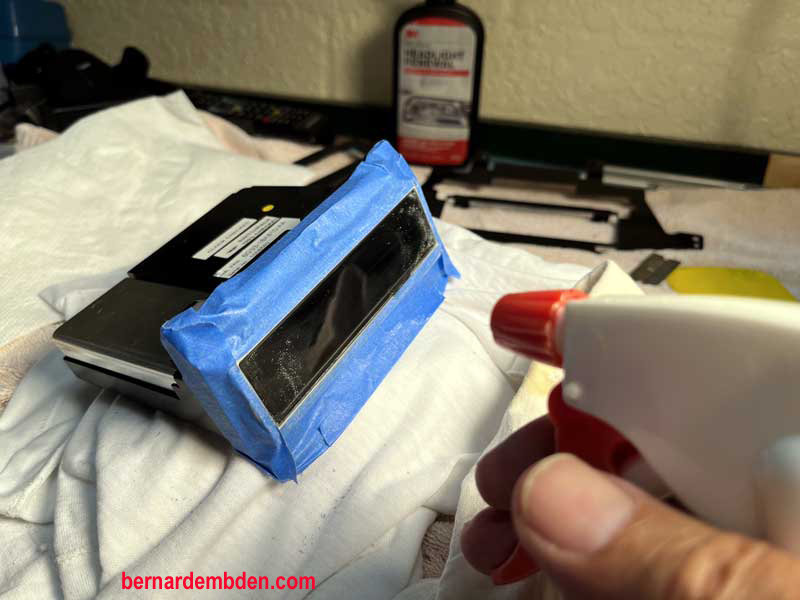
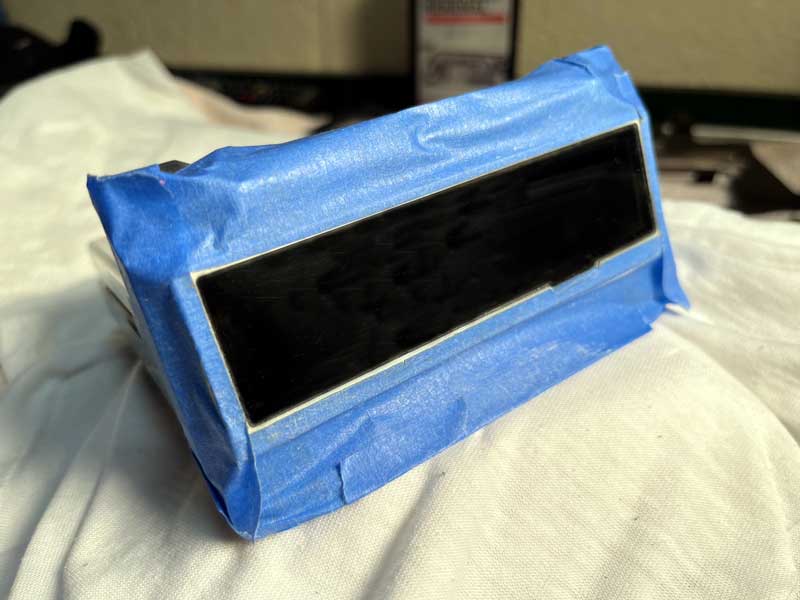
Remove the plastic surround from the display by removing the two screws and un-clipping the plastic bezel. Re-install the two screws to keep the display from moving around when you start the film removal process. Finally tape off the display to prevent dirt ingress. (photographs below).
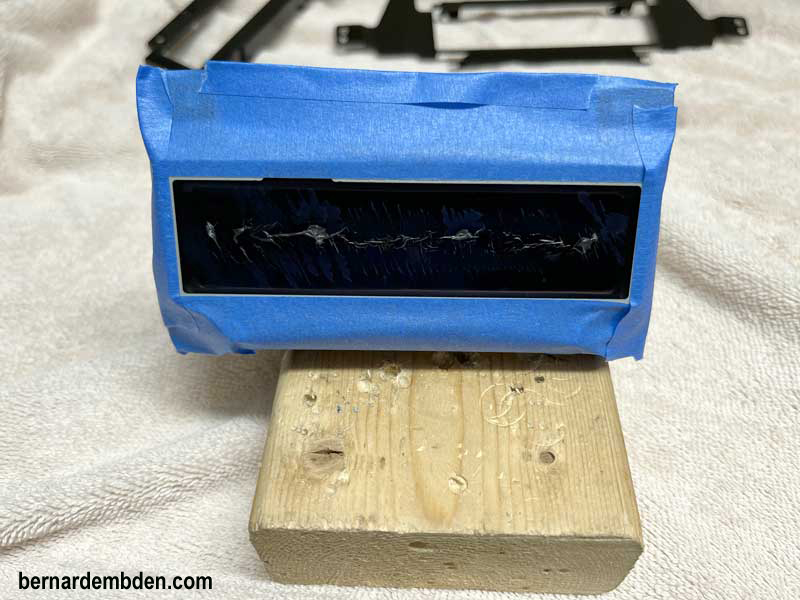
If you have read my link on removing this polarizing film from my dashboard on this website you already know the drill.
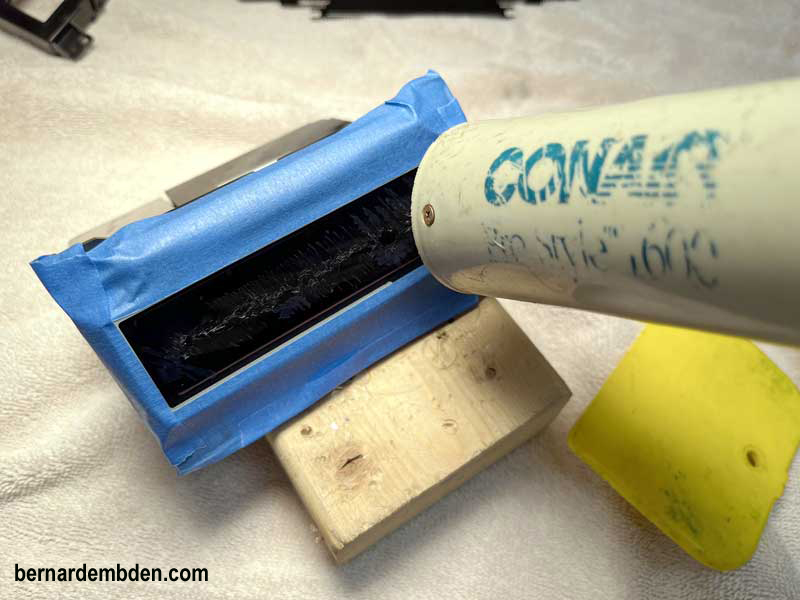
Heat gently with a hair dryer.
Use a plastic tool to remove the plastic film from the heated area.
Repeat etc.
At some point you might have to resort to using your fingernails.
Repeat.
Be patient and do not rush the process.
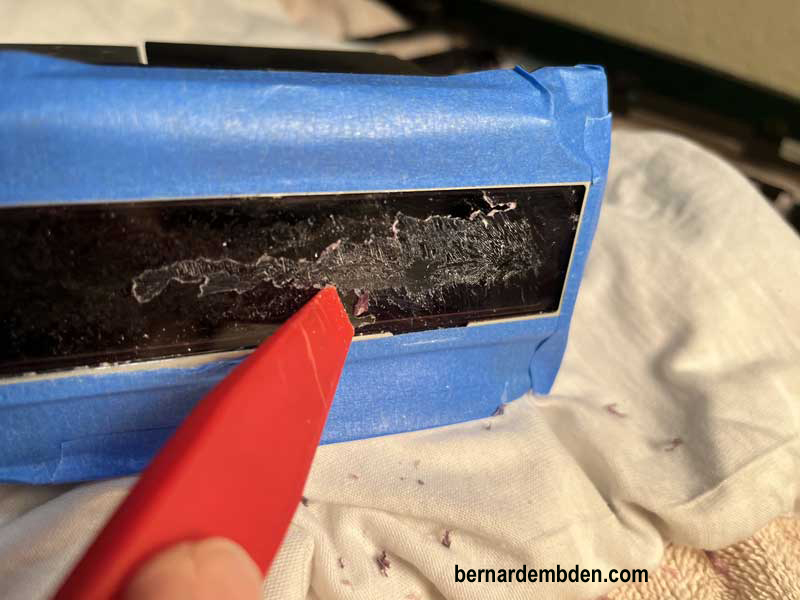
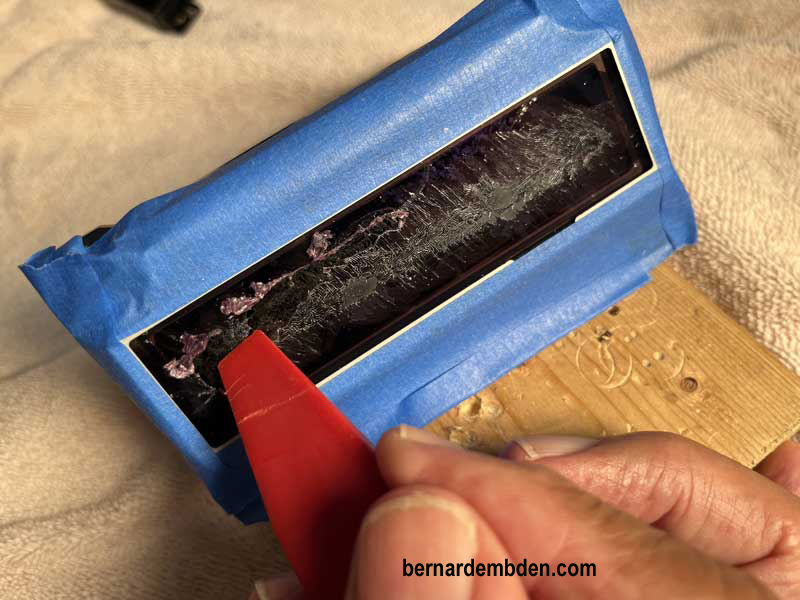

The film is installed beneath the bezel. I used a razor to cut the film at the edges.
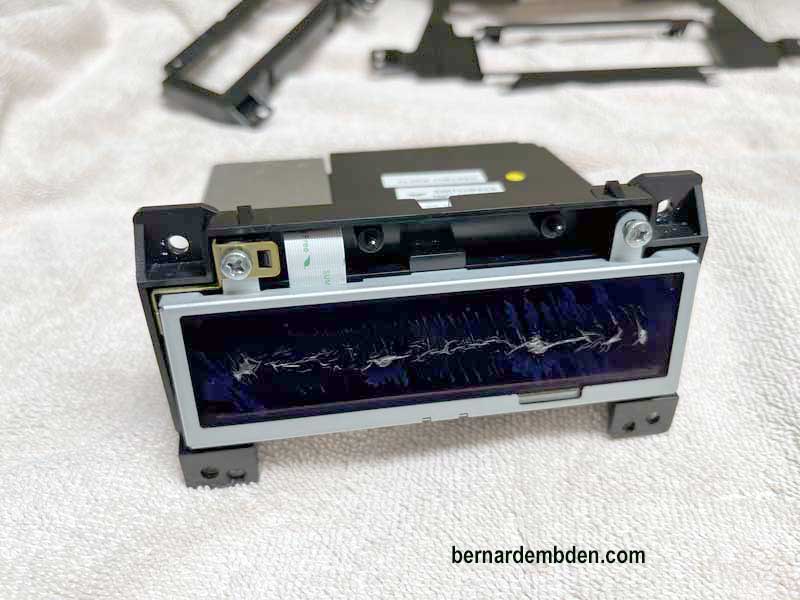
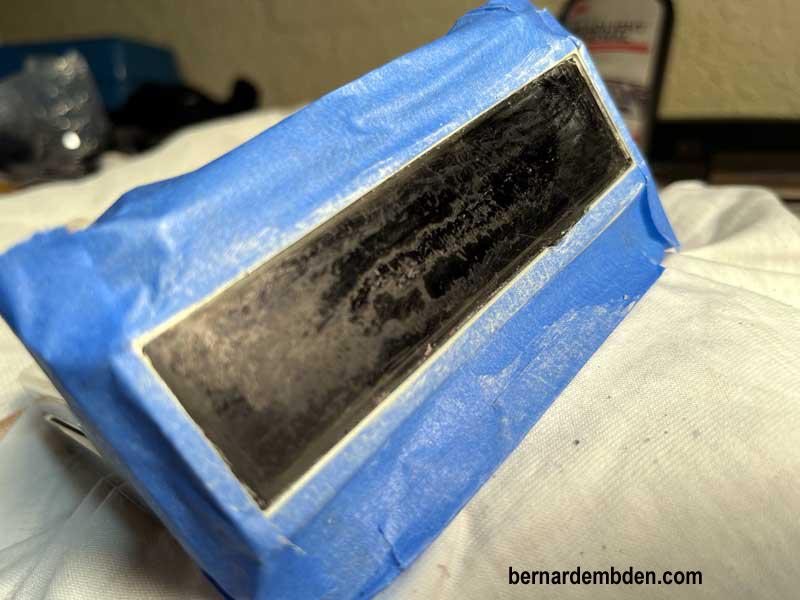
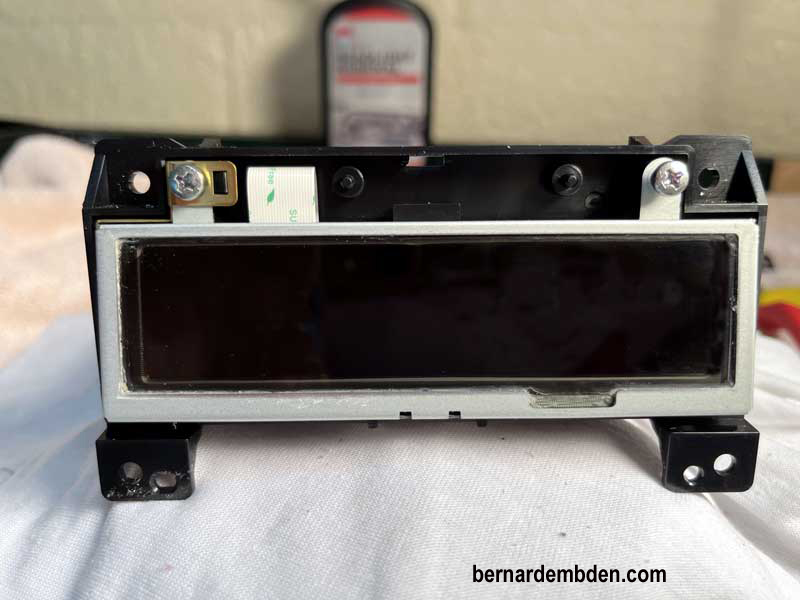
Repeat heat/plastic scratch tool/fingernail scratch process. If you are patient and careful at some point the display should look like the photograph below. Essentially all the available plastic has been removed and the screen is left with the plastic and glue residue imbedded in the top layer of the display.
Now the polishing process begins. The polish I use is a 3M product designed for headlights.

Apply liberally with a soft cloth and rub in a circular motion until you fingers hurt. This will take numerous applications of the polish. Stay with it until you see the results below.
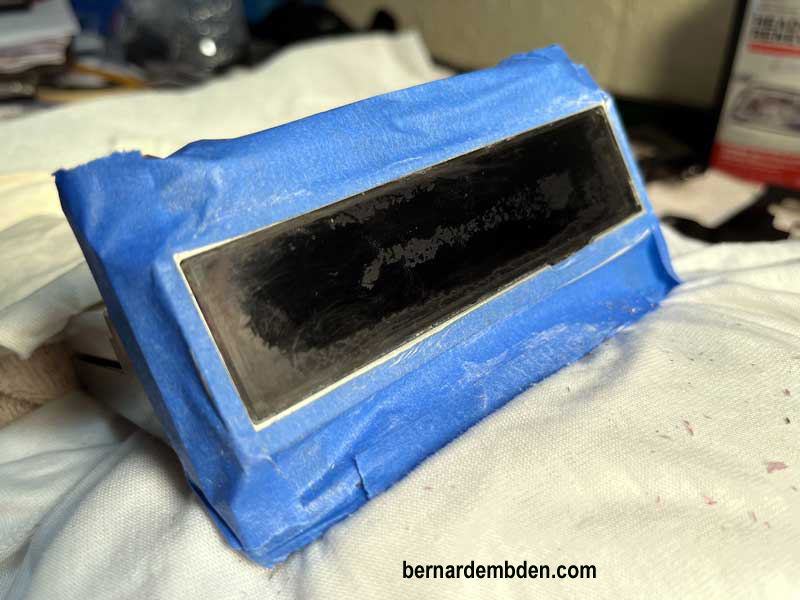
As you get closer to the desired finish, cut the polish by spraying lightly with a bit of water and continue the process.
If you are patient, have strong fingers and keep at it you should see the desired result in the photographs below.
Reassemble plastic bezel to screen. Install radio to console and attach support bracket. Install appropriate T10 Torx screws to attach bracket to console face. (photographs below)

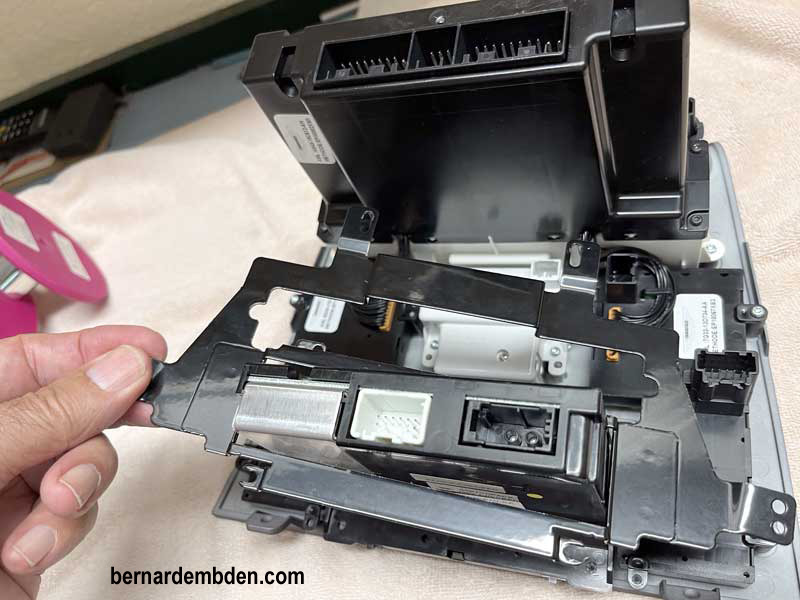
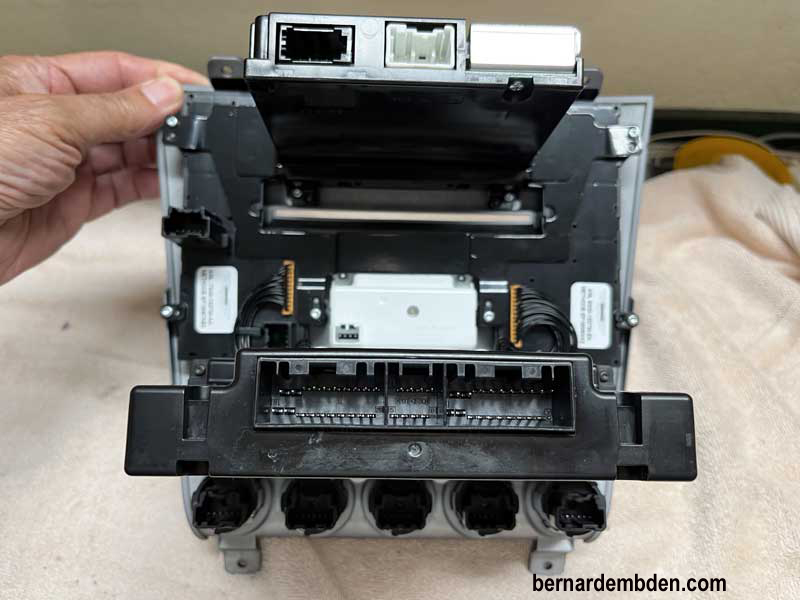
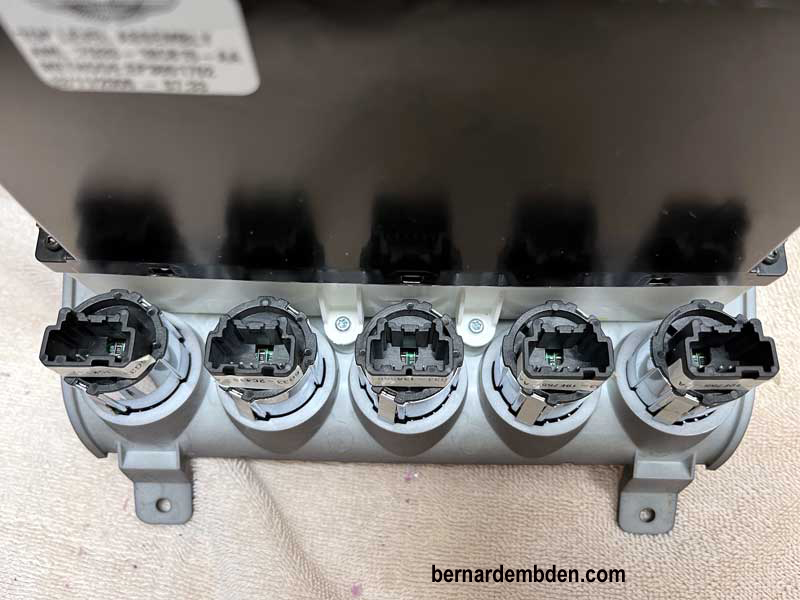
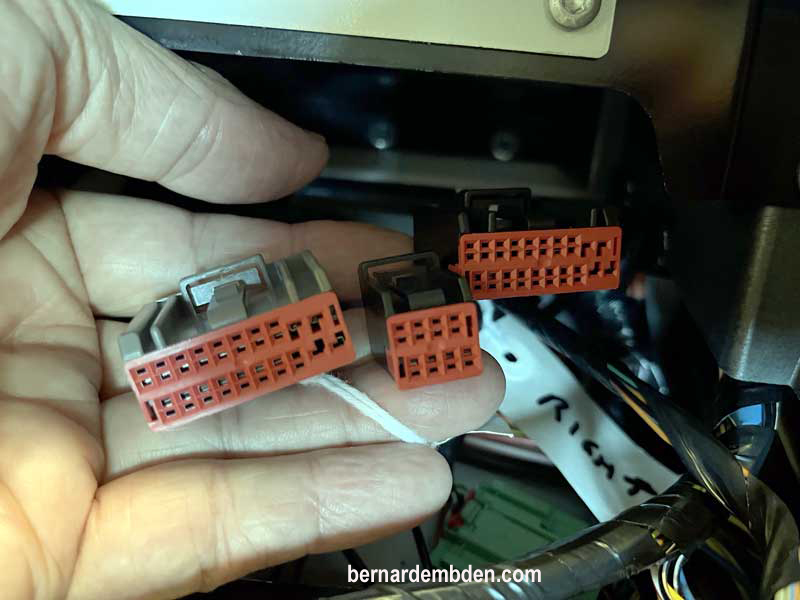
Rear of radio/HVAC console reveals almost identical switch receptacles for HVAC controls and at the bottom, five almost identical receptacles for A/C/recir./flashers etc. During the console installation you cannot see the rear of the console, so you are inserting connections into receptacles blindly. For me, tagging the wire connections ensure that you are attempting to plug in the correct connector to the correct receptacle
You did remember to tag the wire connections when you removed them, right?
Offer Radio/HVAC console to dash.
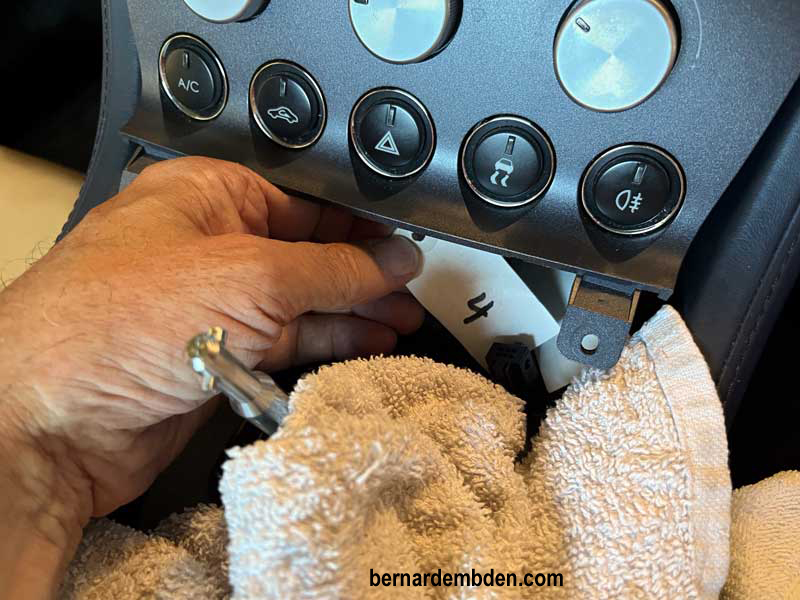
Plug in top connections, then the bottom five connections. Note my tag number for the number 4 connection.
Then the connections for the HVAC controls.
Finally the connections for the CD player.
Install waterfall. Install gearshift surround and plug in connections.
Twist gear knob 25 percent to the left. Push down and twist knob straight. (photograph below)
Install screws to rear of surround, Install cup holder console. Install parcel shelf bar and parcel shelf.
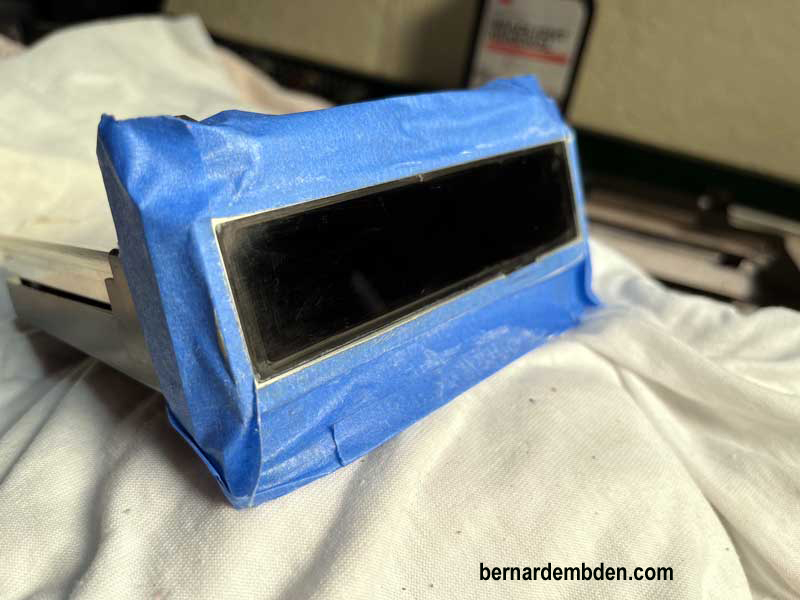
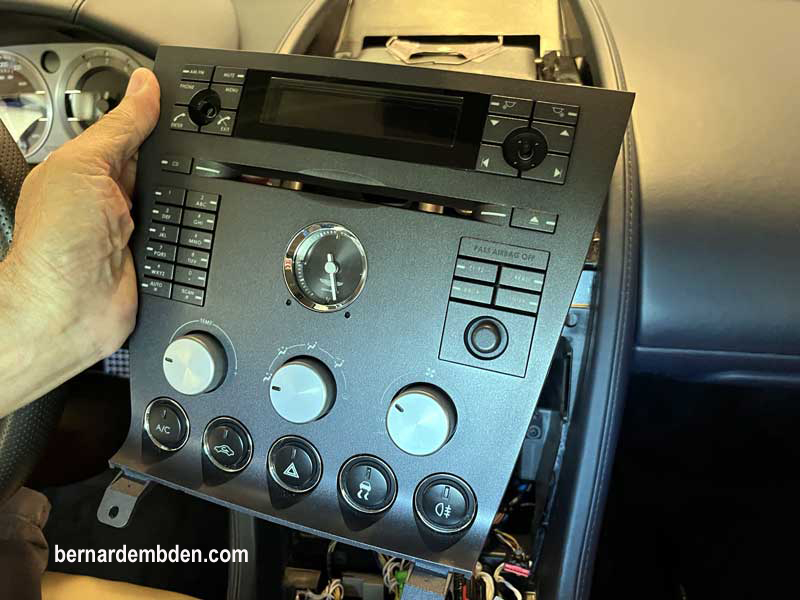
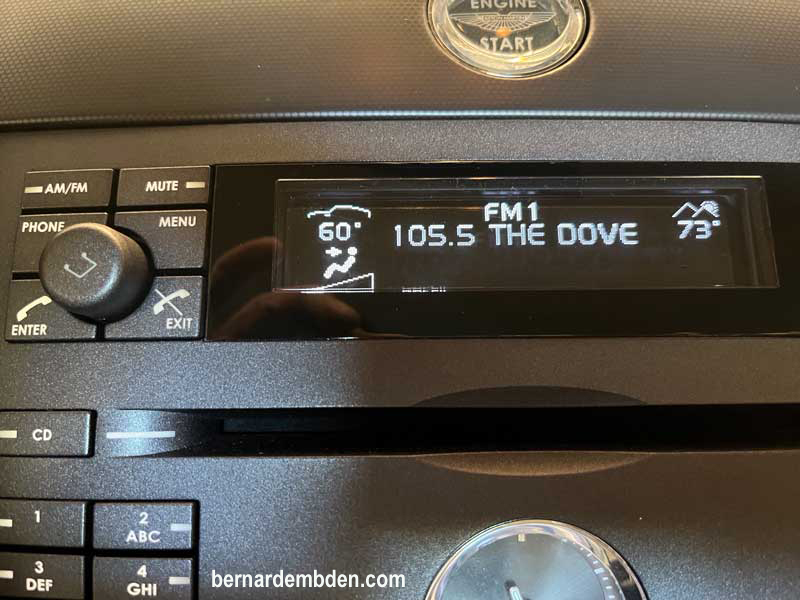
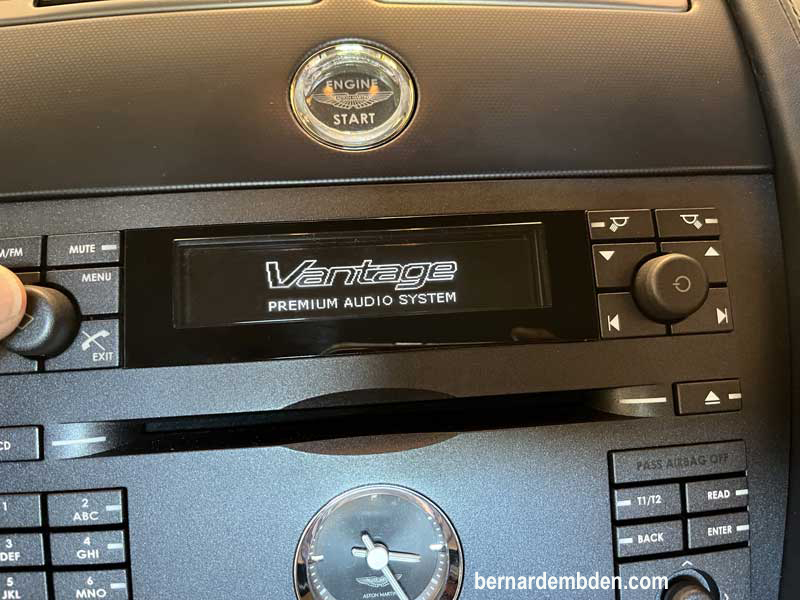
Switch on ignition and test the radio screens visibility. If you have been successful the screen should look like the photographs below.
Project completed. Drive safe.
This is not an easy project, but certainly possible with planning, tagging and some praying.
And expect to spend a couple of days on this project.
