

A complete upgrade of my A/C system meant that I would have to convert to R134. (See the appropriate link for the A/C rebuild.) I decided to use the stock condenser, because space limitations would not allow me to install a larger one. I briefly considered using a parallel style condenser (See Ed Sowell's R134 conversion at (http://www.efsowell.us/ed/myJag.html), however I was not totally convinced that a smaller (albeit more efficient?) condenser would make any significant difference. In addition, use of this condenser would require A/C hoses to be fabricated. (Note that subsequent to this project a change was made to a parallel flow condenser, see appropriate link)
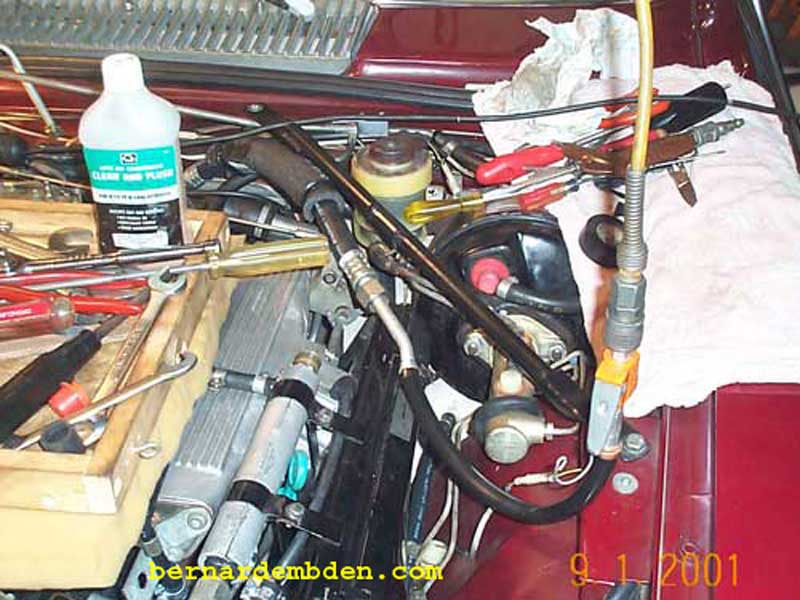
Pictured are the cleaning and flushing agents needed to clean and flush the A/C system. Brake cleaner evaporates quickly, and the flushing agent is designed to remove all traces of oil compatible with R12. Easter oil is used because it is compatible with R134.
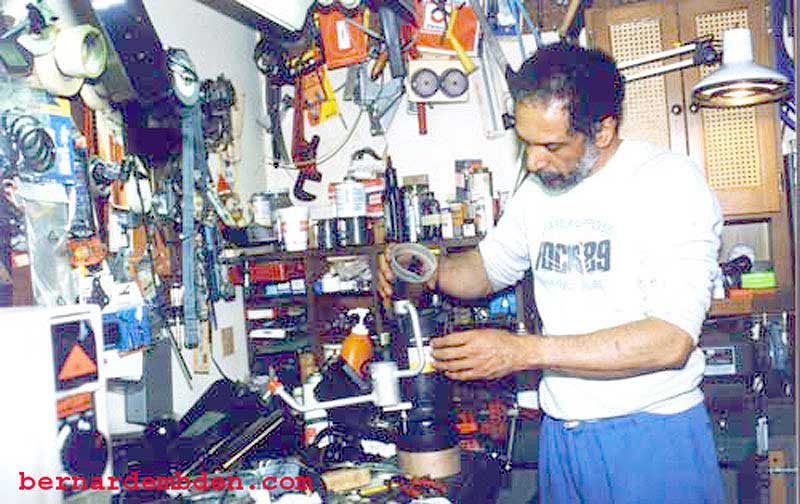
First, depressurize the A/C system (Freon should be recovered by a professional A/C shop) Remove the compressor. If the compressor is suspect, replace with a quality rebuilt unit. I also recommend removal of the expansion valve. It is difficult, if not impossible to thoroughly clean and flush the system with the expansion valve in place.
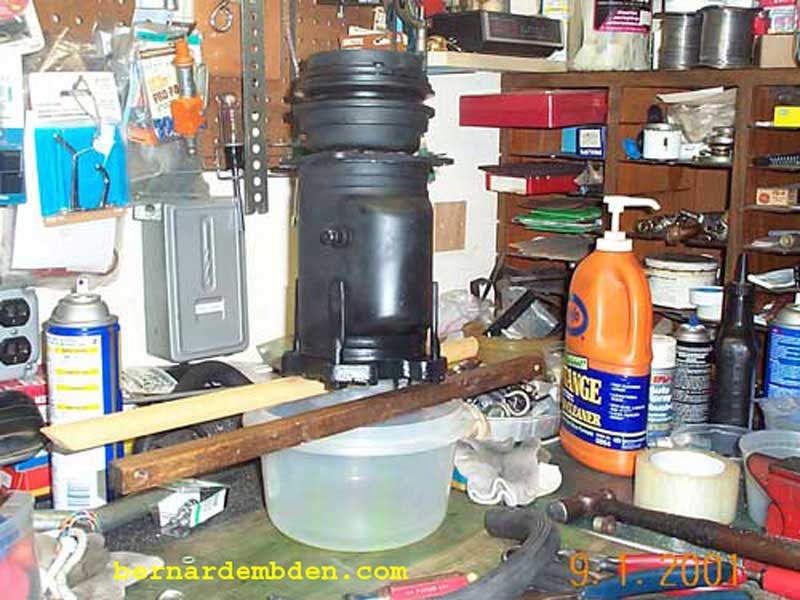
Position compressor above a suitable container as per above photograph. Let the compressor drain overnight.
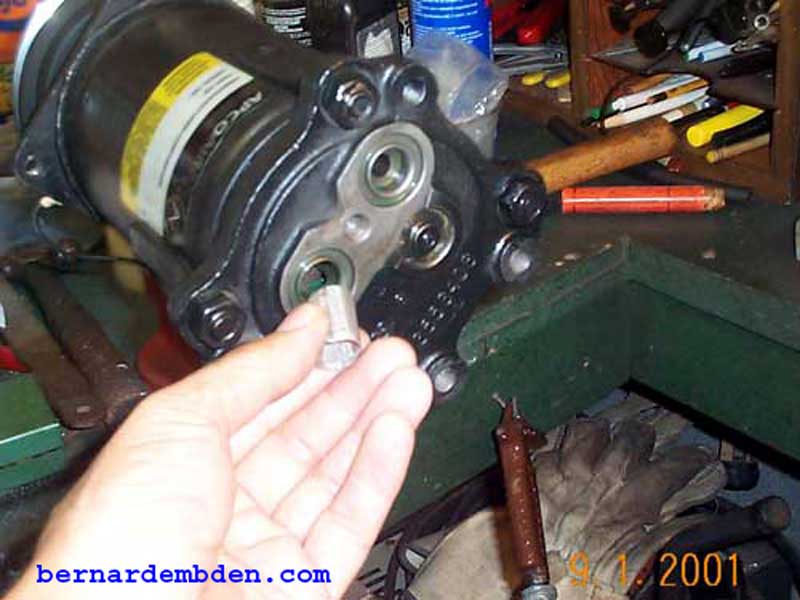
Examine filter in suction side of A/C compressor. If necessary, gently twist out to remove, clean and reinstall.
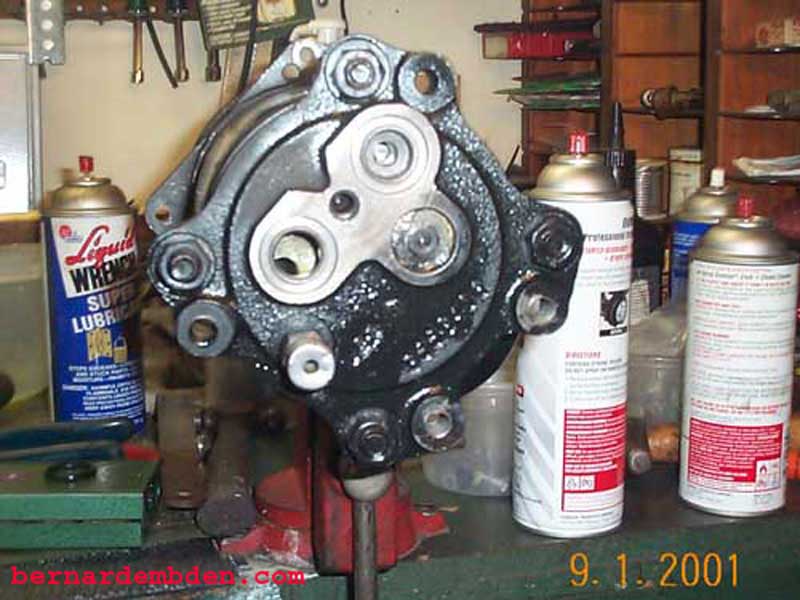
Carefully clean the "O" ring mounting locations at the rear of the compressor. This will make ensure the integrity of the compressor rear connections.
Note: This connection can be a problem. Its covered in great detail on another link of this website.
Back flush the evaporator by using compressed air and flushing agents into the low side hose. This can only be done properly if the expansion valve is removed.
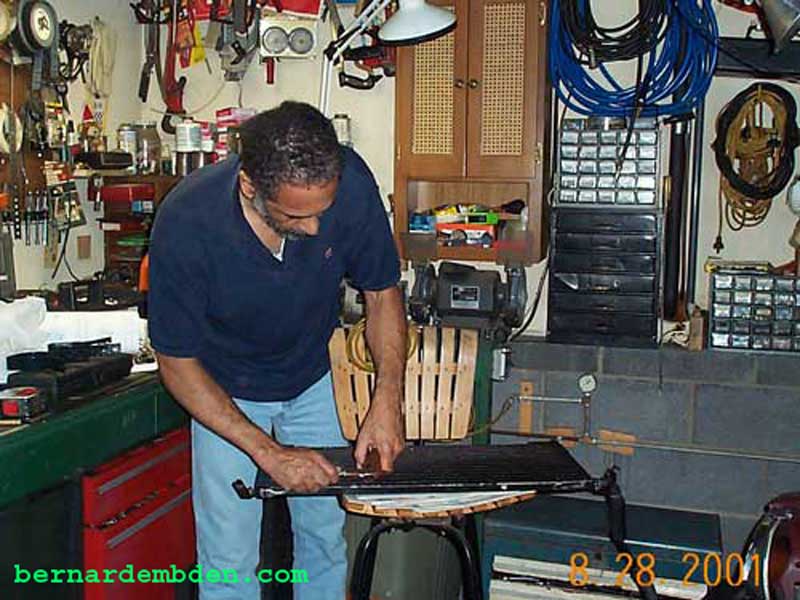
Remove condenser. Lay flat and using the same methods as the evaporator, clean and flush the condenser.
Add the correct oil. R12 oil is not compatible with R134. I flushed the system, so I needed to add a total of 10 to 12 fluid ounces of oil. If only the compressor is being replaced, drain the oil from the old compressor, measure, and then add the same amount to the new compressor. The oil capacity of each component is:
Compressor 5 fluid ounces (141 cm)
Evaporator 3 fluid ounces (85 cm)
Condenser 2 fluid ounces (51 cm)
Receiver/drier 1 fluid ounce (28 cm)
No oil should be added to the system when replacing just the A/C hoses.
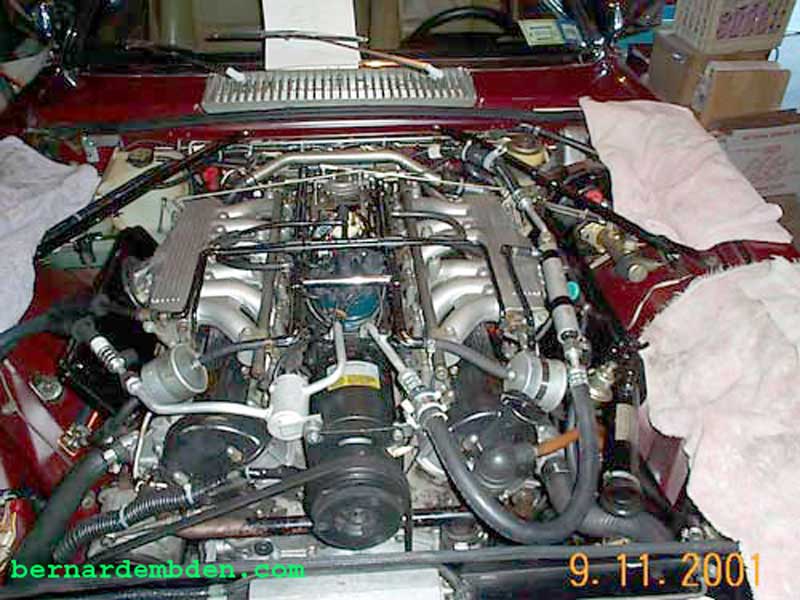
A/C system flushing complete and correct R134 compatible oil added.
The most critical factor in this conversion, is who does the evacuation and R134 charging.
I went to a small shop that had many years experience in retrofitting R12 to R134. I stayed away from the large A/C shops.
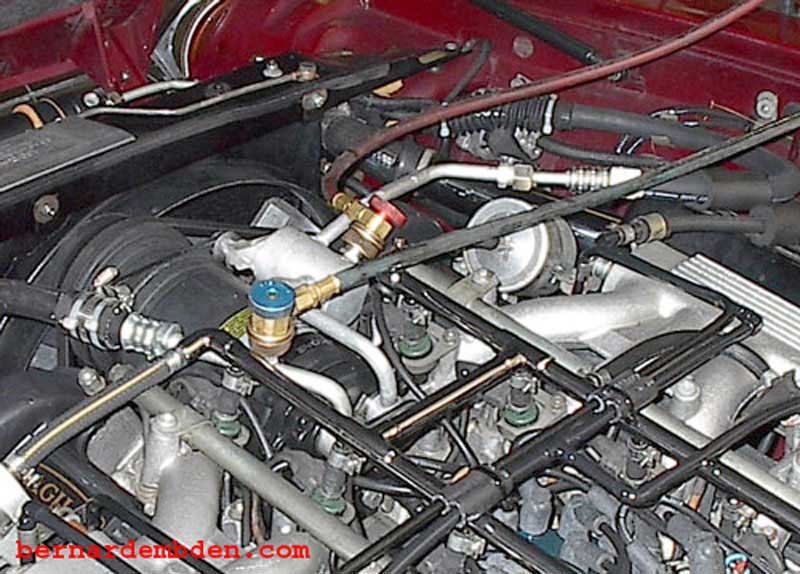
R134 adapters screwed on to the original R12 connectors.
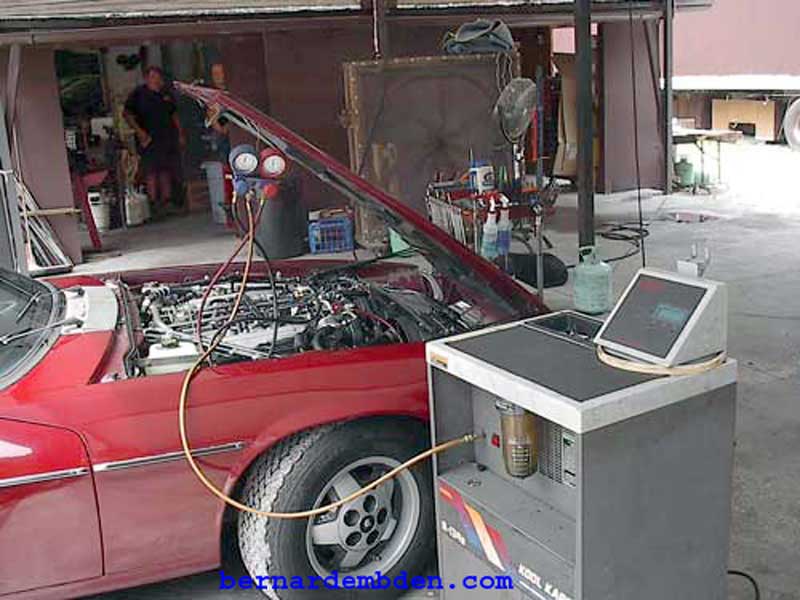
Pictured above is a Sun digital A/C evacuation and recharge station attached to my car.
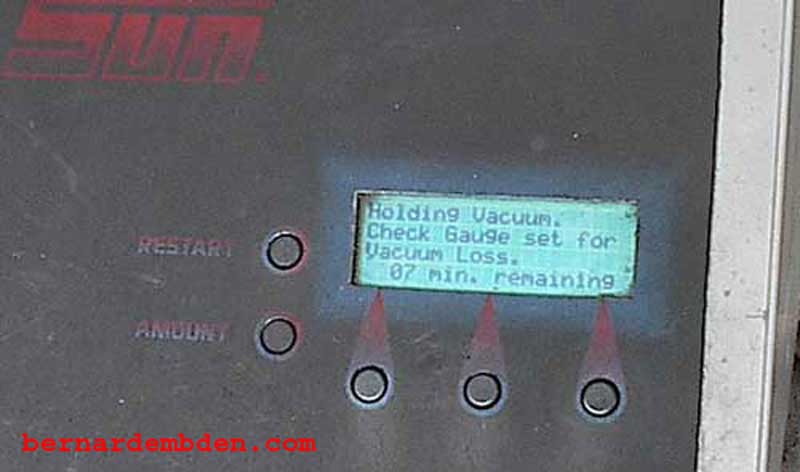
This Sun unit used a digital screen.
System should evacuate at 29 inches vacuum for 30 minutes and hold vacuum at 29 inches for at least an additional 30 minutes.
Any oil removed during the evacuation process should be replaced. R134 adapters should remain permanently on the A/C ports. In my opinion, the major problem with R134 retrofits is too much R134. Each system must be handled differently. The sight glass and original R12 charge means little. The determination of how much R134 is used is biased solely on the technician's experience and on evaporator and low side exit temperatures.
Recommended procedures are:
1) Program the R134 charging machine (A Sun digital unit is pictured) to evacuate at 29" vacuum for 30 minutes, hold vacuum for another 30 minutes, and then charge the prescribed amount. (approx 20% less than the Jaguar XJ-S recommended 2.75 lbs R12 charge)
2) A digital thermometer with a remote probe is then placed in the center vent. The thermometer is located in the engine compartment. (Alternately, the low side hose as it exits the expansion valve is monitored)
3) While viewing the digital thermometer, (or monitoring the low side hose temperature) the R134 charge is adjusted, (more or less) until the center vent temperature (or low side hose) stabilizes at its lowest point.
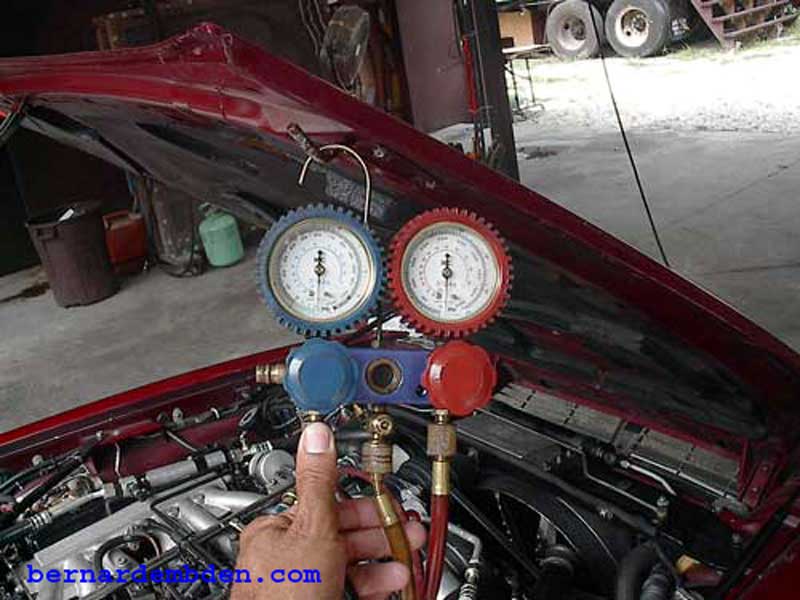
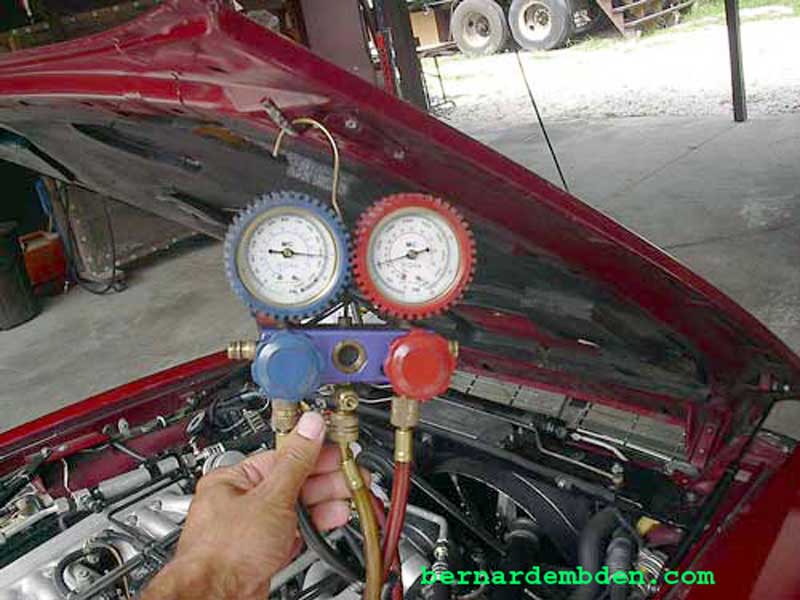
The first R134 retrofit yielded the following results:
Ambient temperature 70 degrees Fahrenheit.
Low side 22 pounds.
High side 245 pounds
Vent temperature 52 degrees
Subsequent recharge of R134 produced the following results.
Ambient temperature 93 degrees Fahrenheit.
Low side 24 pounds.
High side 245 pounds
Vent temperature 57 degrees
It's not unusual for R134, when installed in a car designed for R12, to cool slightly less than R12. However if done properly the results are well worth the effort.
