
A failed diode on my 1978 Jaguar XJ-S was causing me grief and aggravation. This failed diode resulted in 12 volts being fed back to the radiator fan relay, thus activating the fan whenever the ignition was turned on.
A member of the XJ-S list (Ed Sowell) indicated that he had a similar problem on his 1975 XJ-S and a diode was replaced. Location, "Somewhere in the right console area"
In addition, the blower fans had developed a strange habit of staying on when the switch was turned to "Off". This was also symptomatic of a failed diode.
I was determined to find this diode.
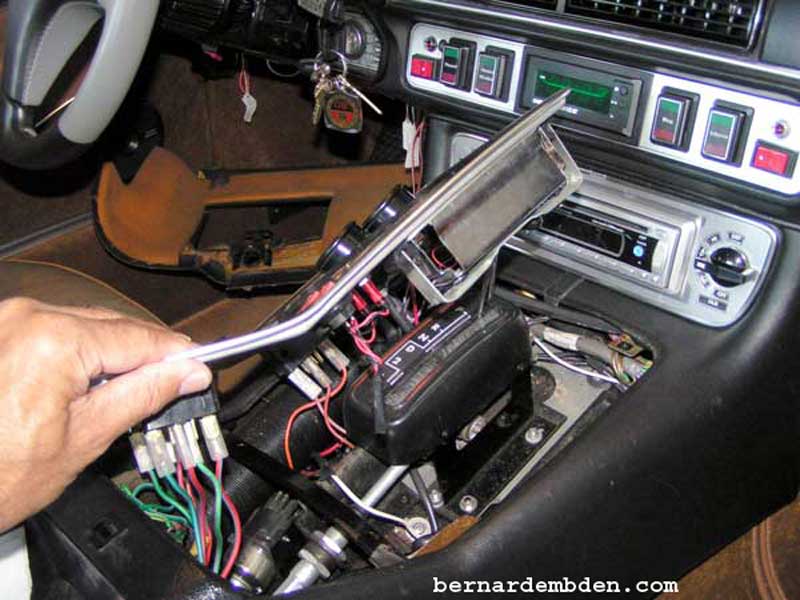
(Photograph below) Using the last known diode location for this symptom as a starting point, I started this project by removing the left under-scuttle and console. Tag and remove wires from the window and door lock switches.
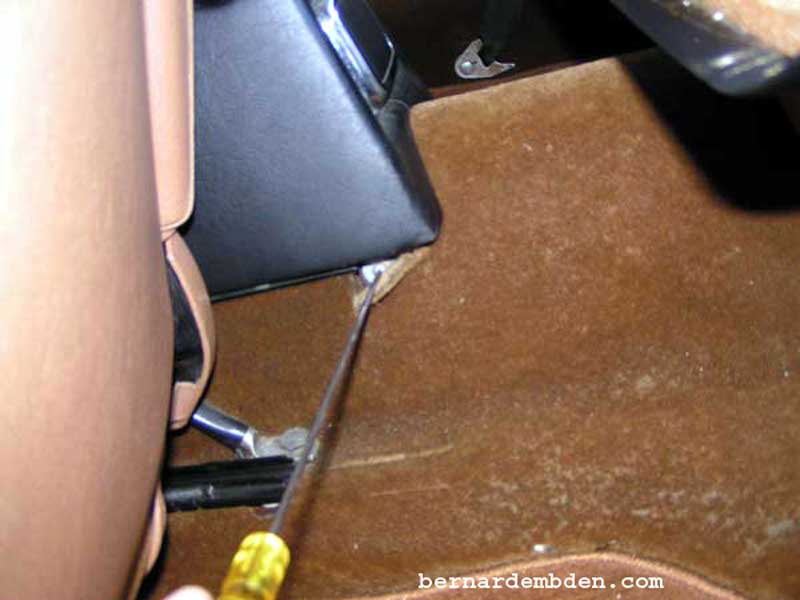
I needed access to the front console assembly. Slide the front seats all the way up. This will give me access to the rear seat area, where the two screws securing the rear of the console can be removed. (Photograph below)
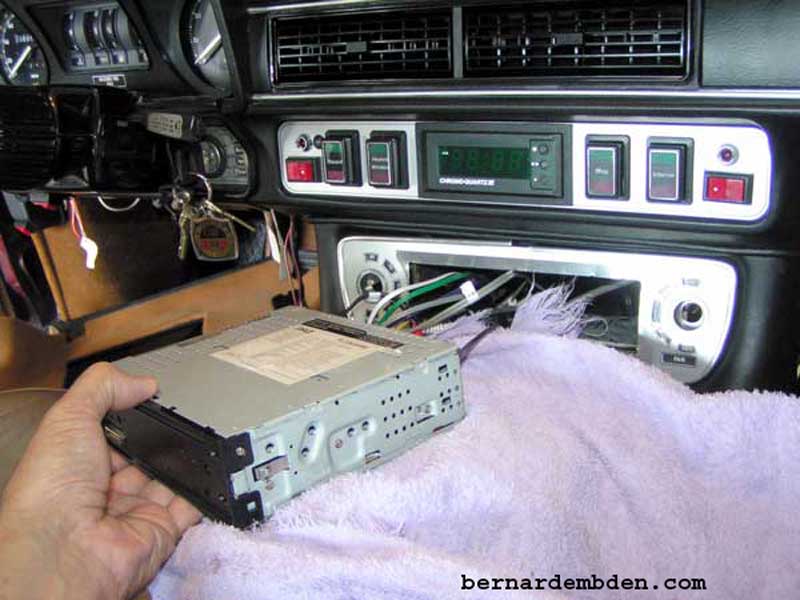
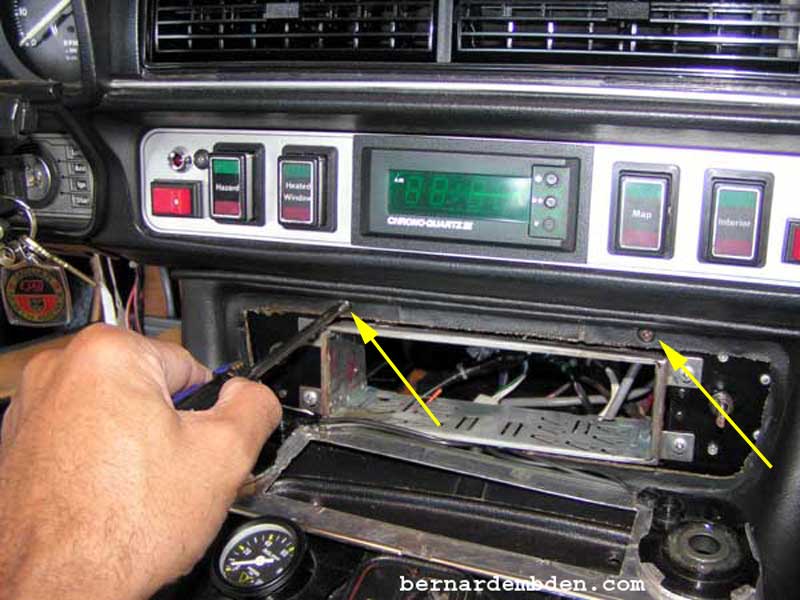
Next the radio and sleeve are removed. (photographs below). Note this is an aftermarket radio, the installation is covered on another link on this website.
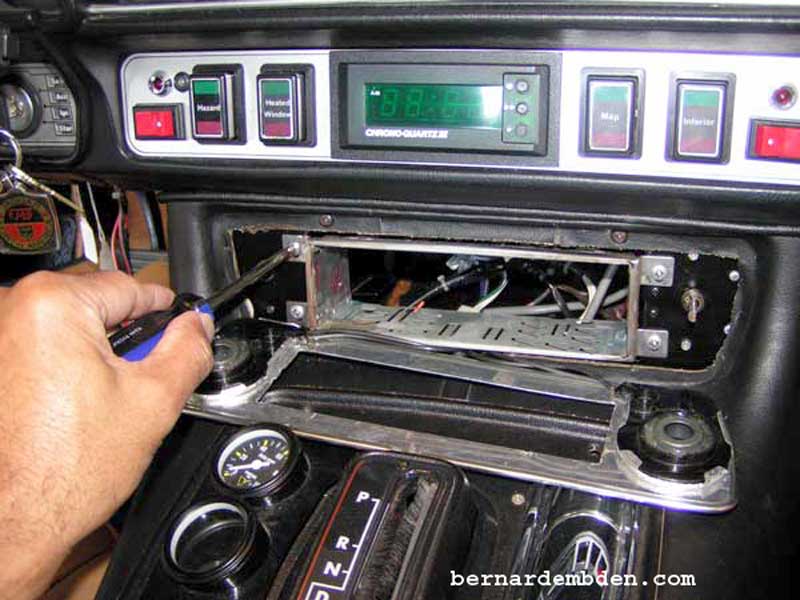
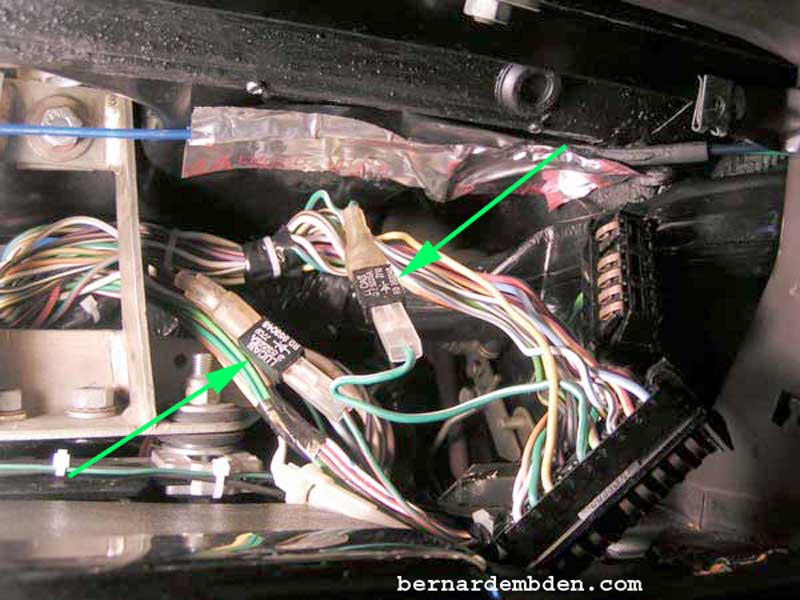
In order to remove the console assemble, the two screws that hold the front of the console are also removed. (yellow arrows photograph below)
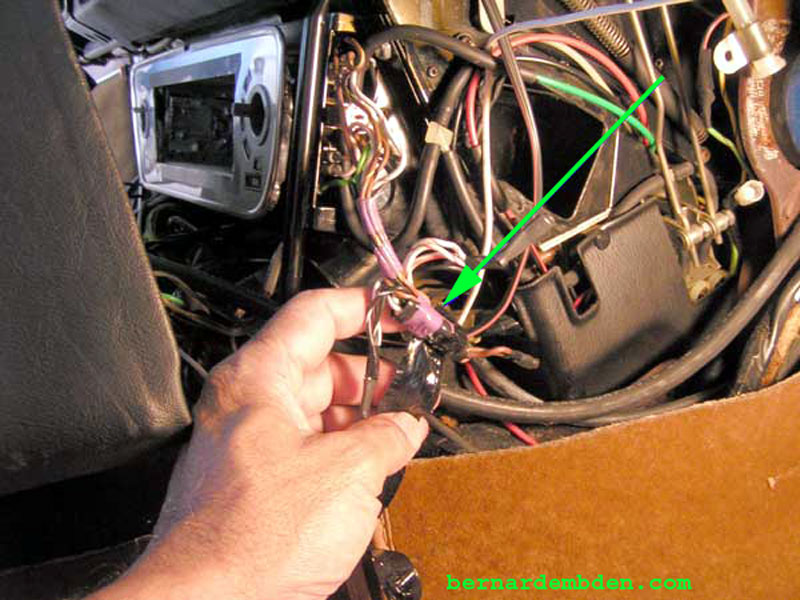
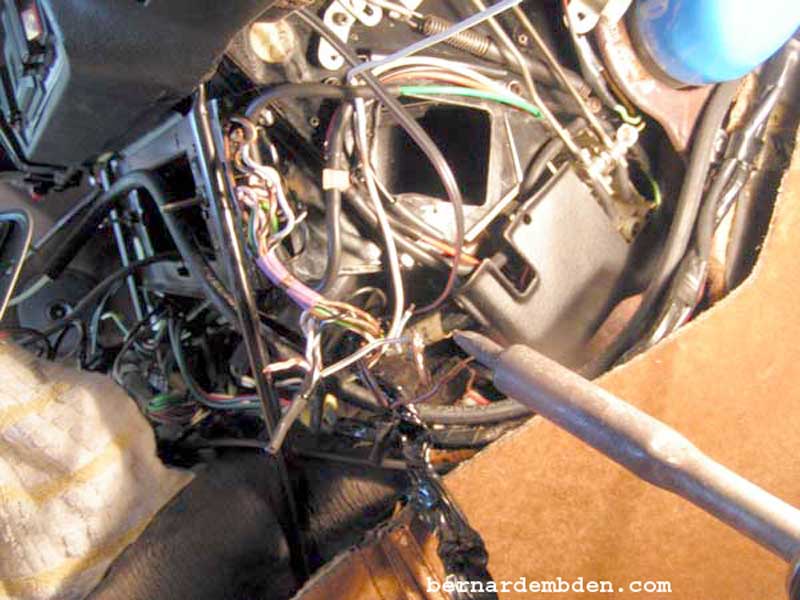
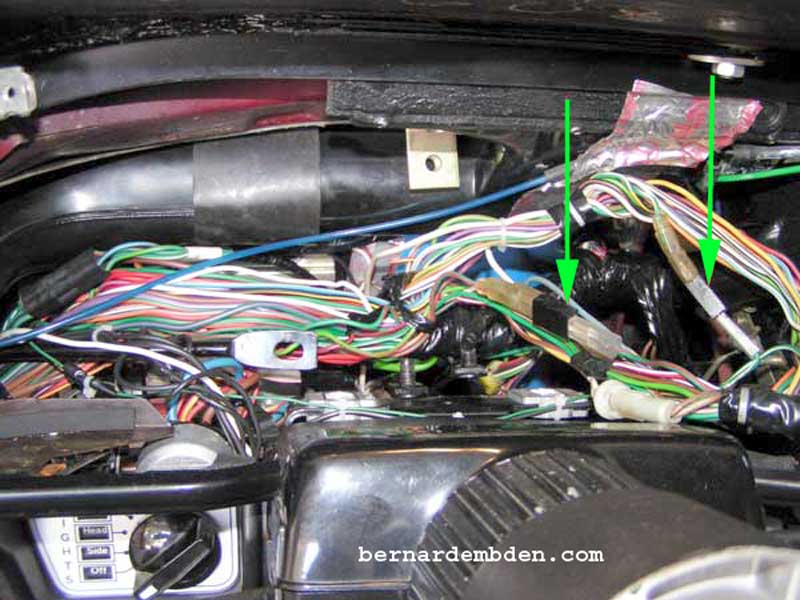
I was now in position to slide the console back towards the rear seats and start looking for the infernal diode. I removed the HCAV duct and the side panel that protects the A/C control micro switches and started to unwrap the wiring harness.
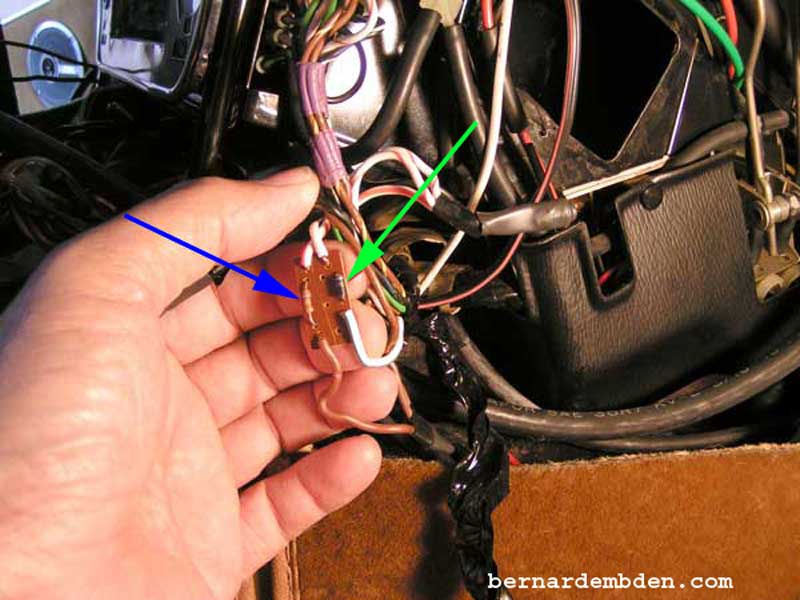
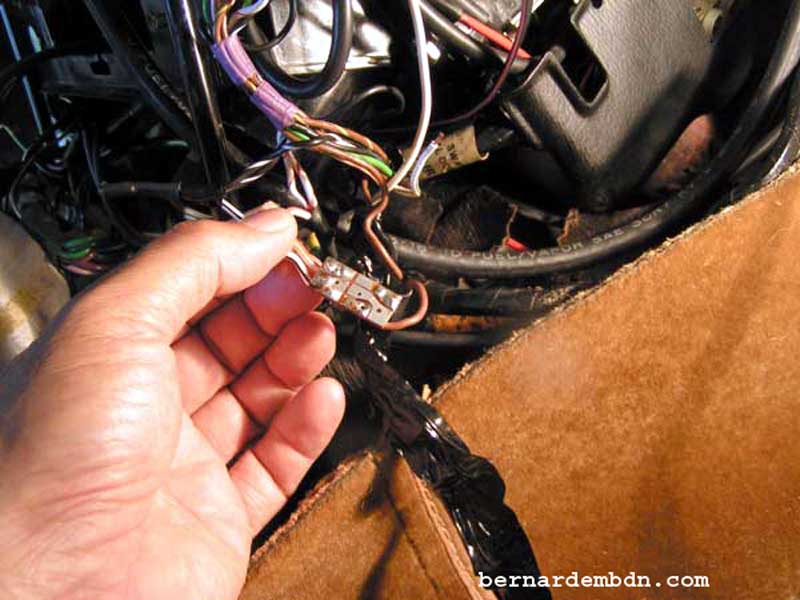
A suspicious "lump" caught my attention. I unwrapped the tape from this area. (green arrow photograph below).
Underneath the tape was something with four wires that was protected by what appeared to be a large "heat shrink".
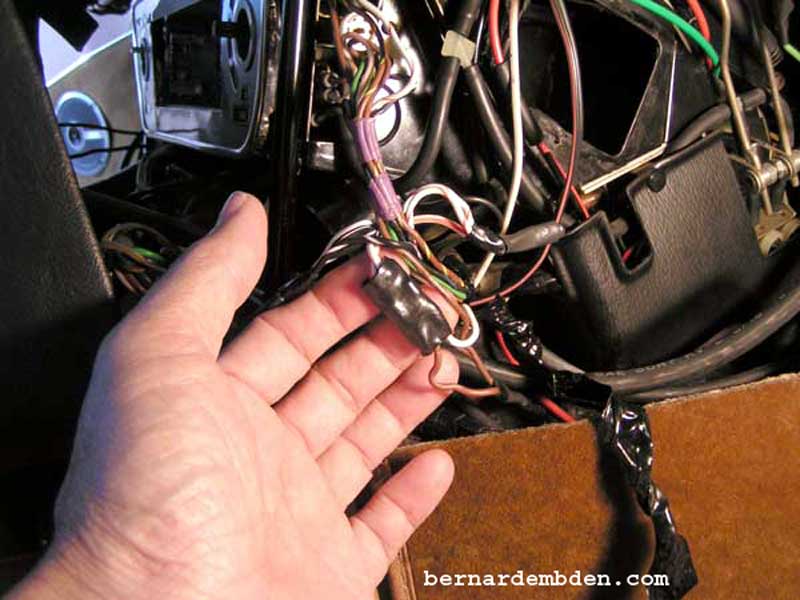
Removing the heat shrink revealed a small circuit board.
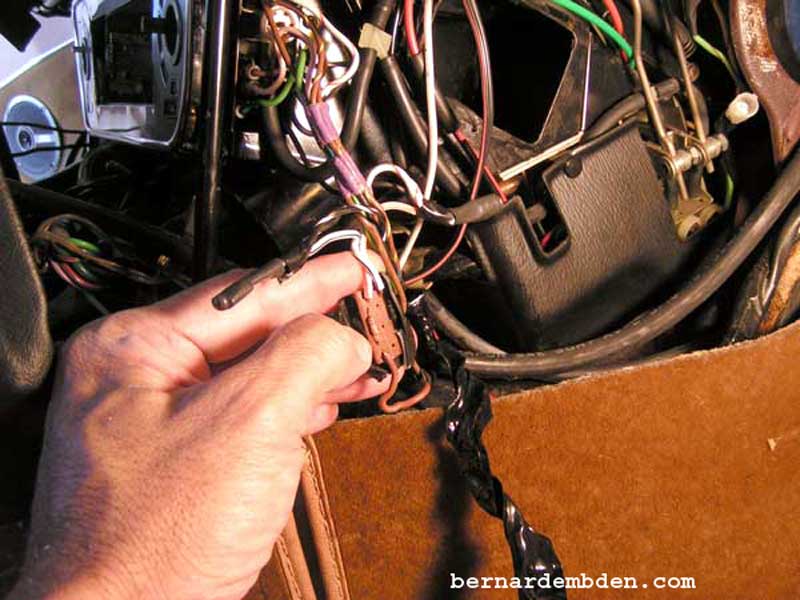
The circuit board has a small resistor (blue arrow) and diode (green arrow) each soldered to a pair of wires.
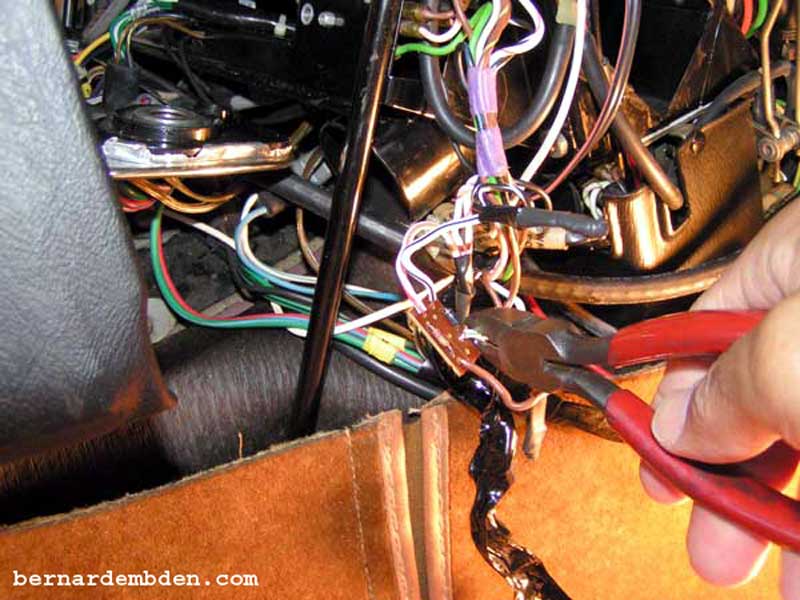
I decided to cut the wires and remove the circuit for testing.
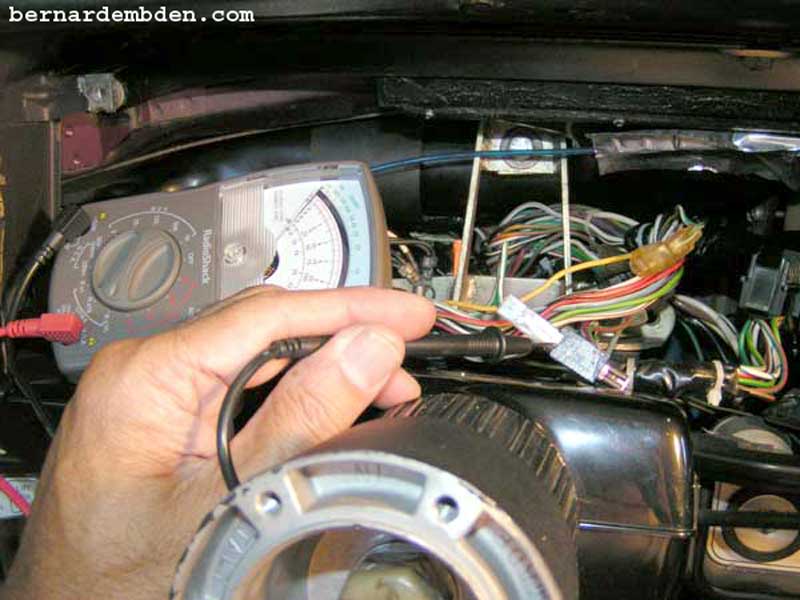
Diodes allow current flow in one direction only. An analog meter works best for this test. Power must be removed from the diode prior to testing. Set the meter to 10K OHMS and check with the meter leads across the diode leads. Reverse the leads. You should get only one reading. The photographs below indicates that this diode tested good.
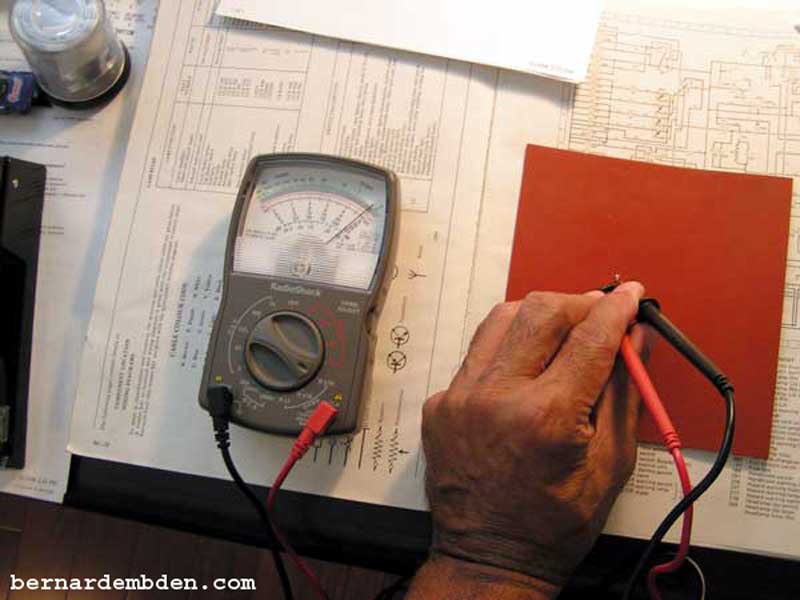
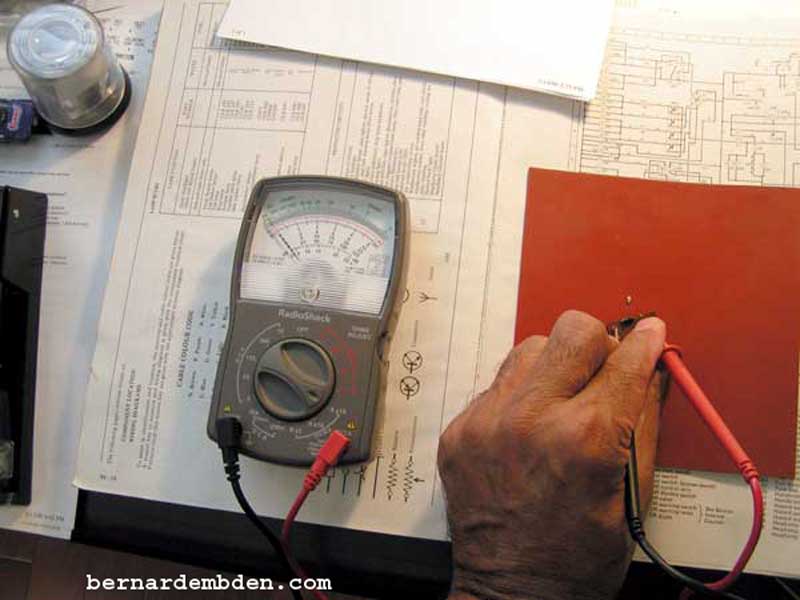
Next was the resistor. The following chart shows the colors and values of this resistor. Based on the colors the resistor should be 274K + or - 5%. The test also indicated that this resistor was within it's range. Of some concern was the fact that it was almost impossible to accurately determine the colors.

I was convinced that this circuit board was good, and re-soldered it back into the wiring harness. (Photographs below).
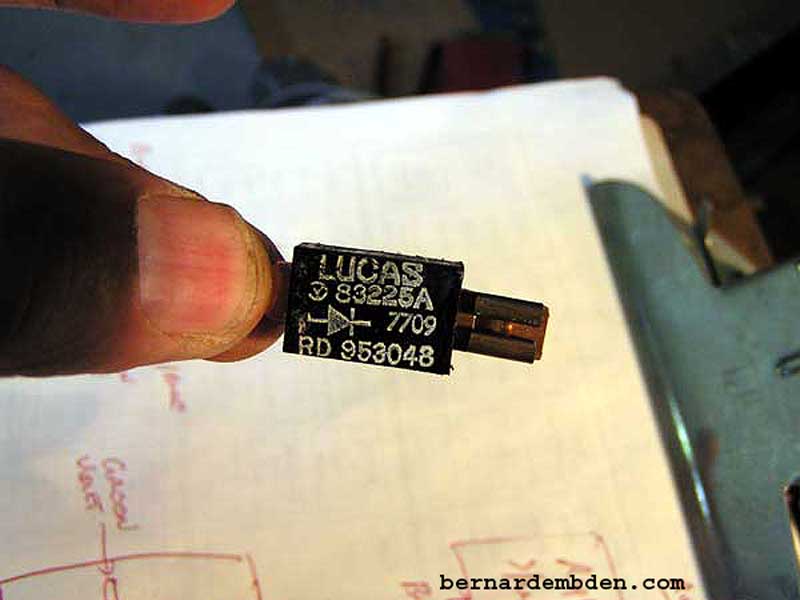
In searching the engine compartment I discovered a diode hiding (in plain sight) in the vicinity if the windshield washer canister.
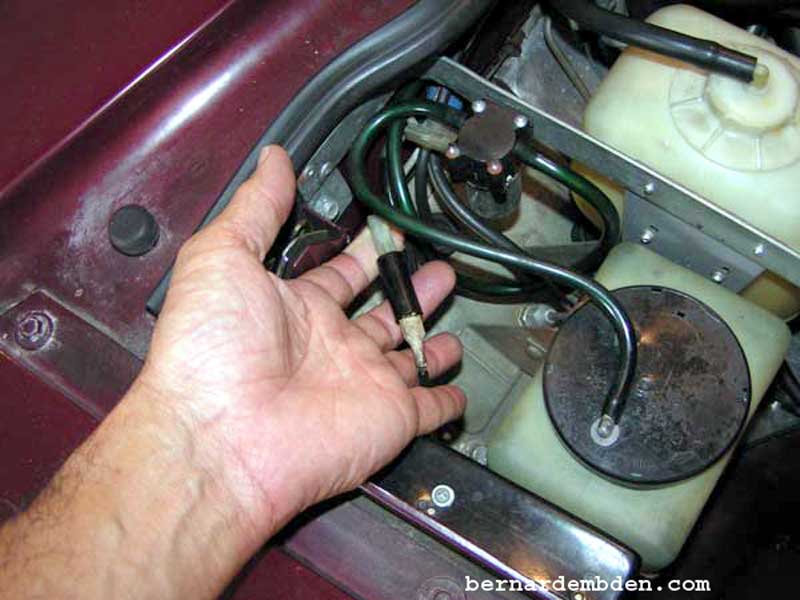
This diode (Lucas part number 83225A) was removed for testing and tested as good.
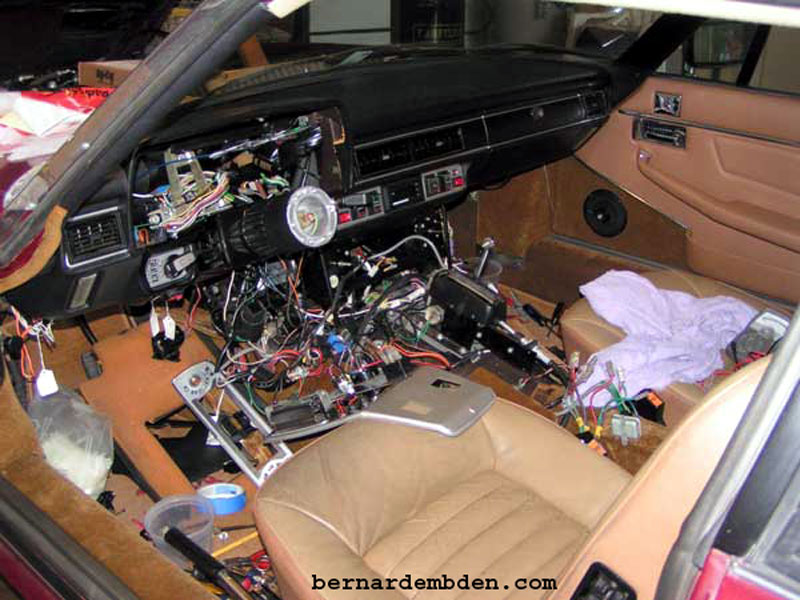
Unable to find any other diodes in the console area or engine compartment I decided to remove the steering wheel and dashboard and completely unwrap the wiring harness. (photograph below).

In the photographs below, I found two additional diodes (green arrows). The part number were identical to the diode found in the engine compartment. They were wired to the dashboard harness and were obviously not part of my current problem.
They were there, so it made sense to test them. They both tested good
I had now spent a number of days on this project. All I was able to find were three diodes and a small circuit board. All tested good. Saying that I was annoyed would be an understatement. I was getting pissed off. Drastic measures were called for. If that damm diode was there I was determined to find It.
I removed the console completely and examined every inch of the wiring harness in and under the dashboard.
No Diodes!

Back to the console area. Every wire and or wiring harness that is visible is examined.
Result. No Diodes! Nothing, Nada
In order to get the car to function normally, a solution was called for. The Fan, A/C Compressor and Blower motor would be activated manually via a set of switches and relays.
This project can be seen at the following link.
Installing Manual HVAC Switches.
There is a real need to identify these diodes and their functions. So far I have only been able to identify the following:
1) One diode in the engine compartment next to the windshield washer canister. Function unknown.
2) Two diodes behind the dashboard. One I believe is part of the ammeter light that excites the alternator. The other's function is unknown.
3) One diode, part of a circuit board with a resistor found on the left side of the console behind the kick plate next to the HVAC system. Function unknown.
I am encouraging anyone who finds a diode in the wiring harness to let me know exactly where is was found, and I will add it to this web page. A photograph of the location would be ideal. If the function of the diode is known, please include that information as well.
The goal is ambitious, but doable. Find and identify every single diode buried in the wiring harness, along with their functions.
