
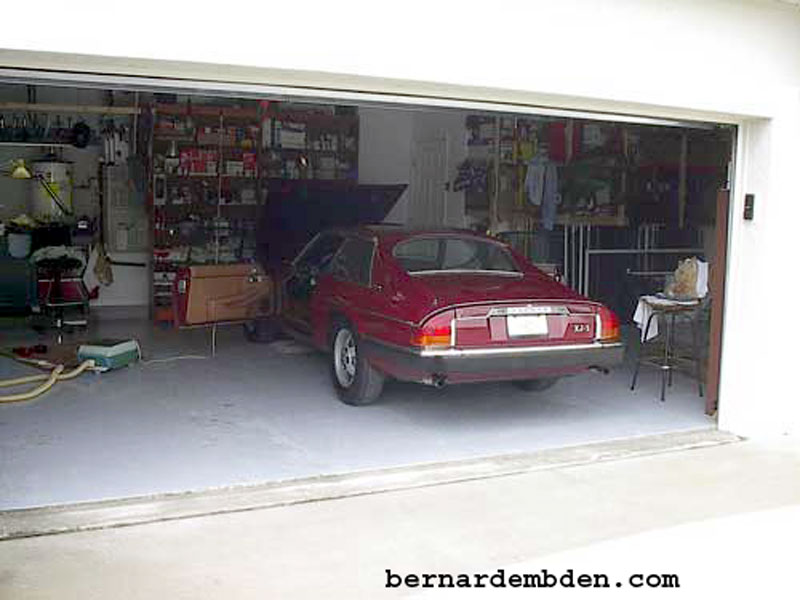
It seems 20 years or so is all the original headliner glue is designed for. (unless you live in Florida then its 20 months). My relocation to Florida undoubtedly hastened its demise. It was time to replace the headliner. The object was to remove the headliner and have a local upholstery shop replace the material.
You need room for this project, and a couple of days. Although the local upholstery shop charged the same if they removed the headliner, I strongly recommend that you remove the headliner. These shops have a nasty habit of breaking stuff.
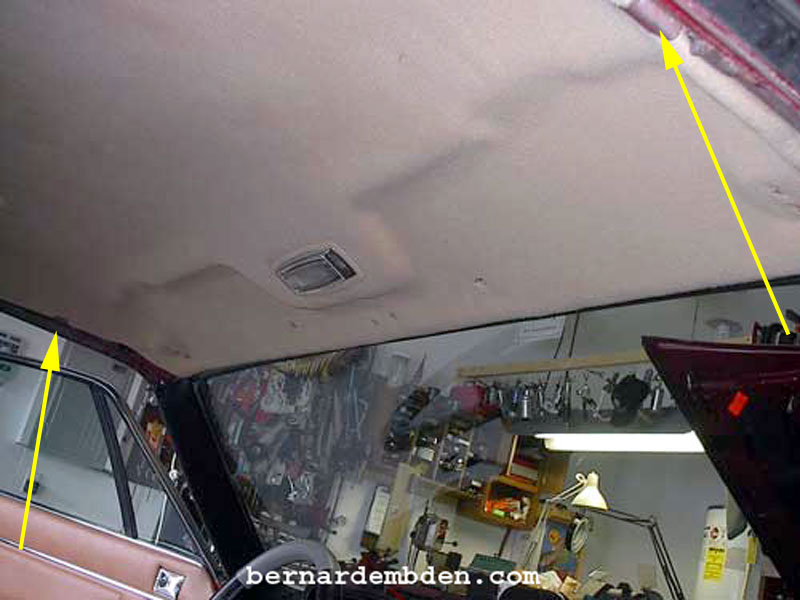
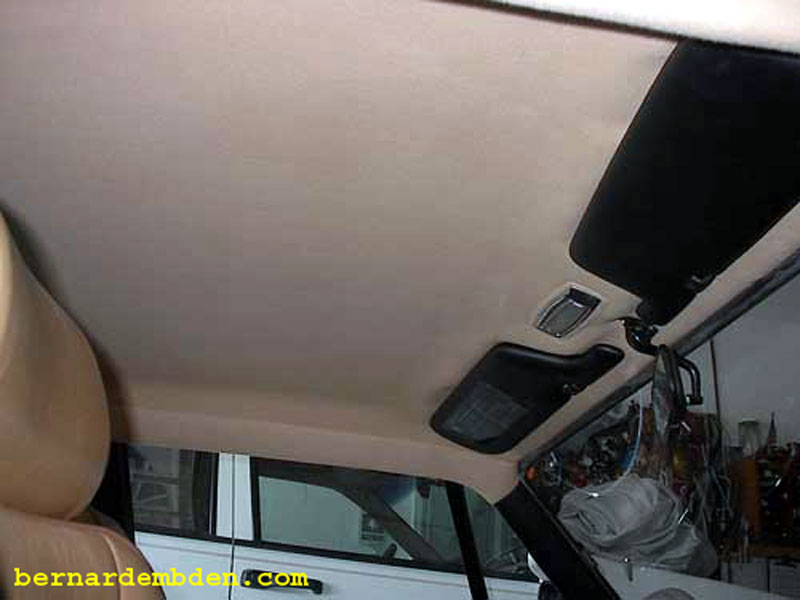
Disconnect battery. Remove the rear seats and quarter panels first. You can leave the rear parcel shelf in (yellow arrow photograph below). Remove wires from rear light assemblies.
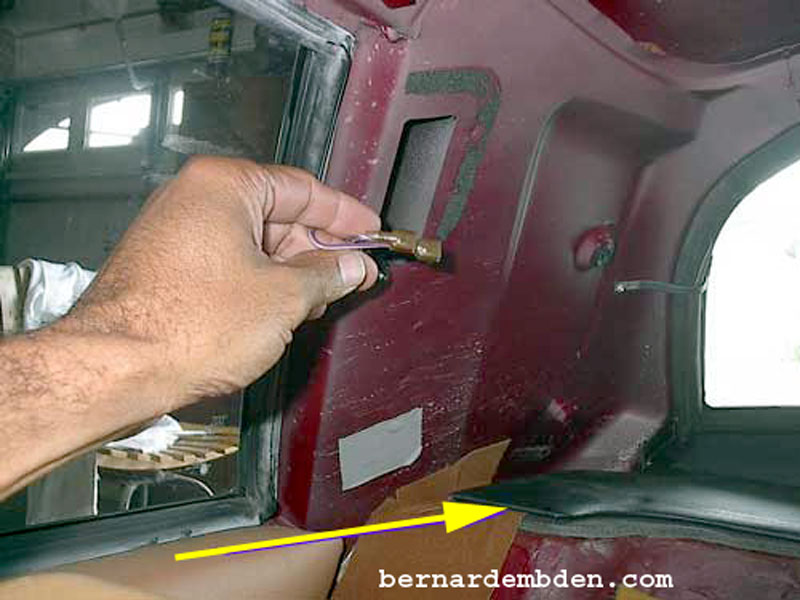
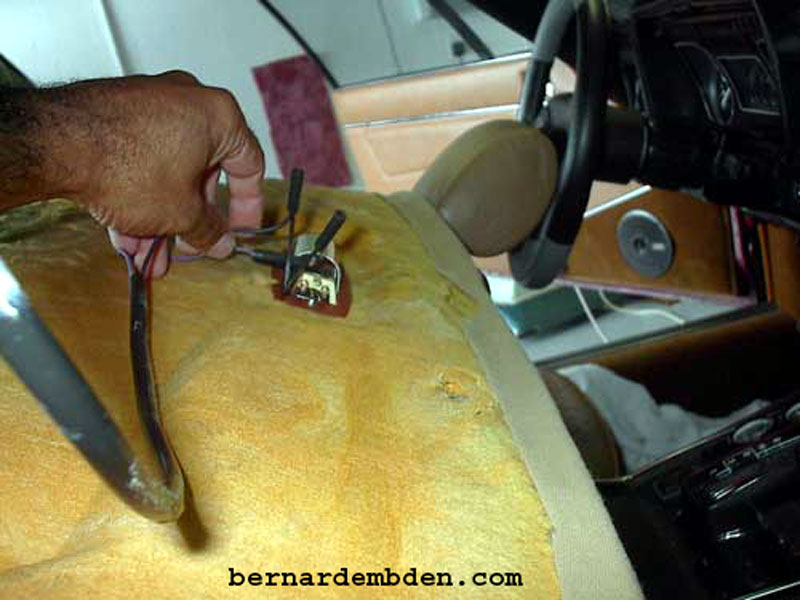
Note: In photograph below, the partially hanging tape held electrical wires for dome light. Once the all the screws have been removed from the rear and dome light, visors and rear view mirror. etc. the headliner can then be removed by :
1) Open both doors as wide as possible.
2) Move the front seats back and recline them as close to horizontal as possible.
3) Take care to maneuver the headliner out of the car.
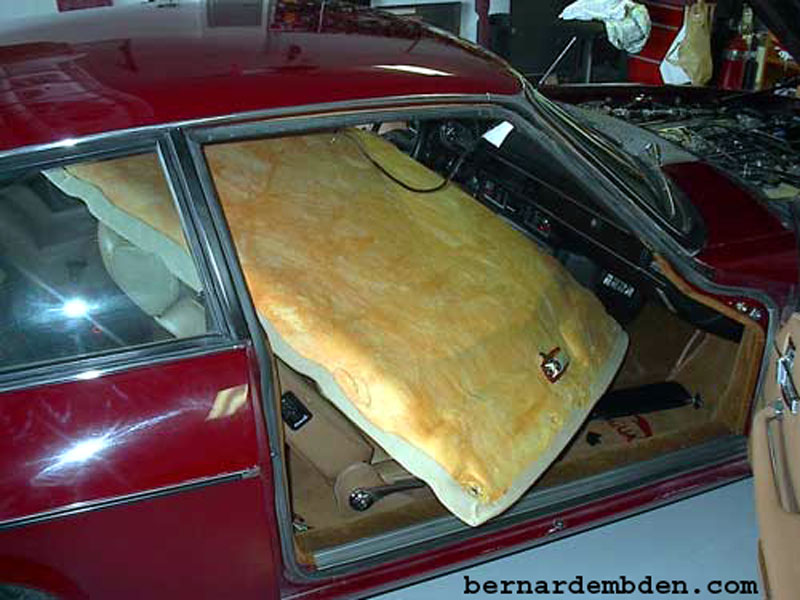
At the upholstery shop, the technician removed the old headliner material and inspected the headliner "shell". It does not have to be perfect, but obvious defects should be repaired. The condition of the shell determines, to a large extent, the quality of the finished product. Photograph below is the shell at the local upholstery shop.
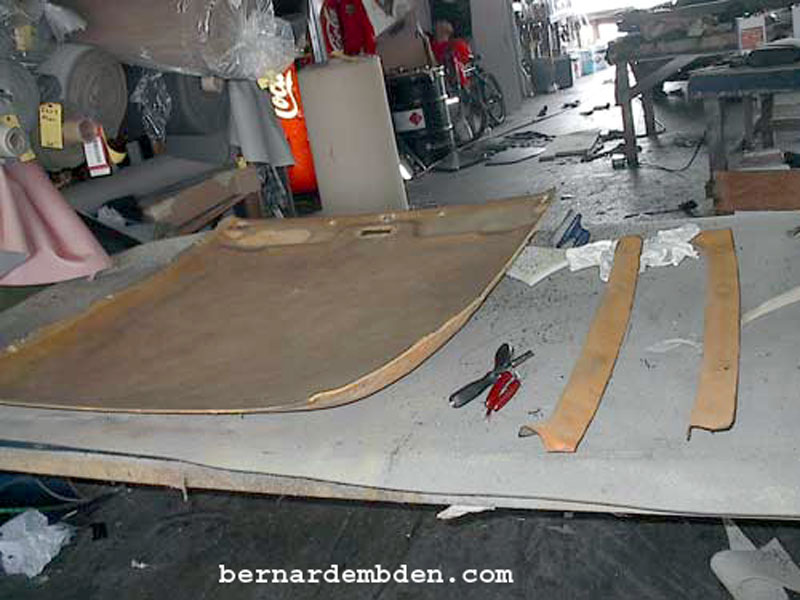
Once the shell is deemed ready, the material is measured and cut.
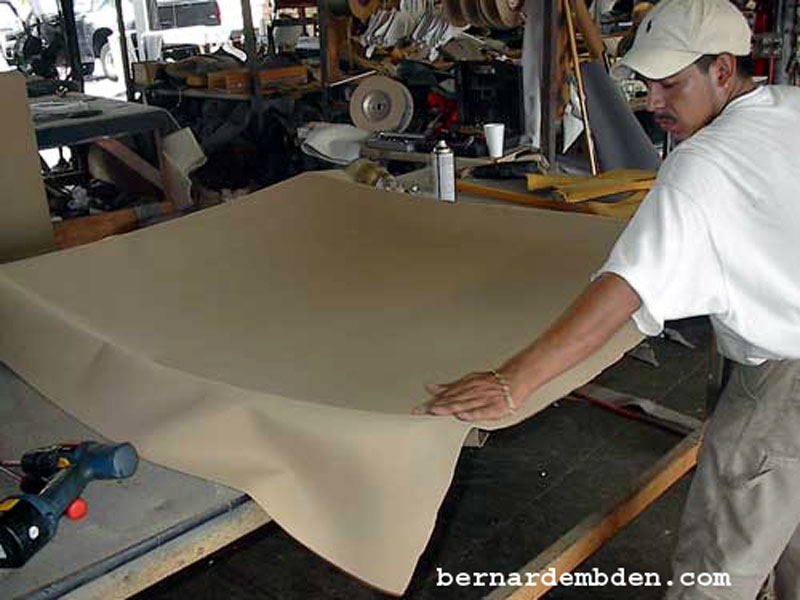
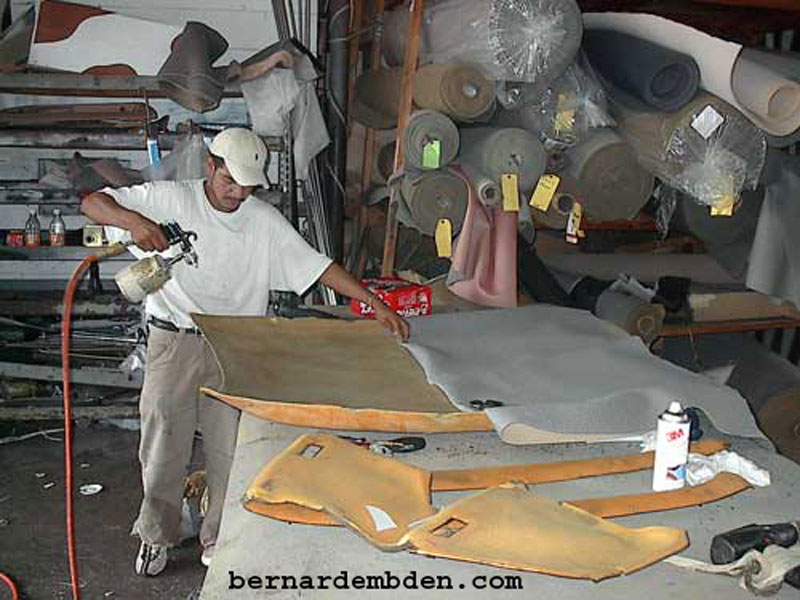
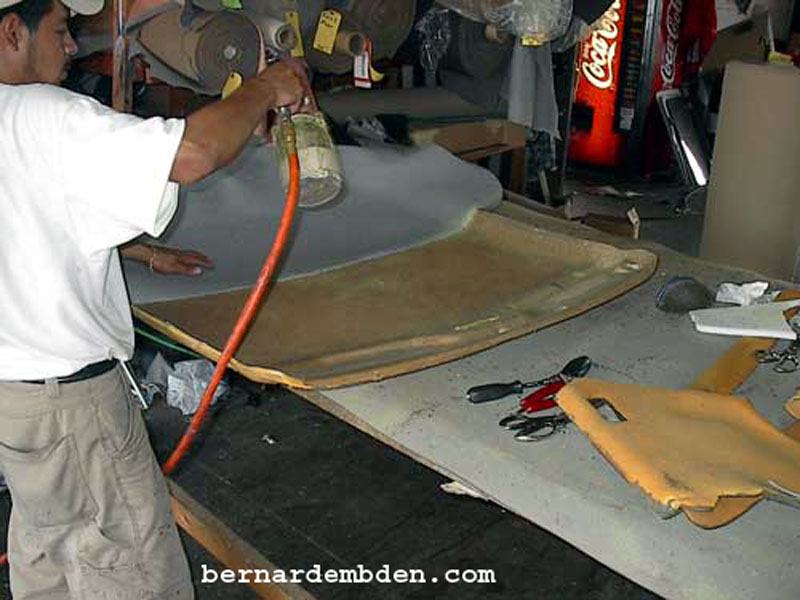
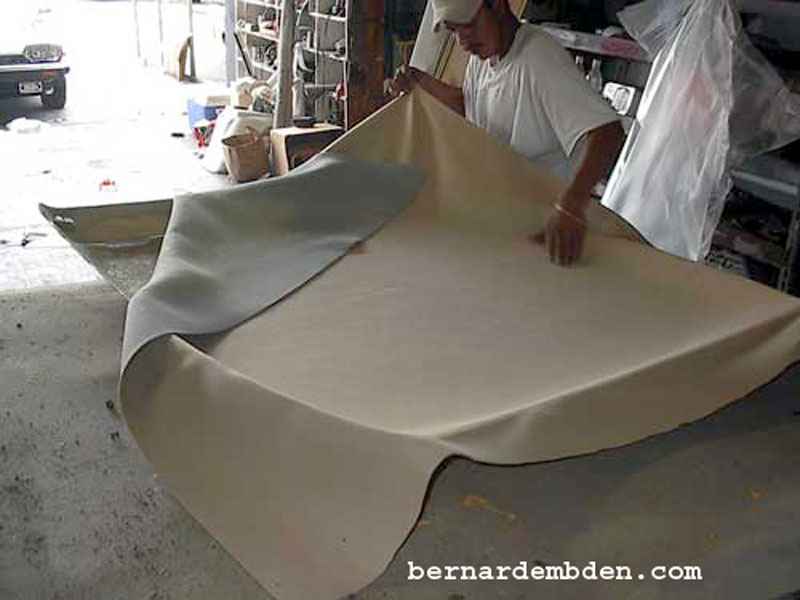
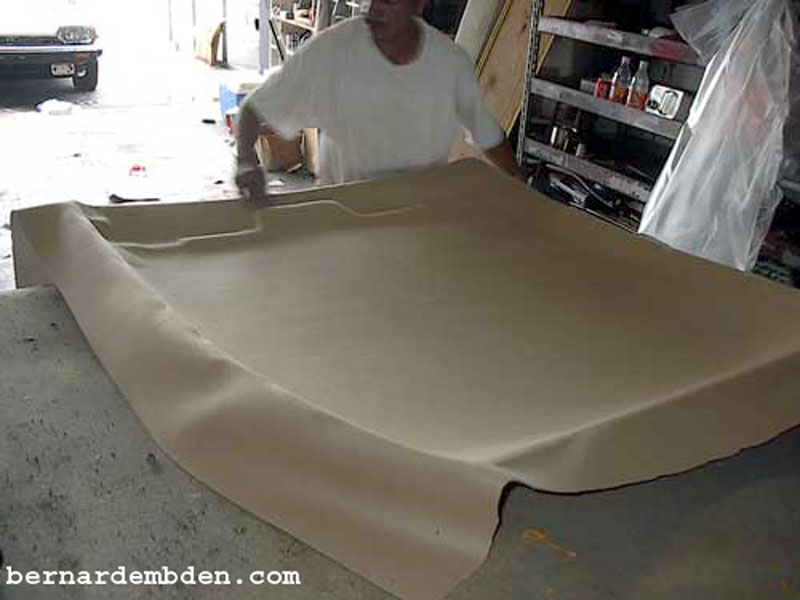
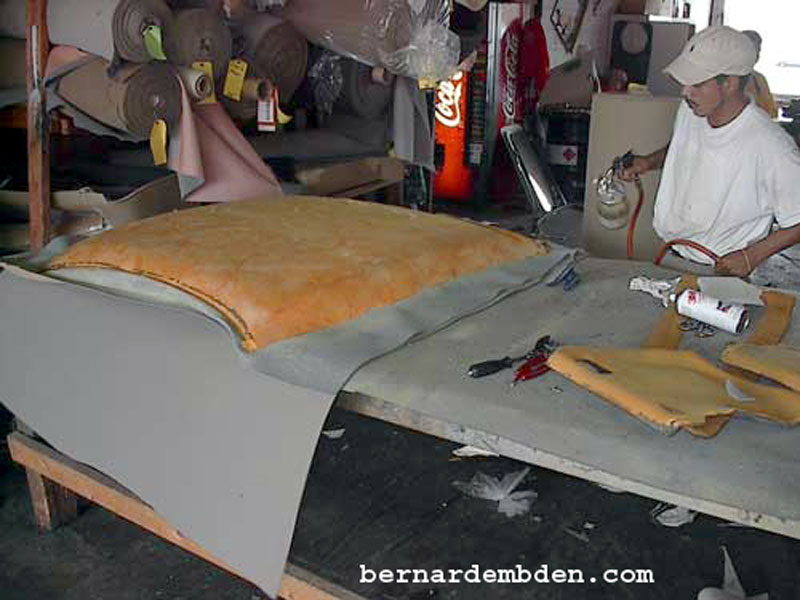
Glue is sprayed on both the headliner material and the shell. Working by "halves" the material is glued to the shell in a series of steps as documented by the photographs below.
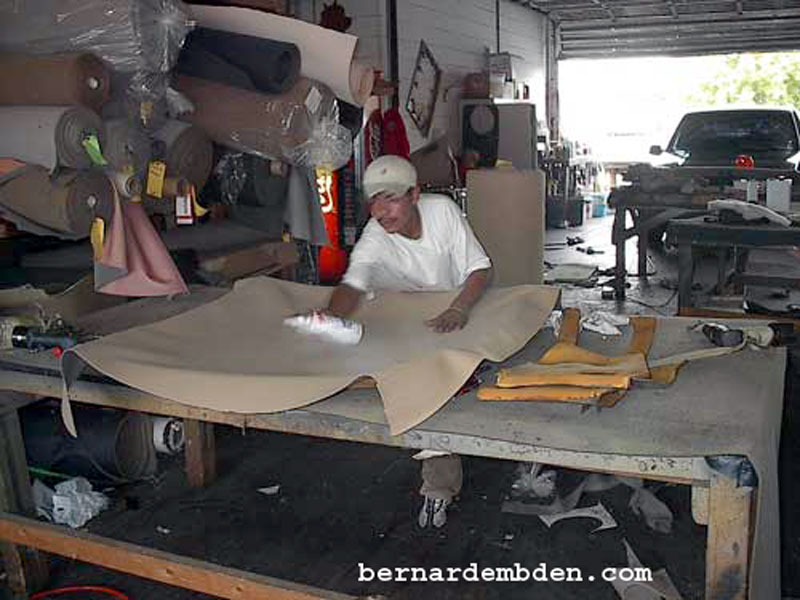
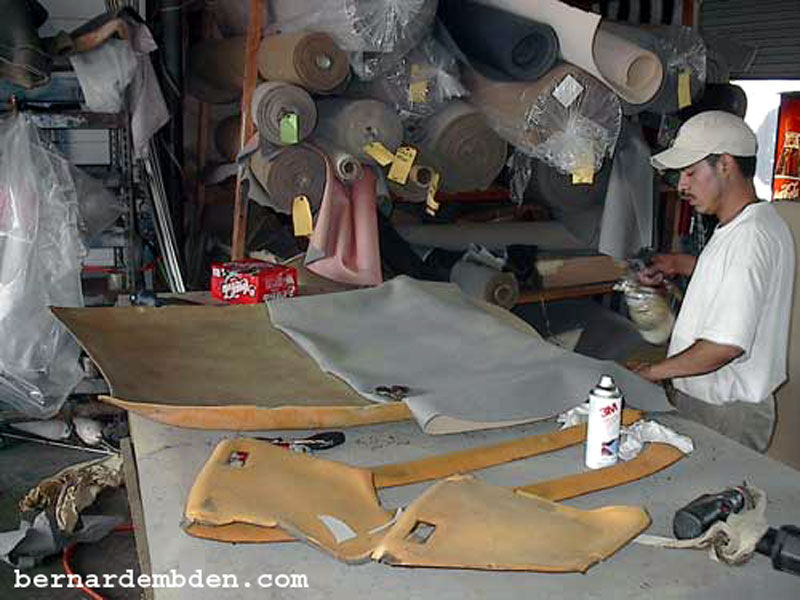
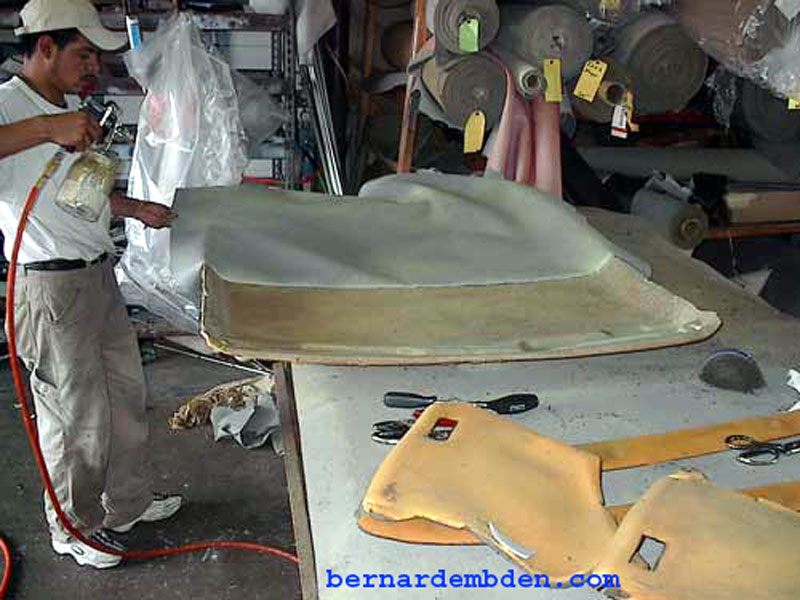
The shell is turned upside down to clue the new material to the sides.
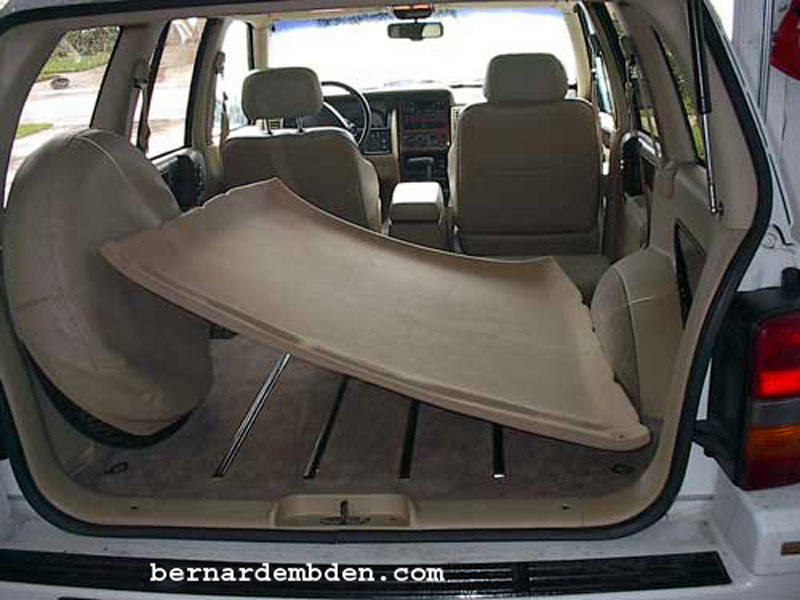
You need something to transport the liner to and from the upholstery shop. It just about fits in the rear of my Jeep Grand Cherokee V-8.
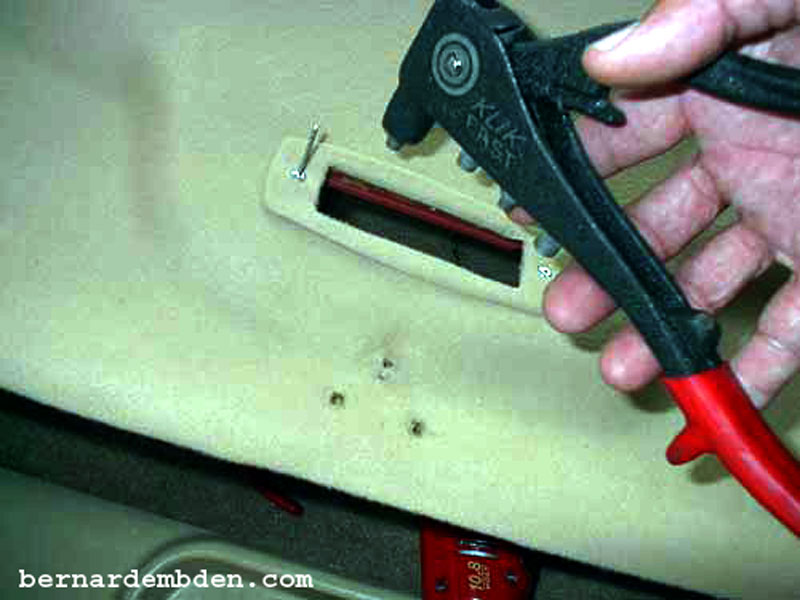
Prior to installing the headliner, pop rivet the surround for the dome light.
This is not an ideal one-man job, however it can be done. Lower both front seat backs and maneuver the shell into the car as outliner earlier.
Install the dome light and connect the wires.
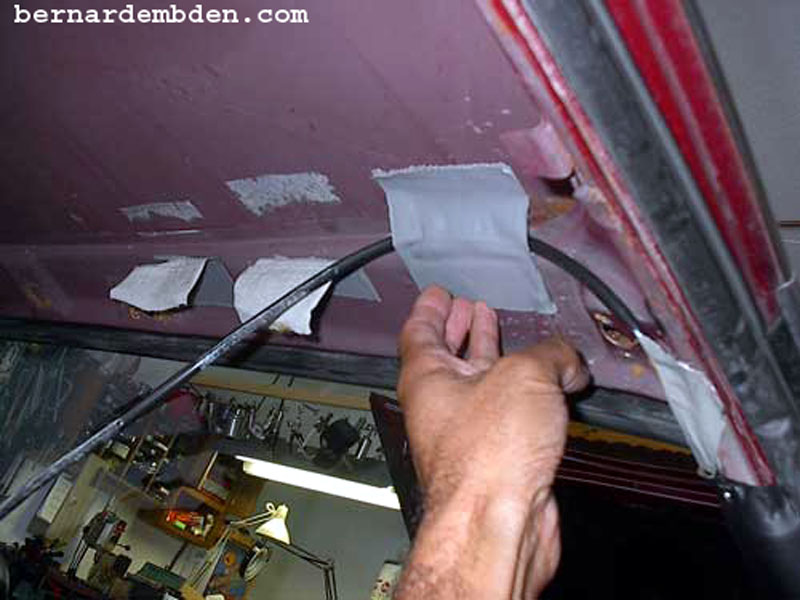
While supporting the shell, re-tape the dome light wire to the roof using the existing tape.
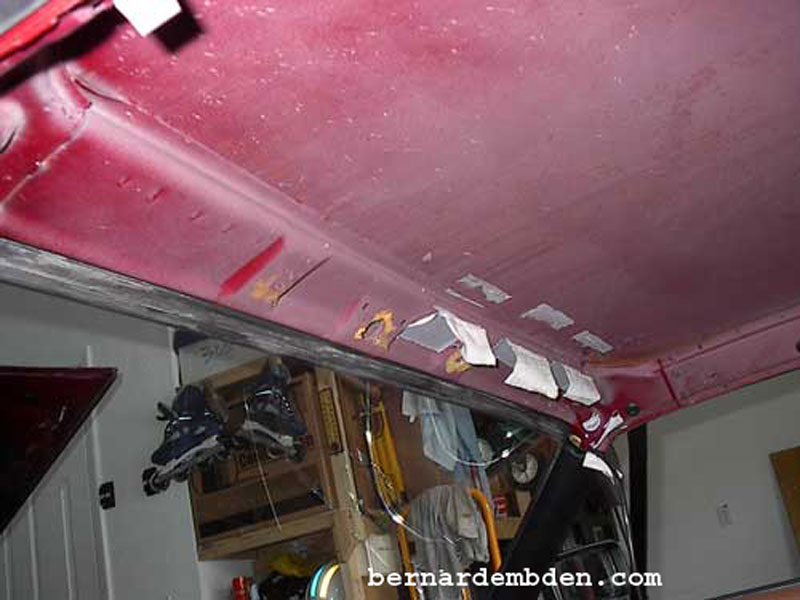
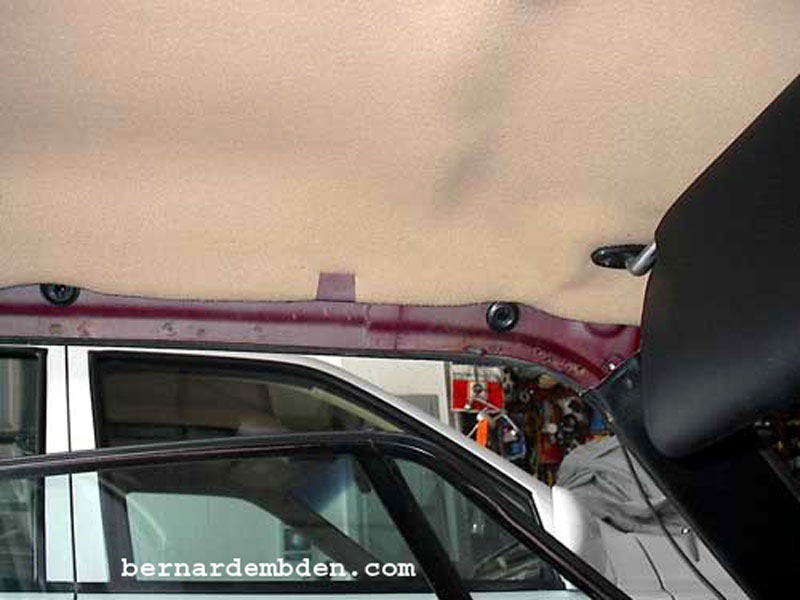
Maneuver one side of the shell into the metal "tabs" that support the shell. Position shell and bend all supporting tabs. (yellow arrows photograph below).
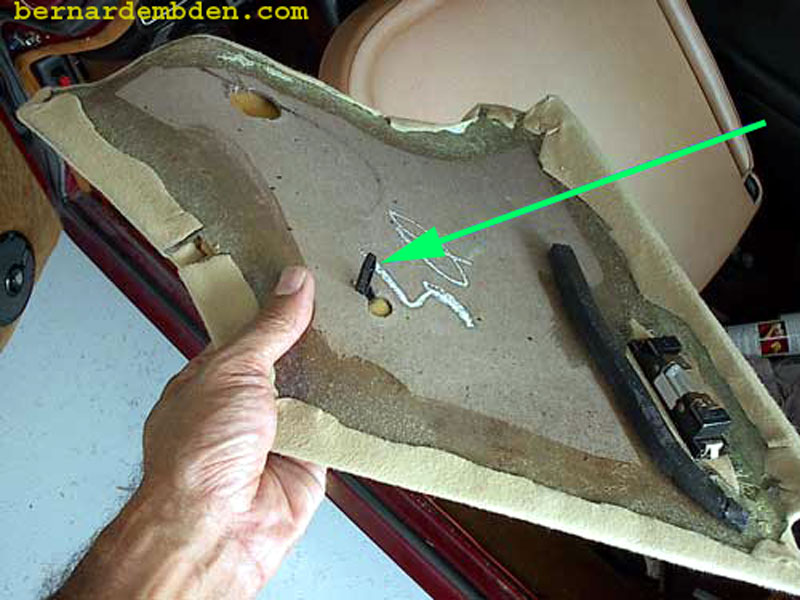
Install rear quarter panels. Line up plastic mounting plug (green arrow photograph below) to corresponding female connection in car.
Install sun visors and rear view mirror. If necessary, use a dowel (or pick) to find the screw holes.
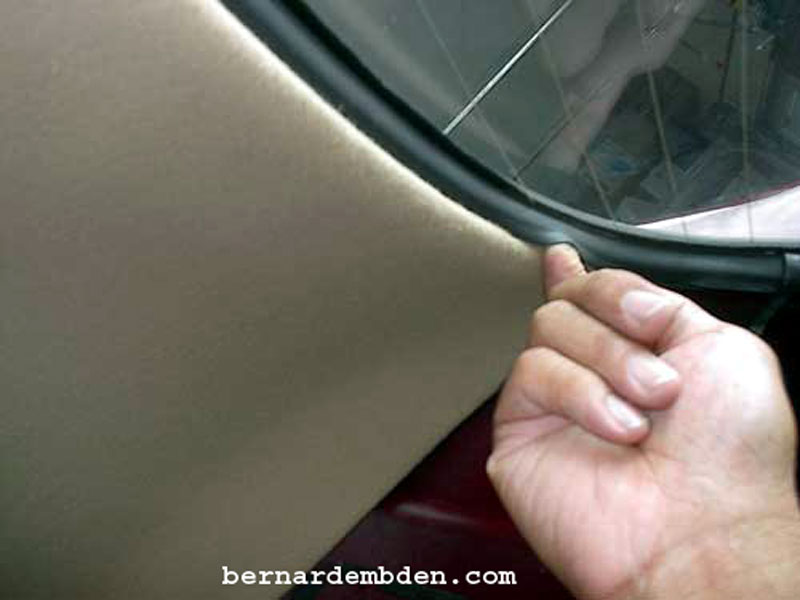
The headliner shell must fit inside the rear window rubber seal. Using your finger or a screwdriver, position the shell behind the rubber seal.
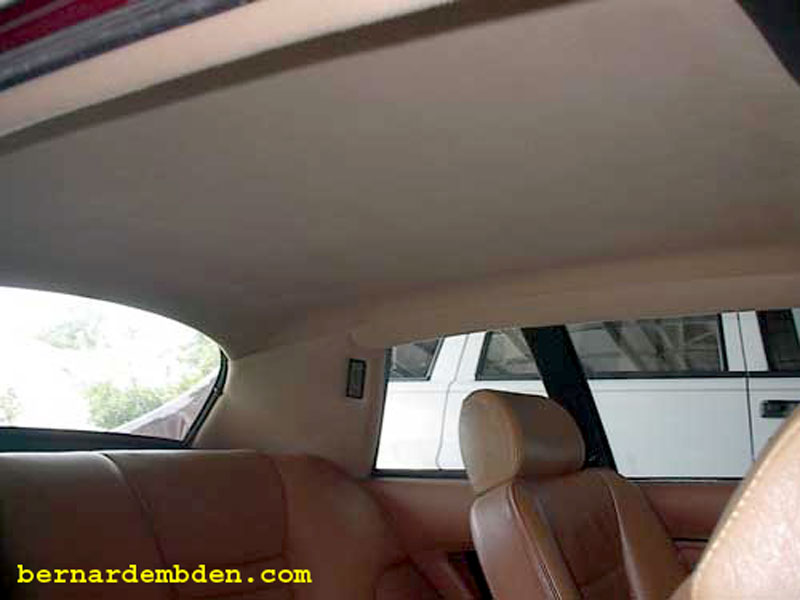
Align plastic mounting plugs (yellow arrows photograph below) and install side moldings.

Headliner replacement complete.
This project can be difficult; however with some care you can get satisfactory results. Total cost, $200.00 US dollars.
