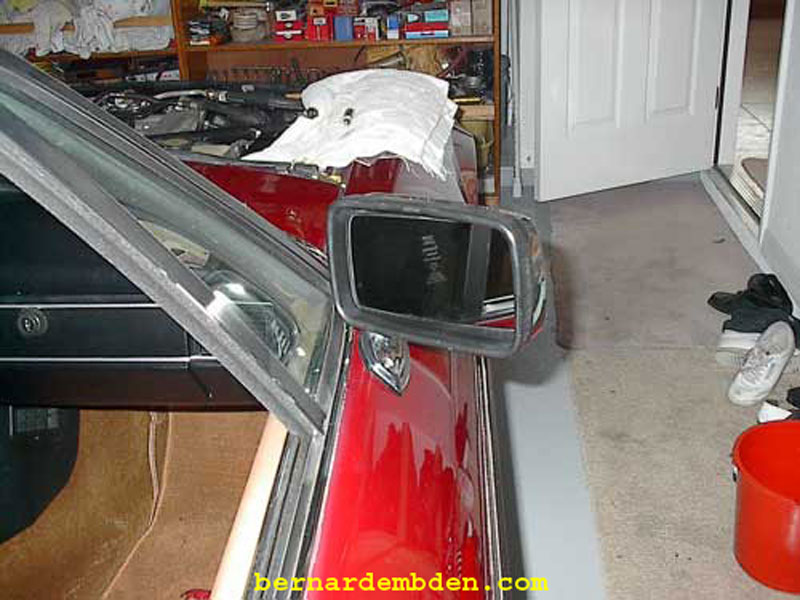
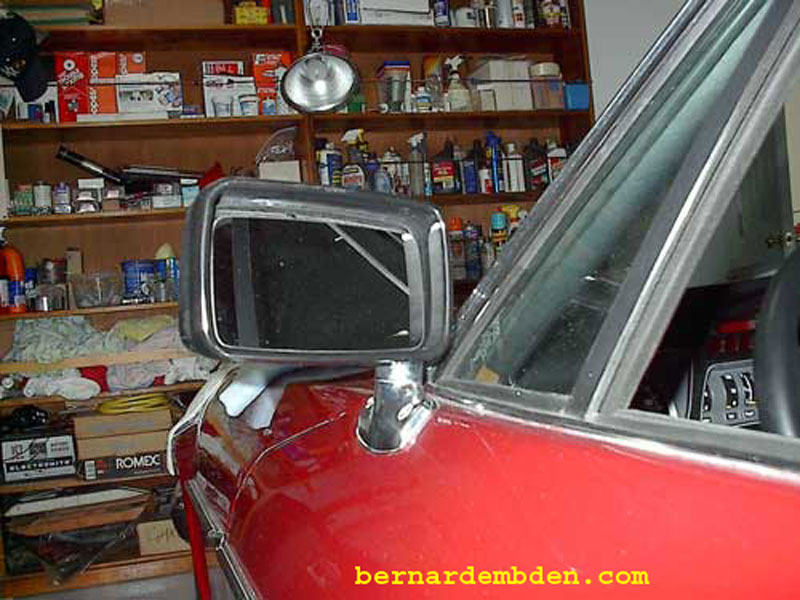
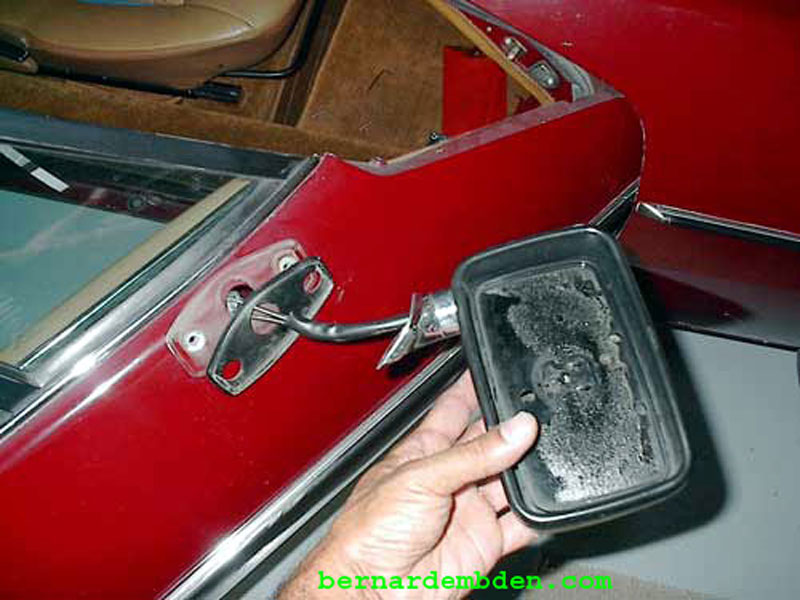
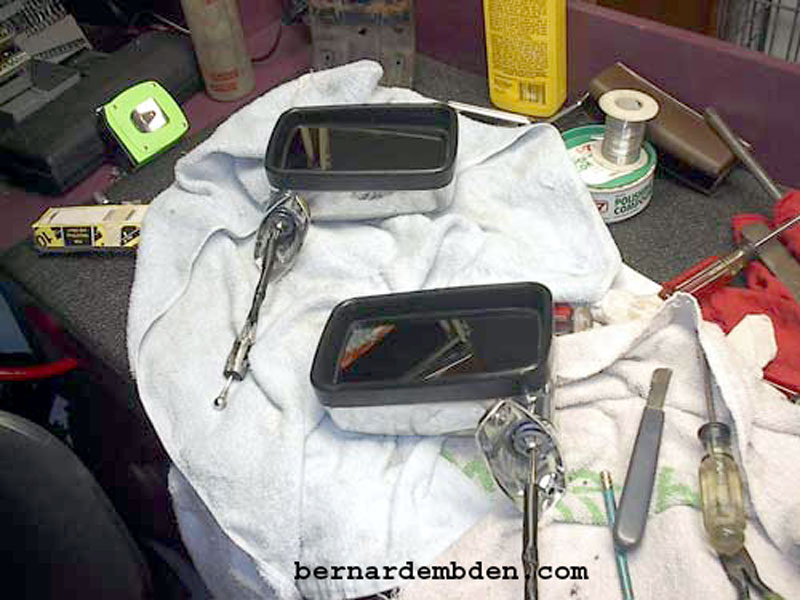
The glue that held the outside rear-view mirrors, after 25 years, succumbed to age. The driver's mirror had slipped down and was being held in place by the mirror housing. The passenger side mirror was completely off the backing. (photographs below).
Be prepared to spend two days on this repair project.
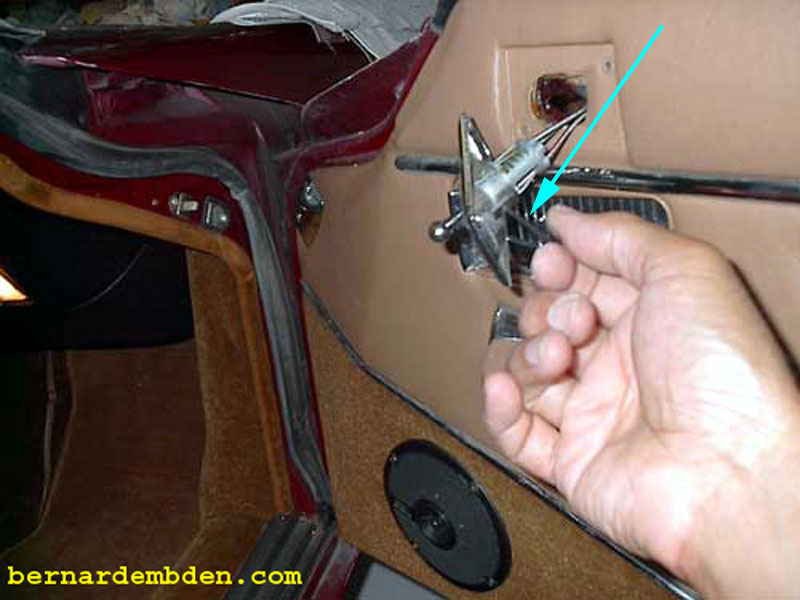
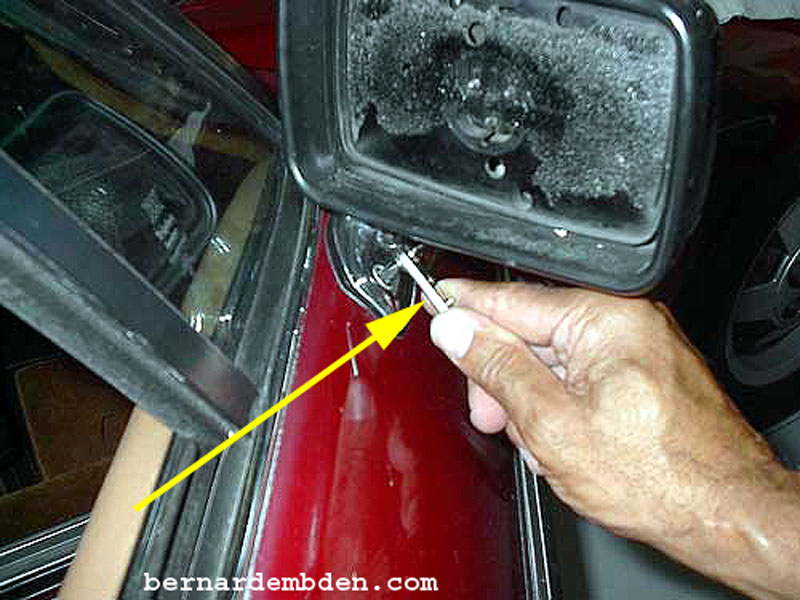
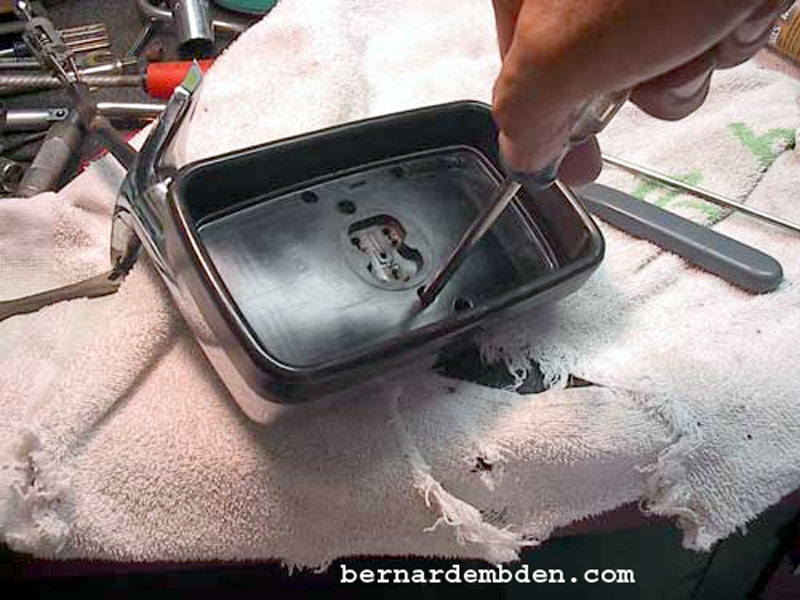
In order to permanently fix this problem, I recommend that the mirrors be removed. First, remove the inside bezel, and using an Allen wrench, (blue arrow photograph below) remove the bezel from the cable control unit.
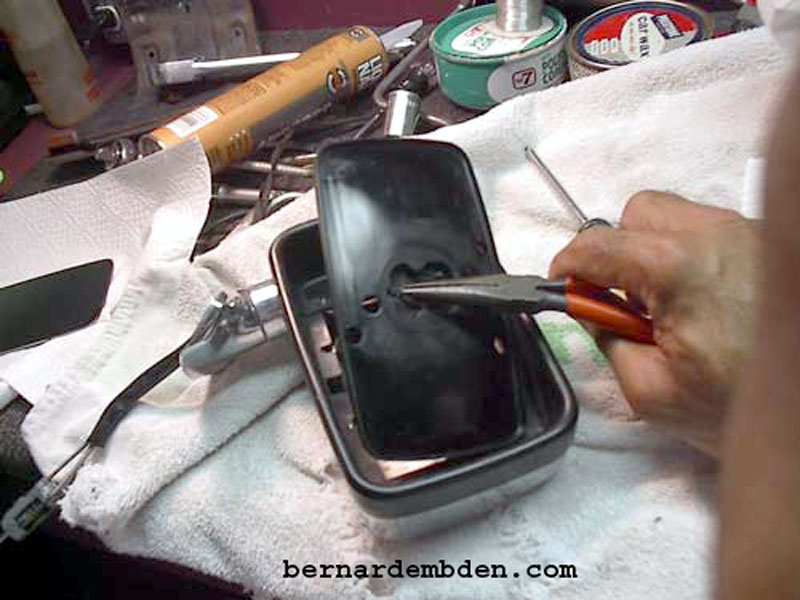
Use a small right angle screwdriver (yellow arrow photograph below) to remove the bolt beneath the mirror head.
The mirror is then withdrawn from the door.
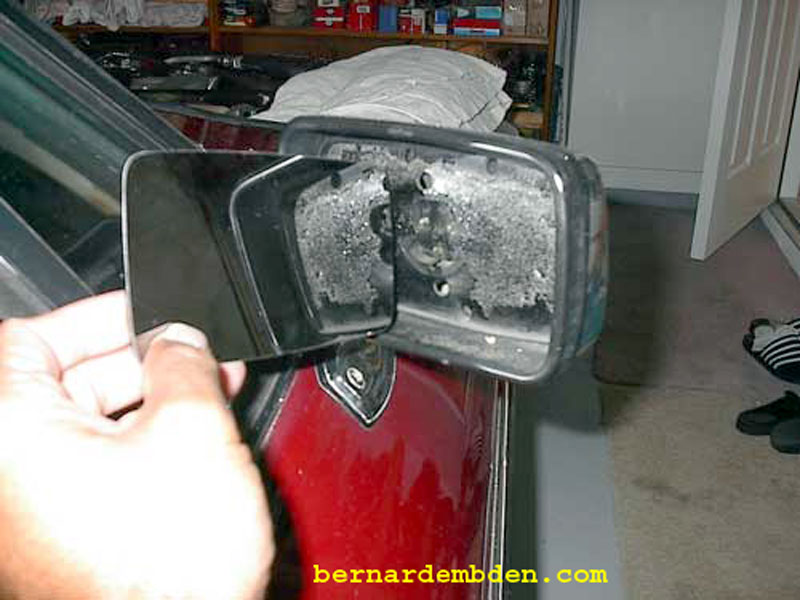
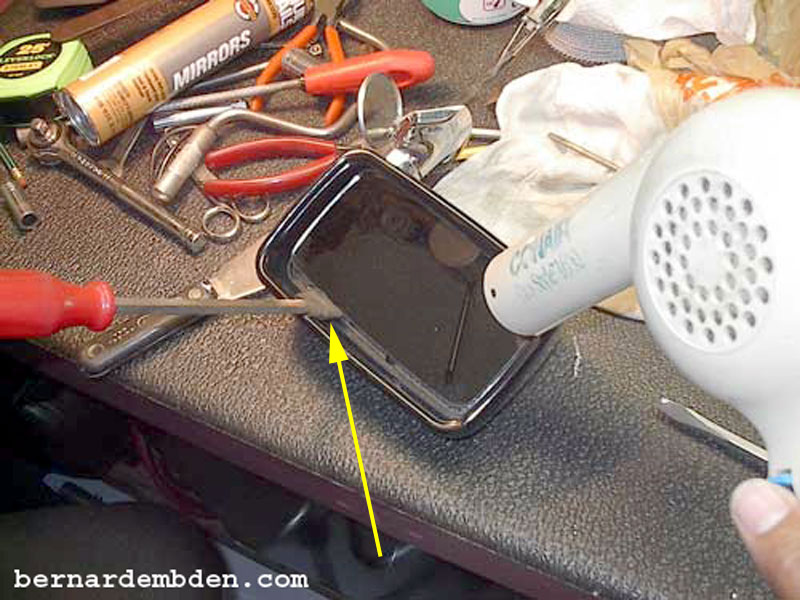
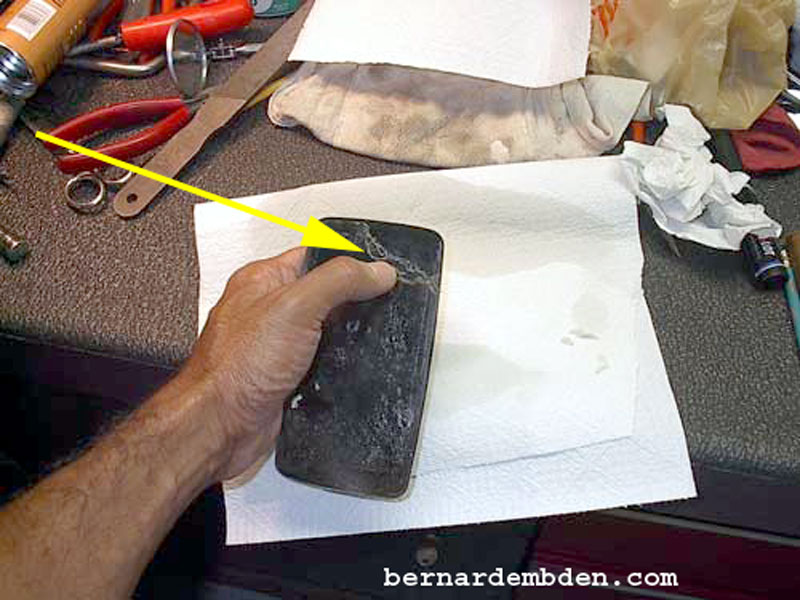
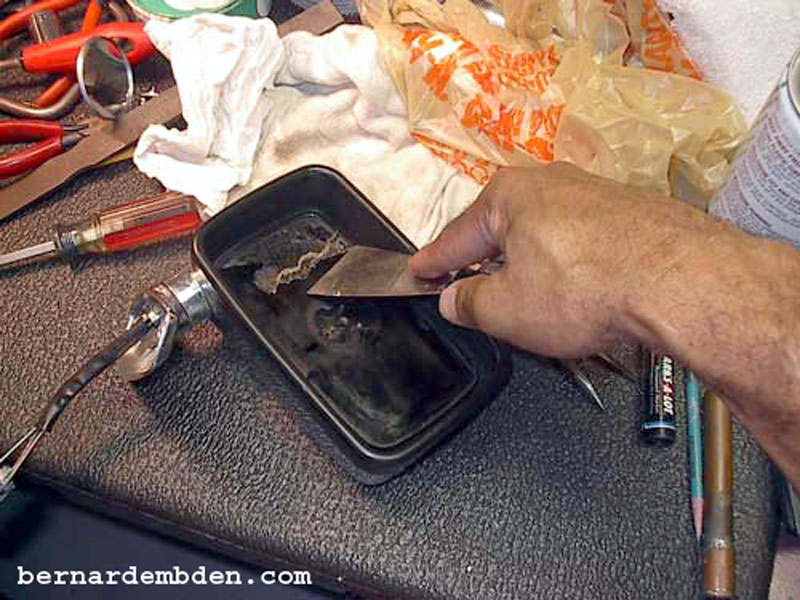
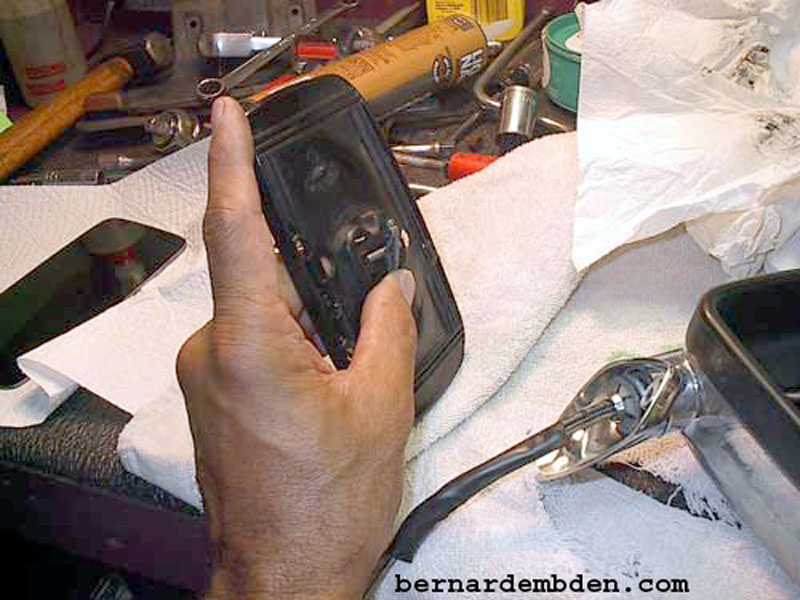
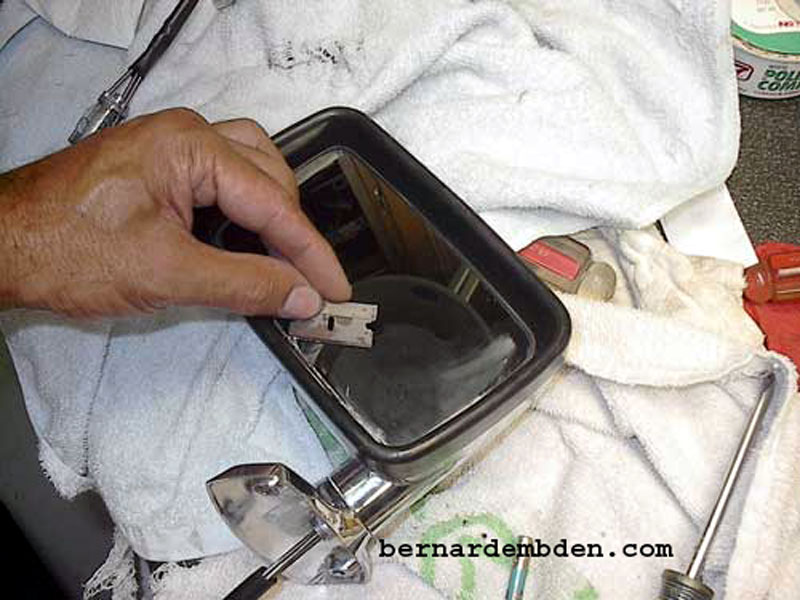
Put the mirror assembly on the workbench. Remove the mirror from its glued surface by heating the mirror surface with a hair dryer while gently prying up with a gasket scraper. Note: The gasket scraper is taped to protect the mirror edge surface. (yellow arrow photographer below).
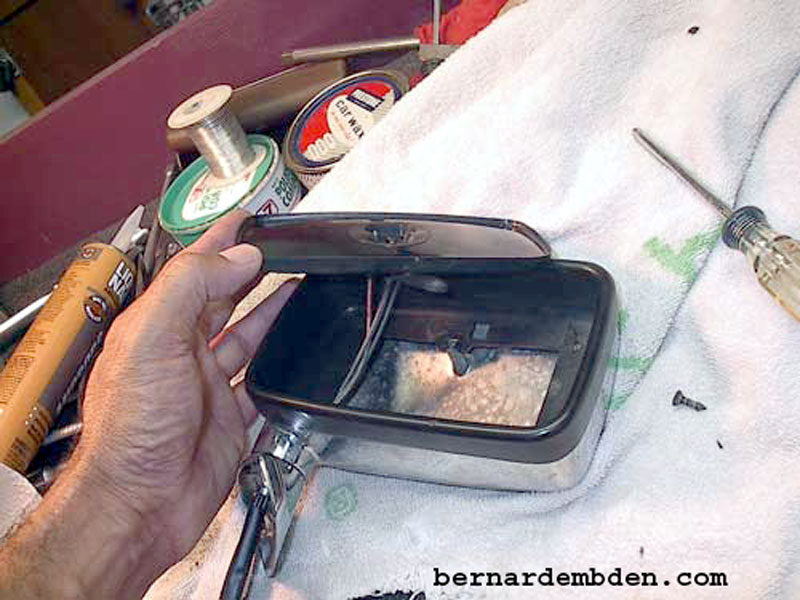
Once the mirror is removed, the glue backing can be peeled off the rear of the mirror glass with heat from a hairdryer.
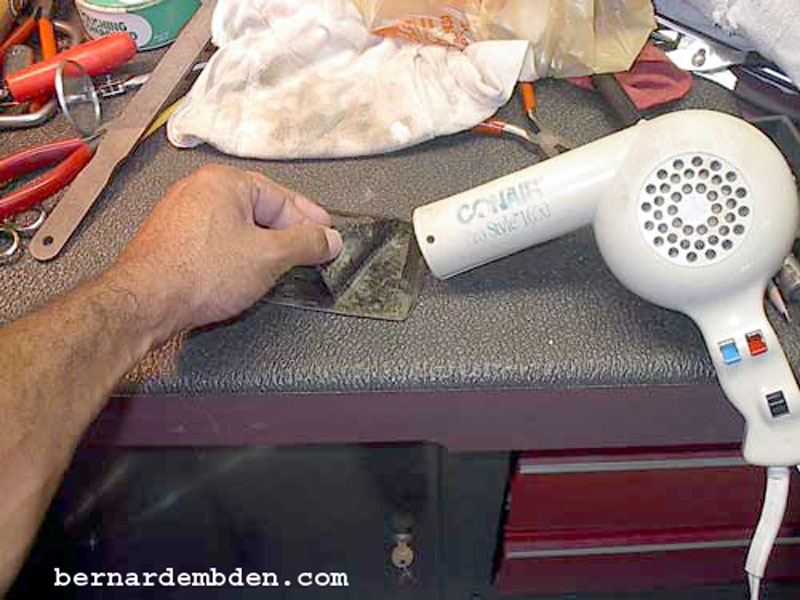
With the majority of the mirror glass glue backing removed, there remains a glue film glued to the mirror glass. (yellow arrow photograph below). This is part of the original gluing process. In order for the repair to be permanent, this glue film must also be removed.
I used "Gumout" (an automotive solvent) to complete the removal process. Be patient, this process is time consuming and cannot be rushed. Do not use any sharp object to remove this film as this would damage the rear of the mirror surface.
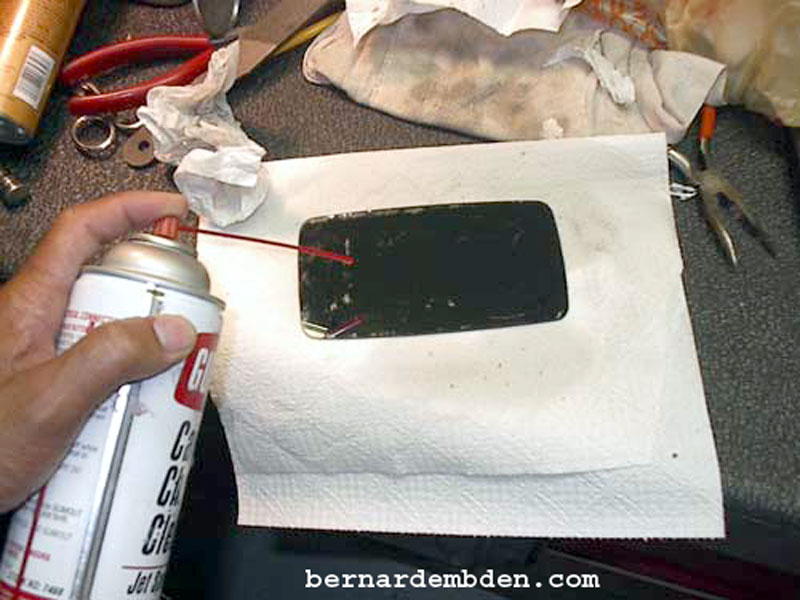
Make sure that the rear of the mirror is spotlessly clean. Take your time. This process will impact the quality of this project.
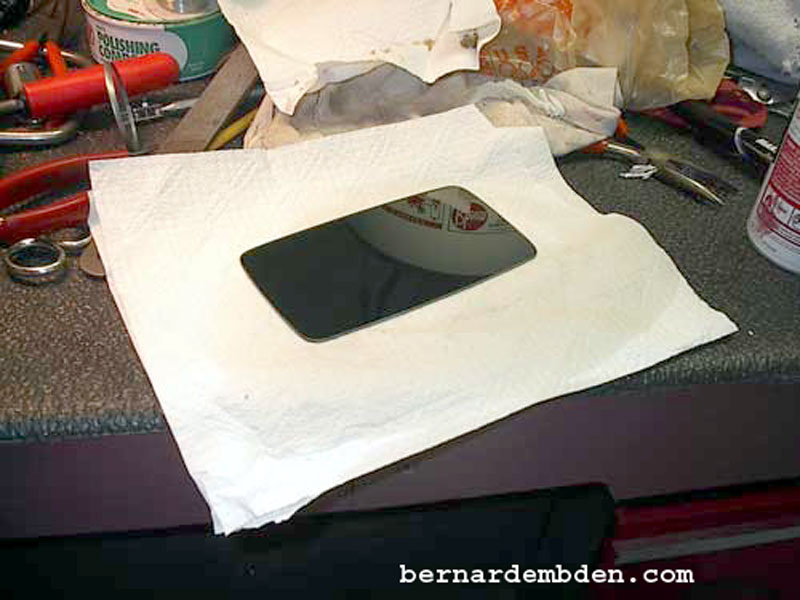
Repeat the process on the base that the mirror bonds to. I found that a gasket scraper worked well once the glue had been heated. Don't worry about scratching this surface.
Examination of the mirror base indicated a potentially serious problem that could affect how effective I could bond the mirrors to the glass.
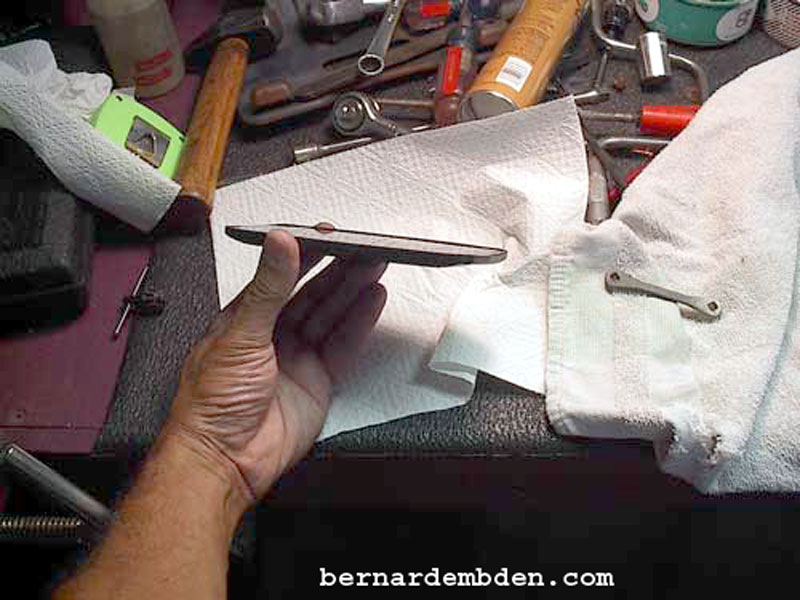
The mirror base (made of plastic) was no longer straight. It had become curved, (the middle higher than the edges) so that the mirror glass could not sit flat in the base. It would be impossible to bond the mirrors unless a fix could be found.
.First the mirror base was removed from the mirror housing by removing two screws.
In the photograph below, the curvature of the mirror base becomes obvious when viewed from an angle.
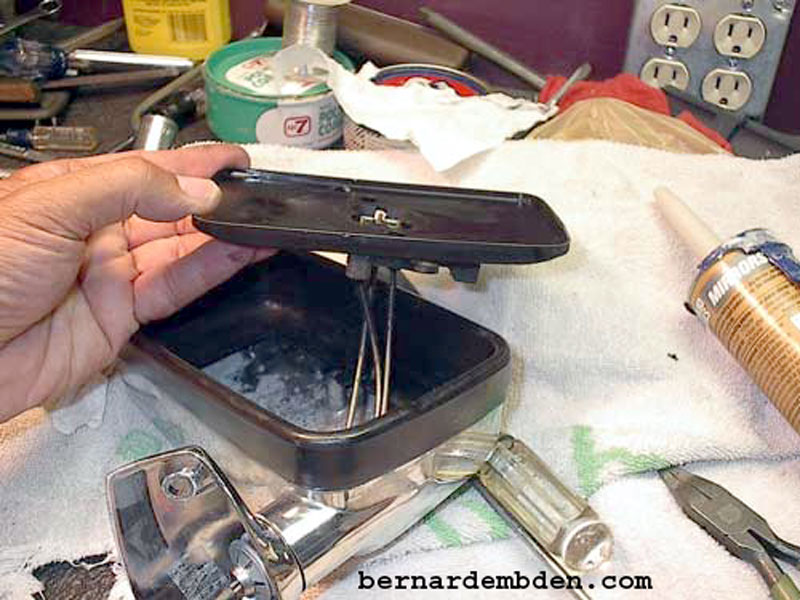
(Photograph below) The mirror base would have to be removed in order to address this problem. It's held in place by three cables. Prior to removing them using a needle nose pliers Observe orientation of cable to mirror base attachment methodology, including "T" connection in rear.
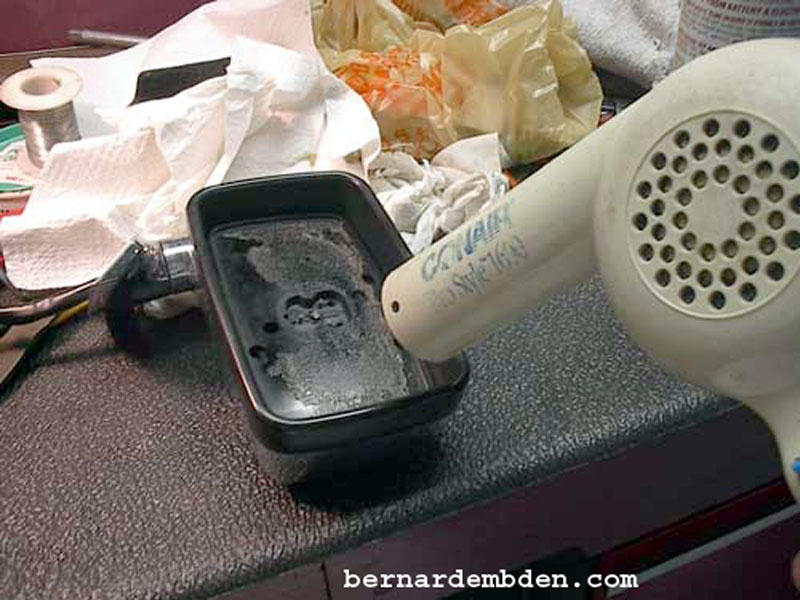
In the photograph below I placed the mirror base on my drill press vice with the jaws open so that they support only the edges of the mirror base. I installed an old air hose adapter in the drill press. (green arrows) This would allow me to apply pressure in the center on the base, thus straightening the plastic, while I applied heat to the stress points of the base. Use a low flame on the torch. Move the flame across the material. Be careful, if the plastic starts to bubble you are applying too much heat in that location. This is similar to the technique of using heat to reform a body panel. If you screw this up start looking for new mirrors.

Once the plastic has reformed, I continued to keep the pressure constant while I forced cooled the plastic with water. (photograph below) Repeat the process if necessary. If you end up with the base slightly concave, it's OK.

Trial fit the mirror to base. Make sure it supports the mirror all the way around the base.
When satisfied, I reinstalled the mirror base to the cable assembly. Make sure you reinstall the "T" shaped pivot pin in the rear.
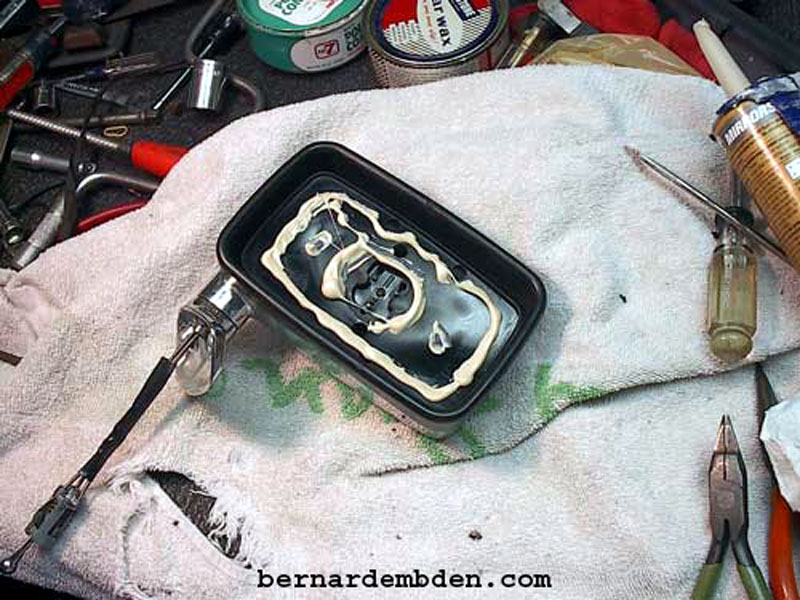
The photograph below shows the final shape of the mirror base after it's installed onto the cables. As you can see it's slightly concave. This is by design, as it would provide a better receptacle for the bonding agent.
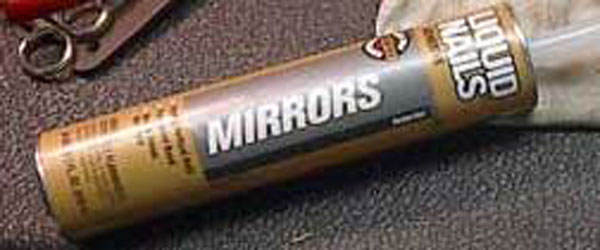
This is the bonding agent I choose. I decided not to use construction adhesive. This product is manufactured by Macco and sold under the "Liquid nails, designed for mirrors." brand name. It's designed to hold large mirrors vertically, so this project should not be a problem. It's also waterproof, heat and steam resistant. Finally, this is a permanent adhesive. Once it's on it cannot be removed.
If possible purchase this product in black. This will greatly aid the cleanup process.
Use a caulk gun to install the adhesive on to the mirror base.
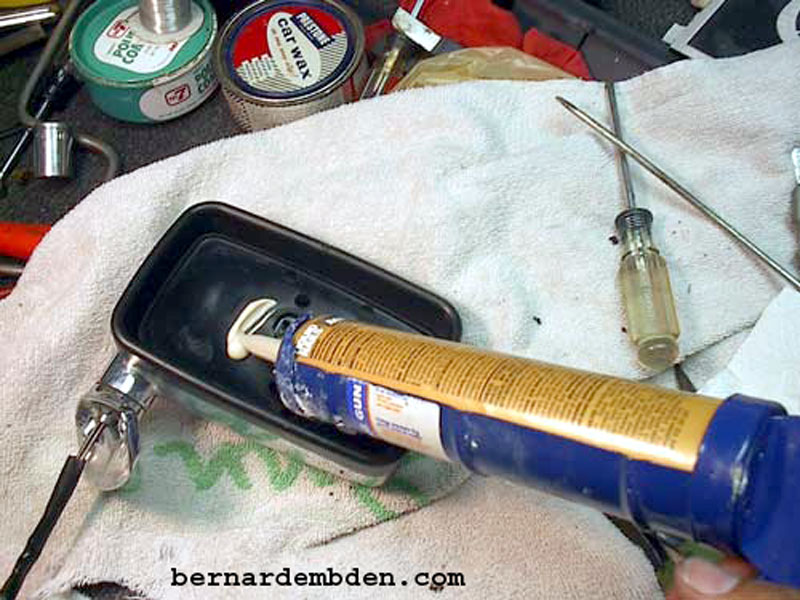
Apply to the center on the base and a bead approx. 1/4 inch from the edge. Do not apply to the center where the cables are.
Press the mirror firmly into the adhesive. Make sure the mirror is centered in the base.
Leave mirrors face up for 24 hours. Wipe off excess adhesive.
After 24 hours any excess adhesive can be cleaned off the mirror surface with a razor . Clean up with mineral spirits or "Gumout" if necessary. If using white adhesive pay special attention to the area between the housing base and mirror edges.
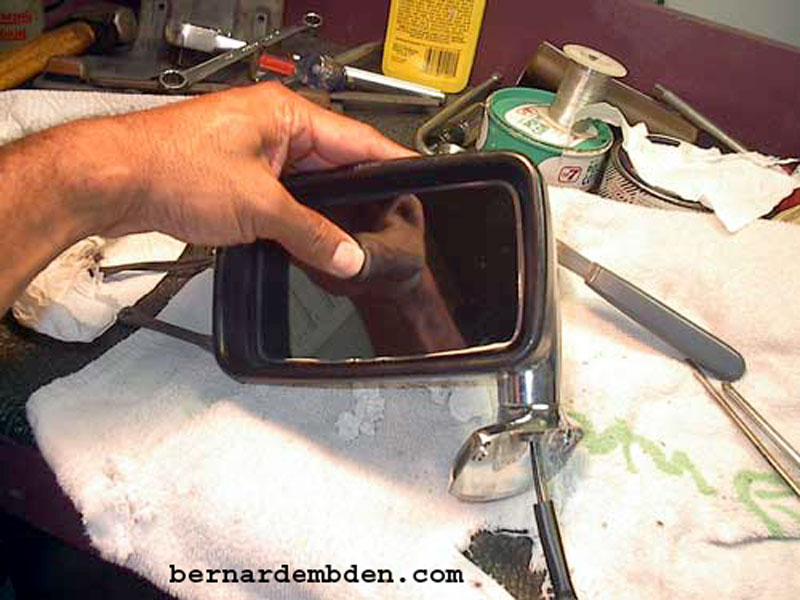
Project complete. Mirror with bonded mirror glass installed. This repair should easily last another 25 years.