
Aston Martin doors open in a unique manner. The doors actually go up higher as you open them. The rational is that this function prevents the door bottom from hitting concrete curbs as the door is opened.
In order to hold the door open at this unique angle Aston Martin used two gas struts, one for each door. Like all struts they lose some of their pressure over time resulting in the door not staying open on its own as one exits the car.
Replacing these struts is not exceptionally difficult, but like most maintenance items on these cars, it requires patience and the occasional skinned knuckles.
The project starts by jacking up the car to remove the front wheels to get access to the inner fender liner. As noted prior in this website, Aston Martin has specific jacking points. Deviate from them at your own risk.
However, jacking the car up at the recommended front jacking point presents a problem. The jack or jack stands cover up at least one screw that needs to be removed to release the inner fender liner.
Note that there is an aluminum boxed frame rail reinforcement that runs the length of the car between the front and rear wheels. The jacking points are cutouts of the side skirts exposing sections of this frame rail. In reality, if scratching the side skirt is not an issue, the car can be jacked up anywhere along this frame rail.
If you are jacking the car up at any point other that the recommended jacking points you are doing so at your own risk.
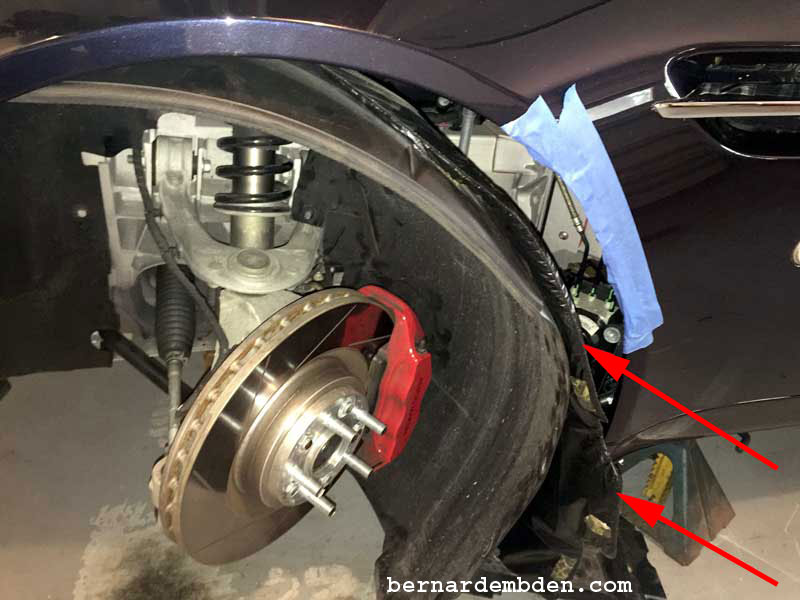
Photographed below is the recommended jacking point (green arrow) and the secondary jacking point (red arrow) that I am using to provide clearance for removing the wheel inner liner.

With the jack at the secondary jacking point, I am placing a jack stand just under the front lower ball joint suspension. (green arrow photograph below). I have a section of wood wrapped in a towel to protect the side skirt from the floor jack's saddle. (red arrow)
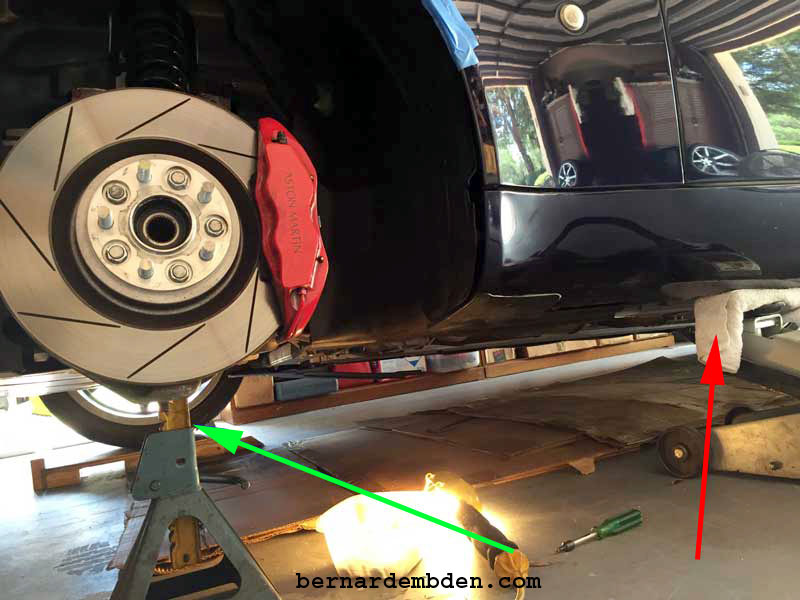
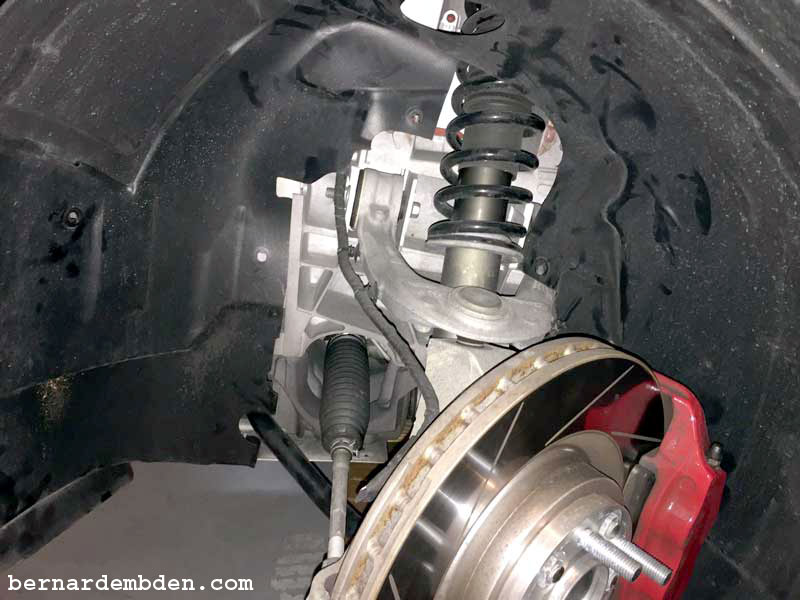
Note in the photograph below that the jack stand is not in direct contact with the lower suspension arm. It’s there as a safety backup while only the floor jack supports the car. This allows me to remove the screws holding the inner liner to the bottom of the frame rail. This is the area that would be covered up if the jack stand was placed in the preferred jacking point.
![]()
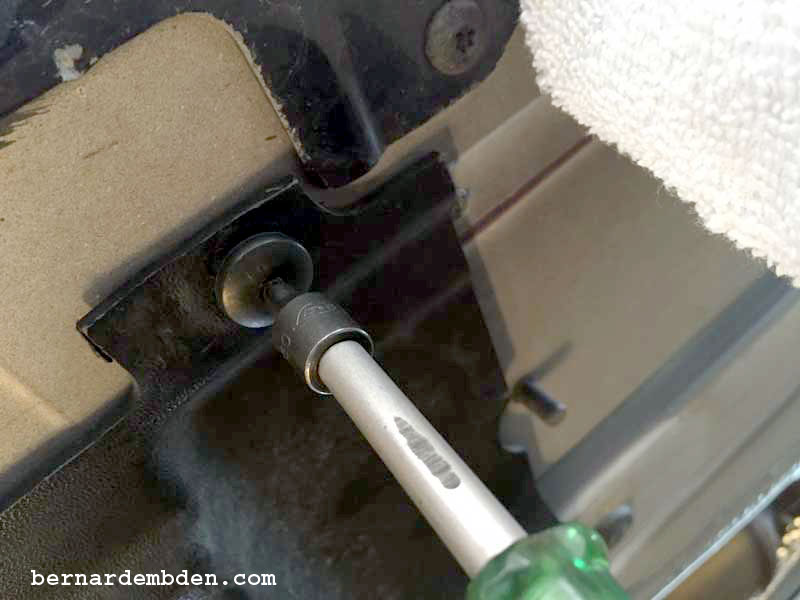
With the preferred jacking point now accessible, using a T-30 Torx, the screw that holds the finder liner to the frame rail can be removed. (Photograph below).
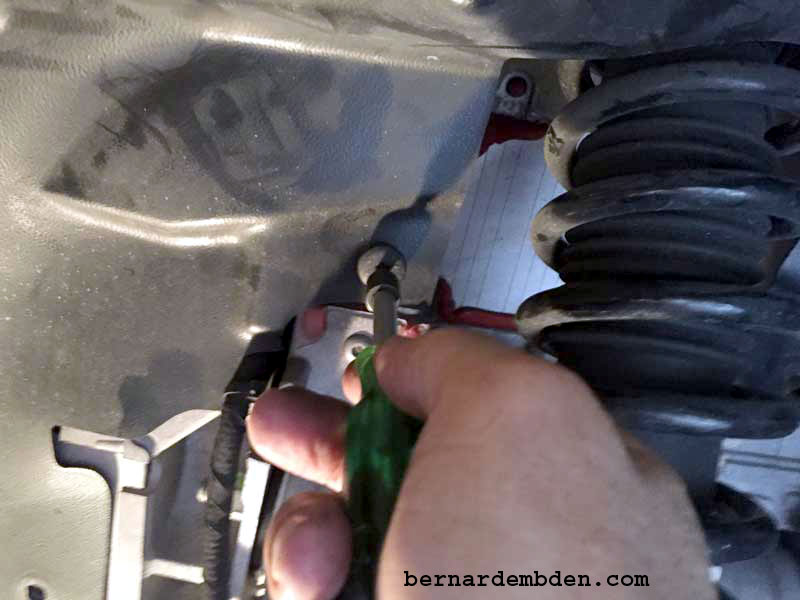
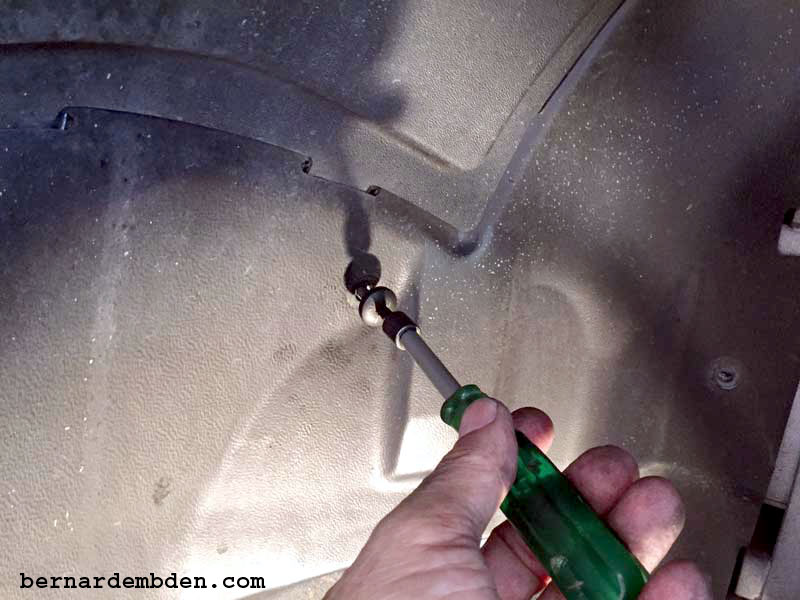
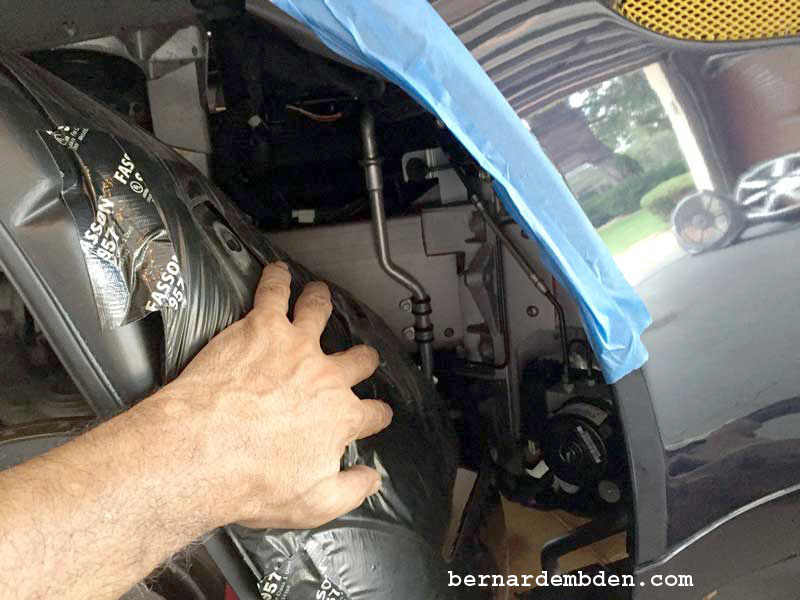
I recommend removing all the screws, both Philips head and T-30 Torx from the inner liner. This will make it easier to maneuver the liner, necessary to gain access to the inner fender well. (photographs below).

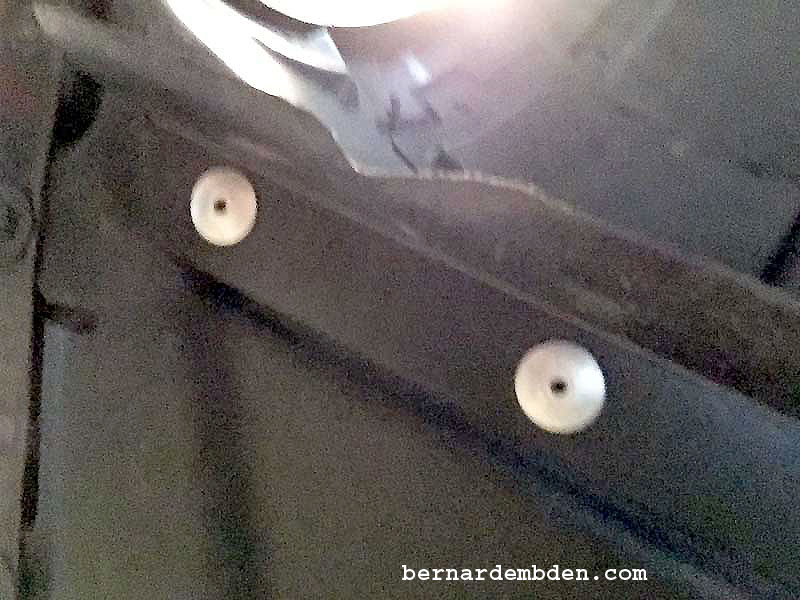
There are four rivets that hold the front of the inner liner to the chassis. (two each side). For this project these rivets does not have to be removed. (two rivets photographed below).
Once all the screws have been removed the inner liner can be folded back to gain access to the inner fender well. The inner liner has sound insulation glued to it. This insulation could become separated from the liner. (red arrows 2nd photograph below). Note insulation taped back to the inner liner (3rd photograph below).
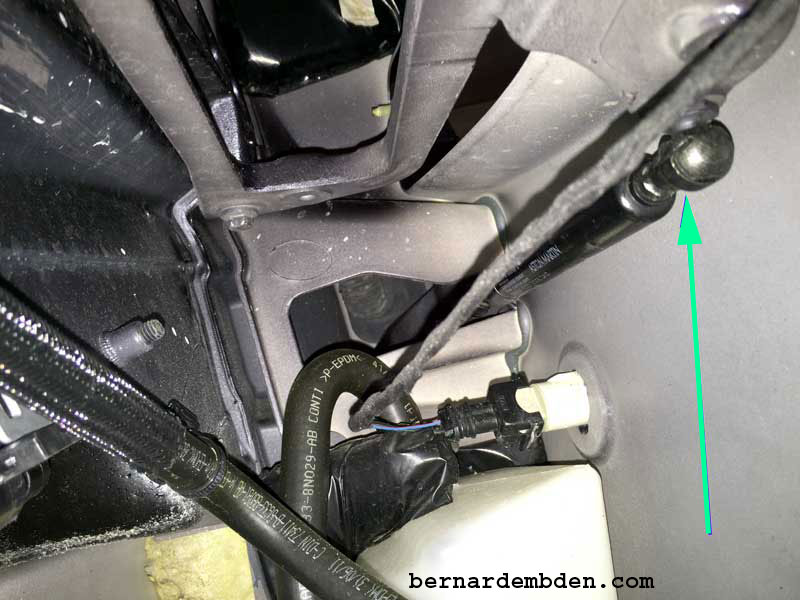
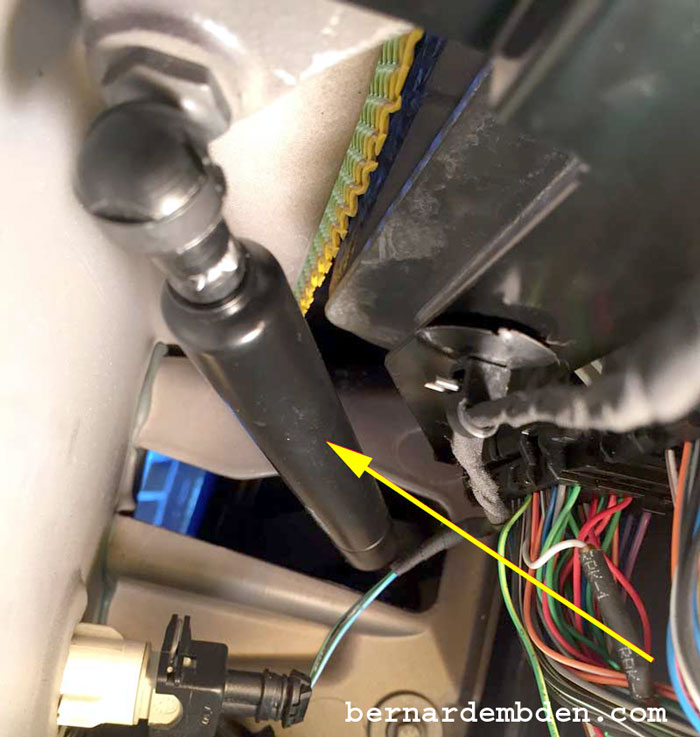
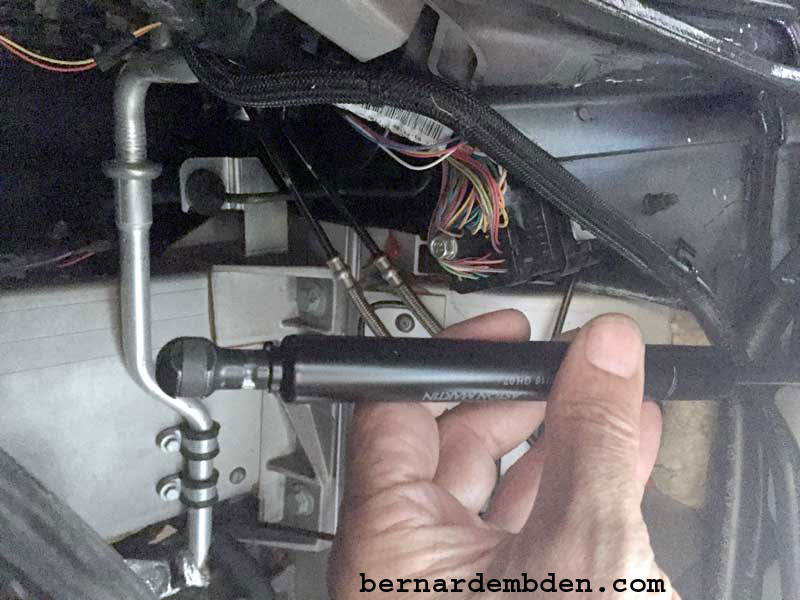
The drivers and passenger side door struts can be seen in the photographs below. (green and yellow arrows).
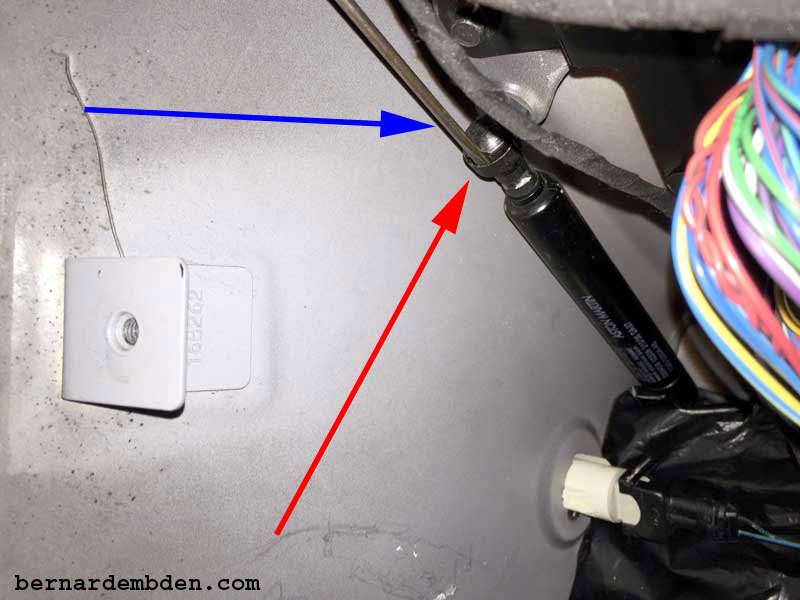
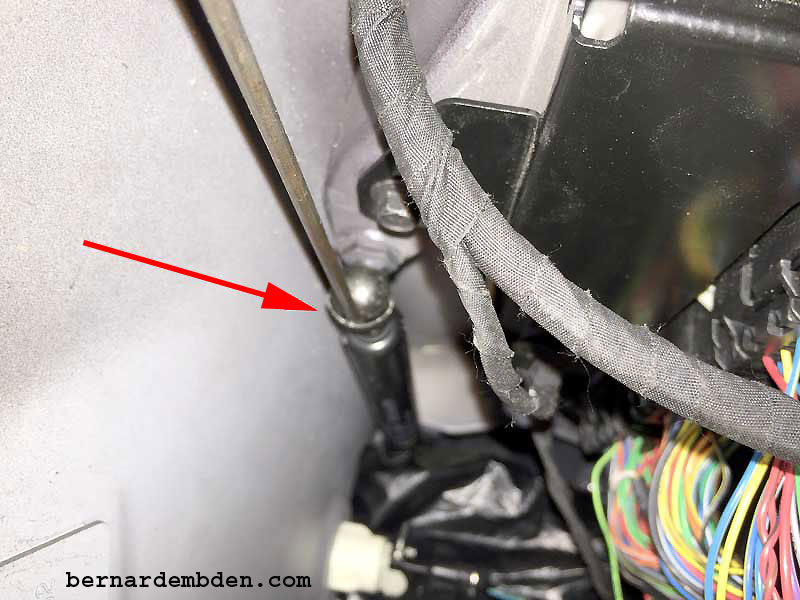
To remove the struts the holding clips must be released. (example, photographs below). A screwdriver is needed to slip under the clip and release it from the attachment point.
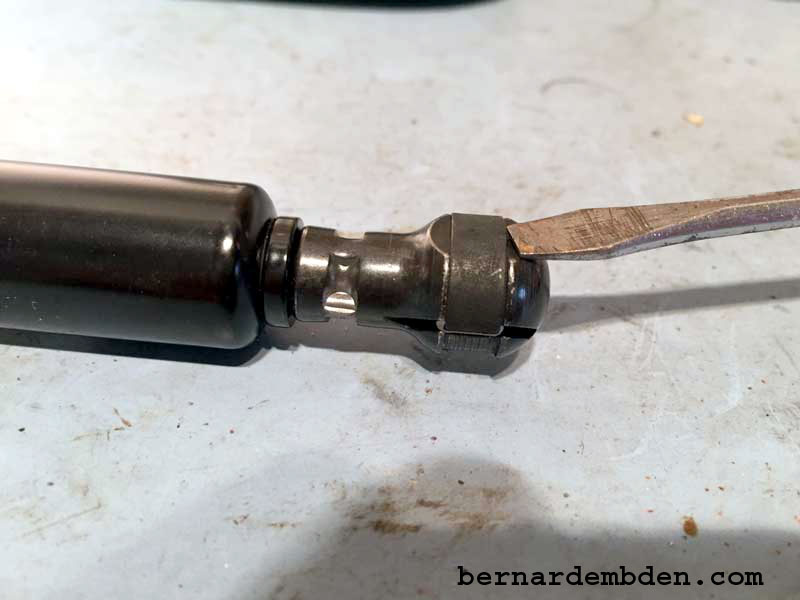
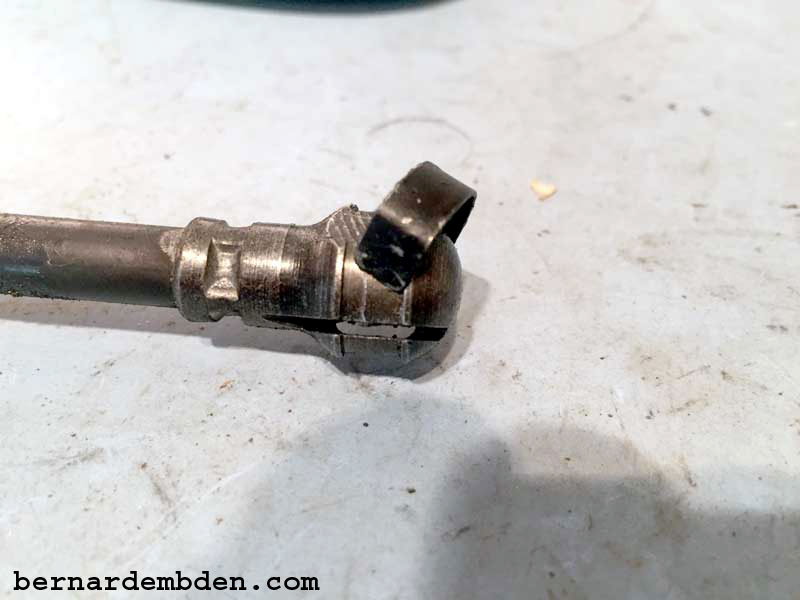

(Photographs below) Using a thin long screwdriver (blue arrow) wedge the blade between the strut head and clip (red arrow) until it releases. The fronts are easy, the rear clips require small arms and some swearing. Here is where you will need help. Someone needs to open the door until it reaches the sweet spot just before it opens completely. At that point the mounting point and the strut will be at zero pressure and the strut will easily release from the mounting point.
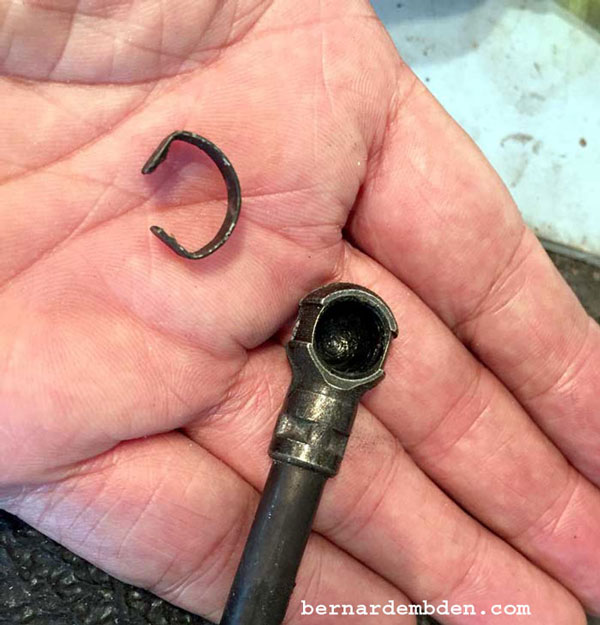
I always save a couple of these clips just in case while installing the new struts somehow I lose one.
With the door strut removed the left hand driver’s door strut's front attachment point is visible (red arrow photograph below).
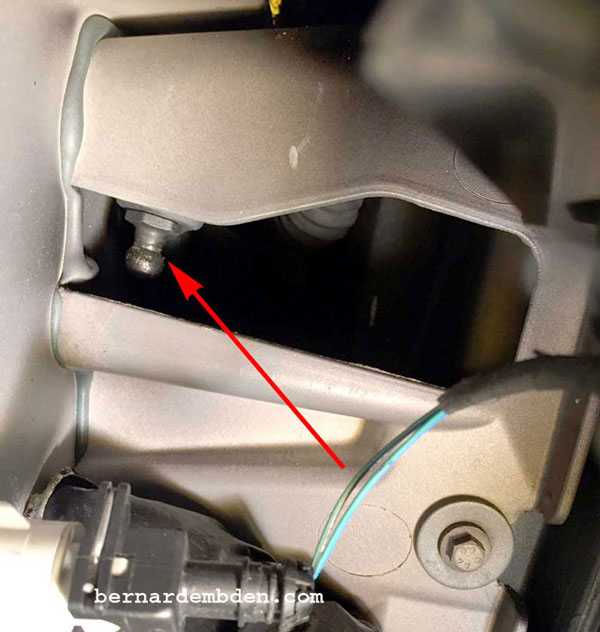
Offer up the new strut. Have someone open the door all the way. Attach the rear attachment point first and then find the sweet spot to attach the front. The new struts attach with a minimum amount of pressure.
If needed, tape the sound insulation back to the inner liner prior to reassembly.
Install screws, if necessary, move jack stand from jacking point to install bottom screw.
