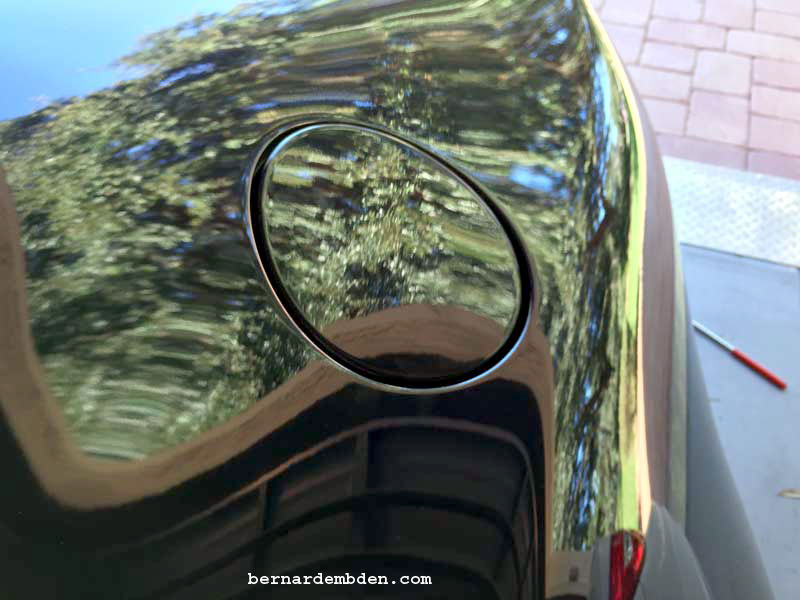
I noticed a slight rub between the gas cap door and the body when I filled up with gasoline.
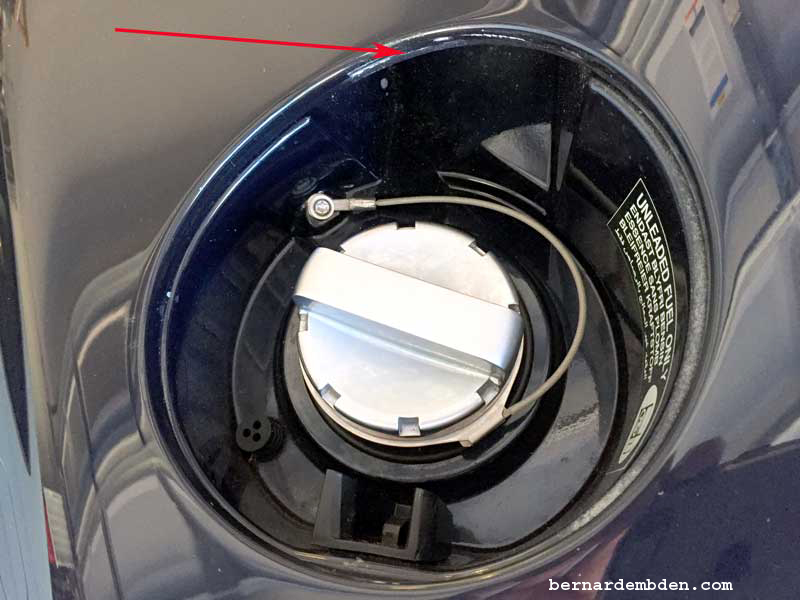
Closer inspection revealed that this has been happening for some time, as approximately 1/4 inch of the paint on the inner lip of the cap door opening had been worn off. (red arrow photograph below)
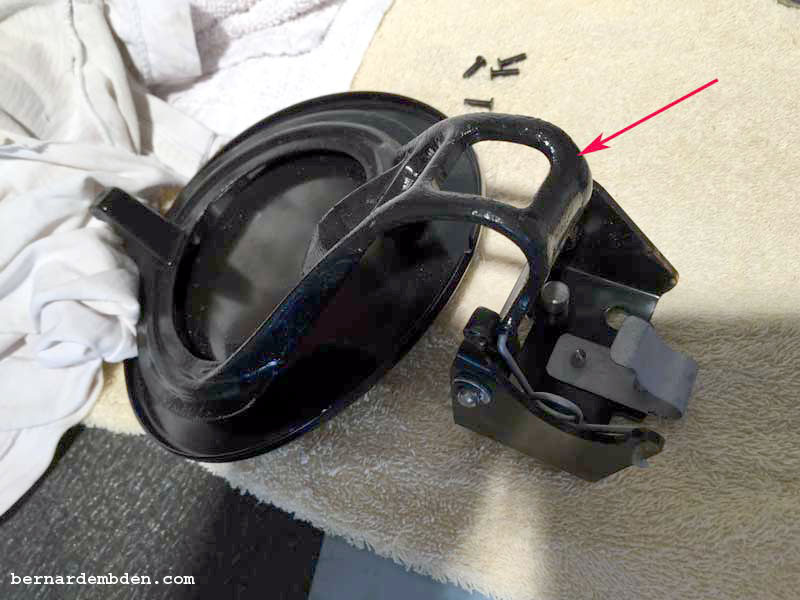
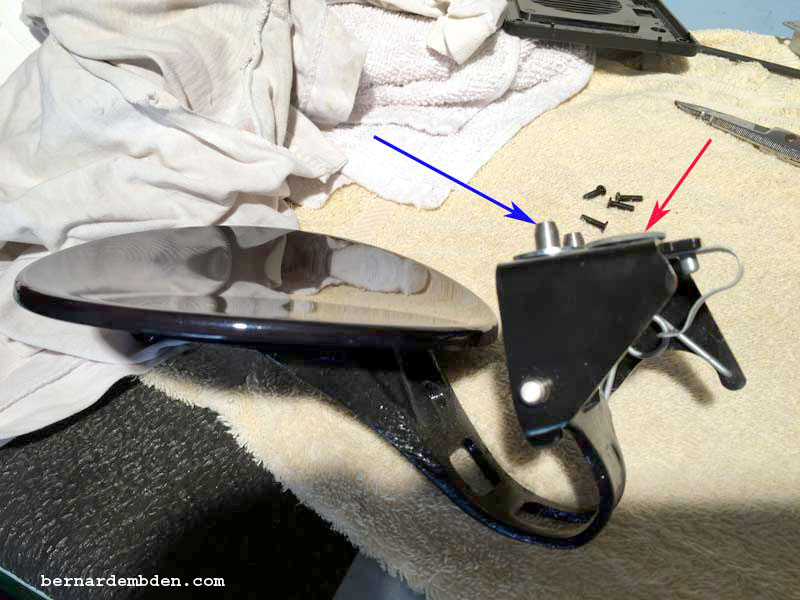
I removed the gas cap door assembly. Bending the gas cap door attachment arm (red arrow photographed below) seemed somewhat radical, so I decided to MOVE the mounting point away from the body a centimeter or so. This should still position the cap door in the center of the body opening, while allowing the edge of the cap door to clear the body.
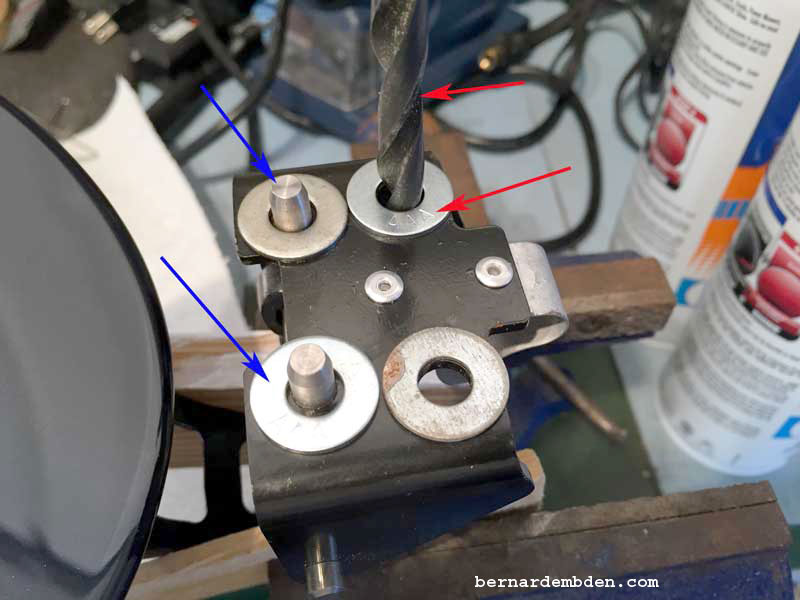
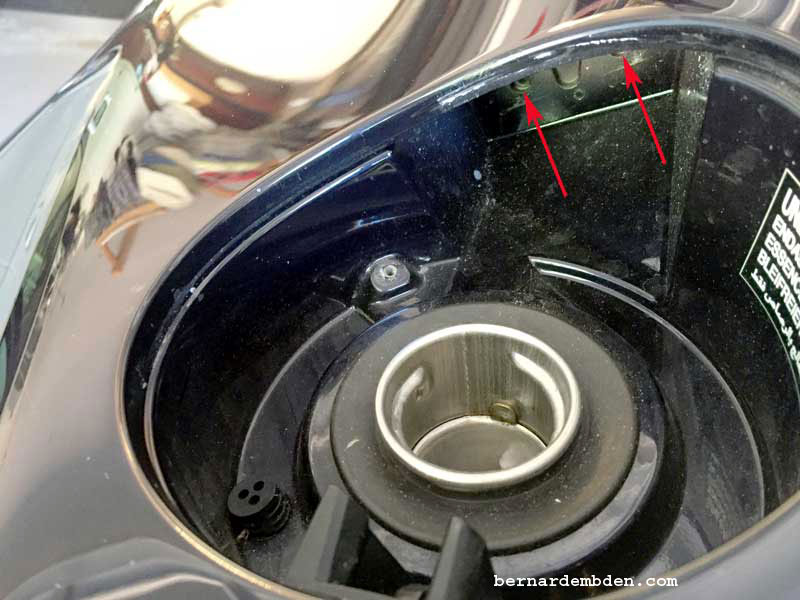
A photograph of the mounting location of the gas cap door (below) shows two dowel locating openings (red arrows) along with the mounting screws location. (blue arrows).

The plan is to place washers between the gas cap door's mounting arm and the body's mounting surface. (photograph above).
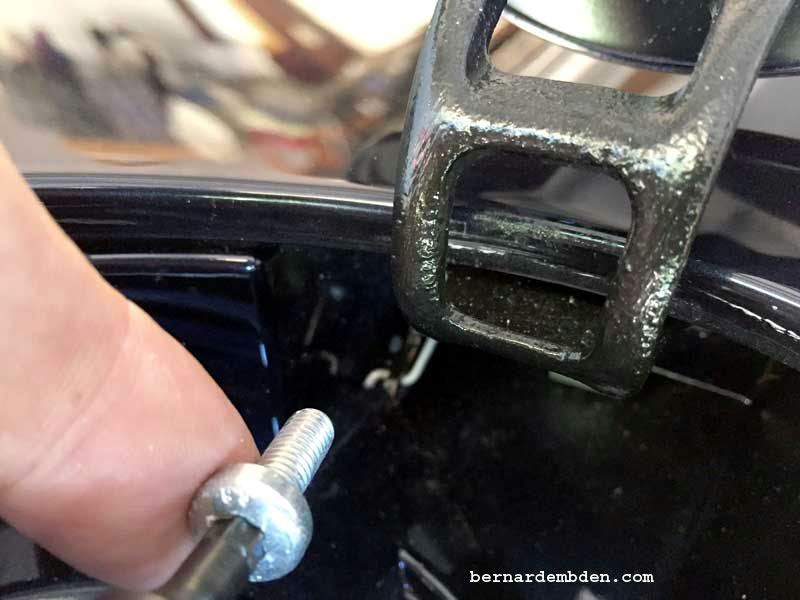
Using quick set glue, and a proper sized drill bit (red arrow) to center the washers, glue four washers of the same thickness (approx. 1 centimeter) to the mounting arm of the gas cap door. Note the two holes that attach the gas cap door's arm. The two pins (blue arrows) are locating dowels. They also require a washer. (Photograph below)
Mounting the gas cap door is a lot easier if the gas cap is removed. Remove lanyard and cap.
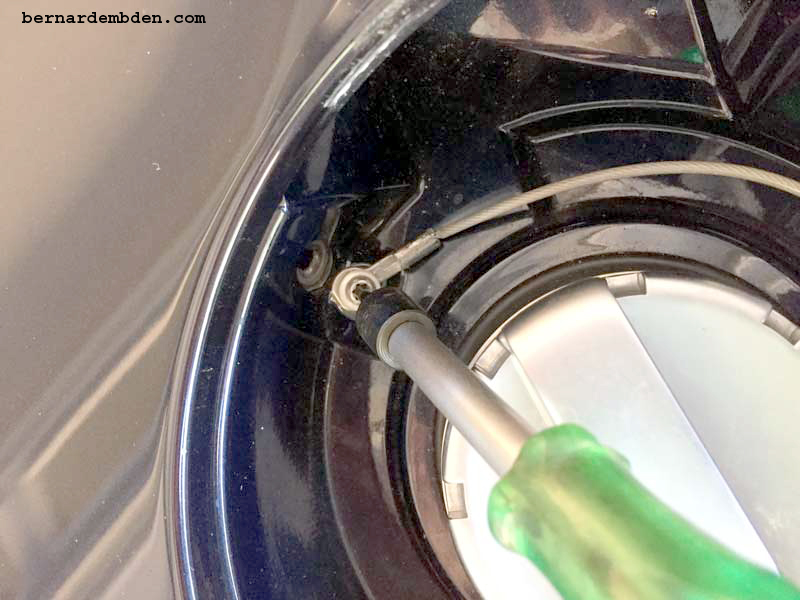
Stuff a clean rag into the open gas tank inlet. It’s guaranteed that you will drop a screw into the tank. Note position of mounting holes in body (red arrows)
Offer up gas cap door assembly, with glued on washers, and hand tighten mounting screws.
Gas Cap Door adjustment completed.