
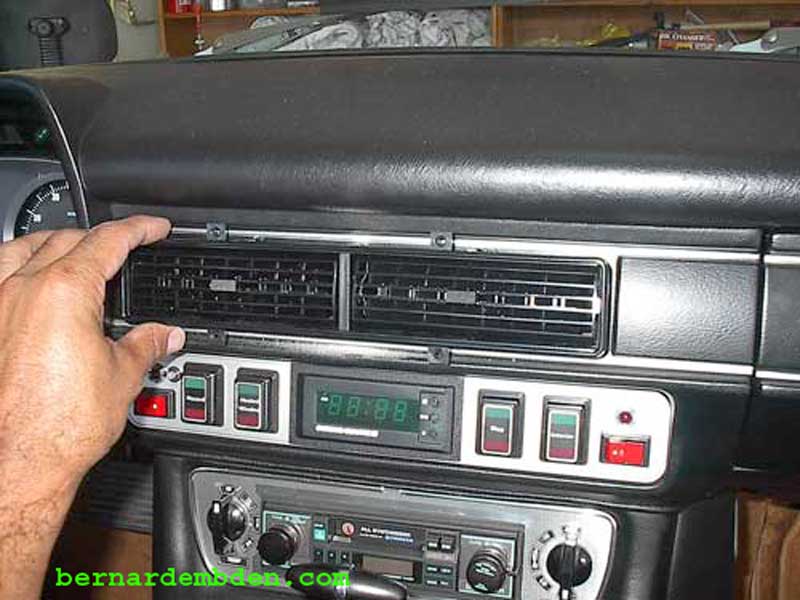
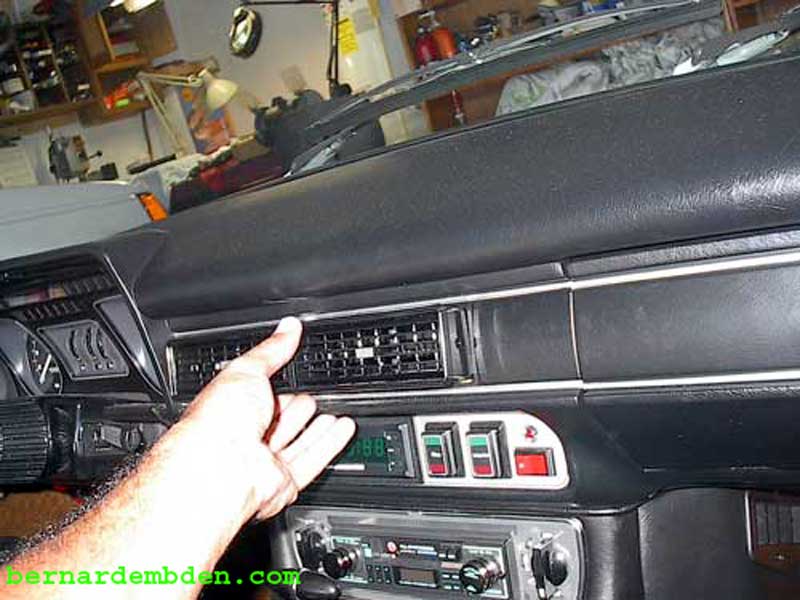
The original 1978 Jaguar XJ-S center vent directs air in three directions. While the two small outer parts of the vent is adjustable, the center part of the vent does not allow the air direction to be adjusted. Jaguar upgraded this vent design to allow all the air coming through this vent to be adjusted directionally. The improved vent fascia (part number BEC 26361) is available from any Jaguar dealer for approx. $35.00 US.
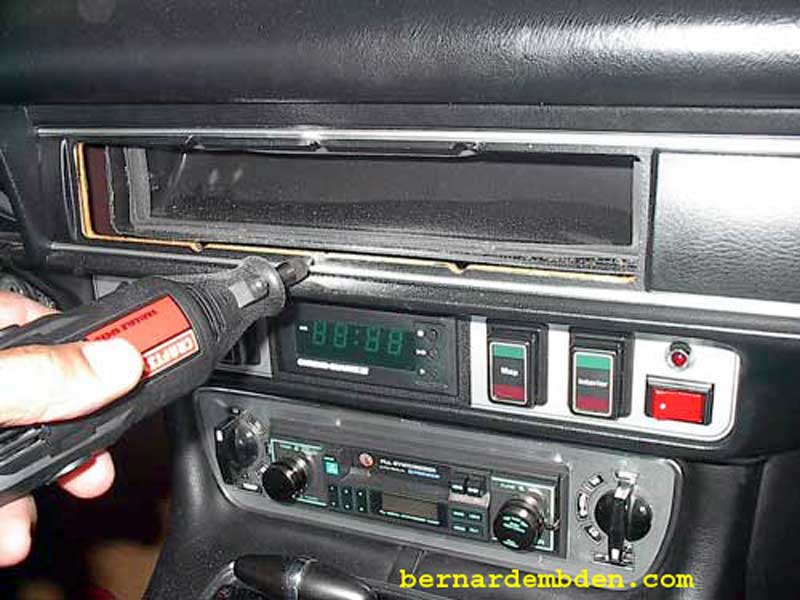
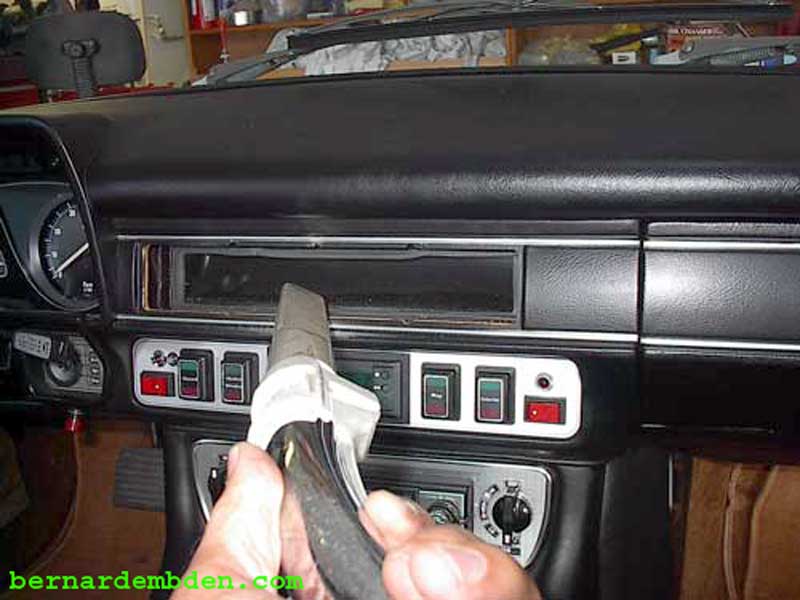
Remove existing center vent by gently prying at the sides with a small screwdriver or scraper.
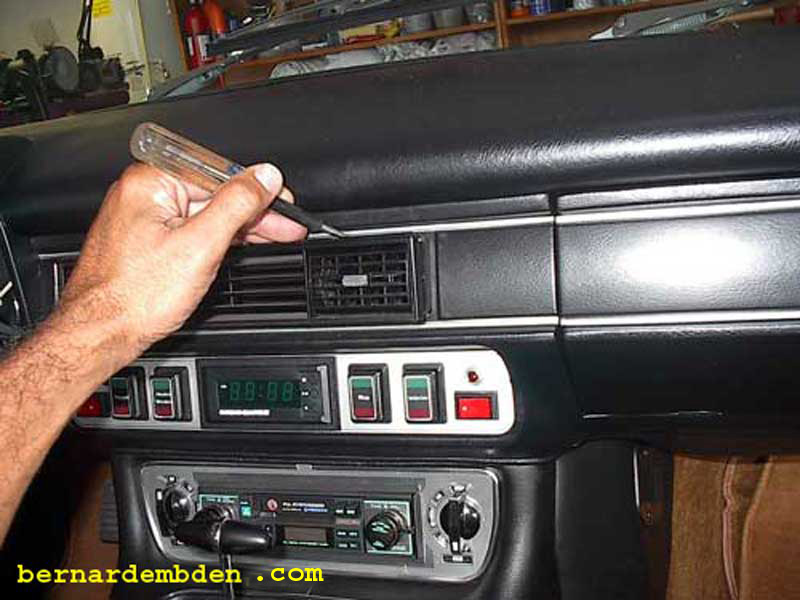
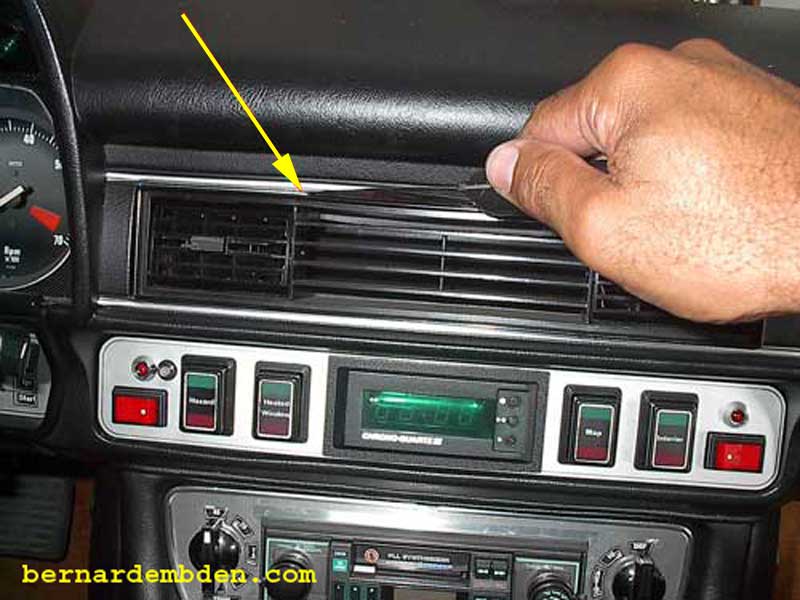
Withdraw center vent by gently twisting. Try not to break this vent, just in case you have to reinstall it.

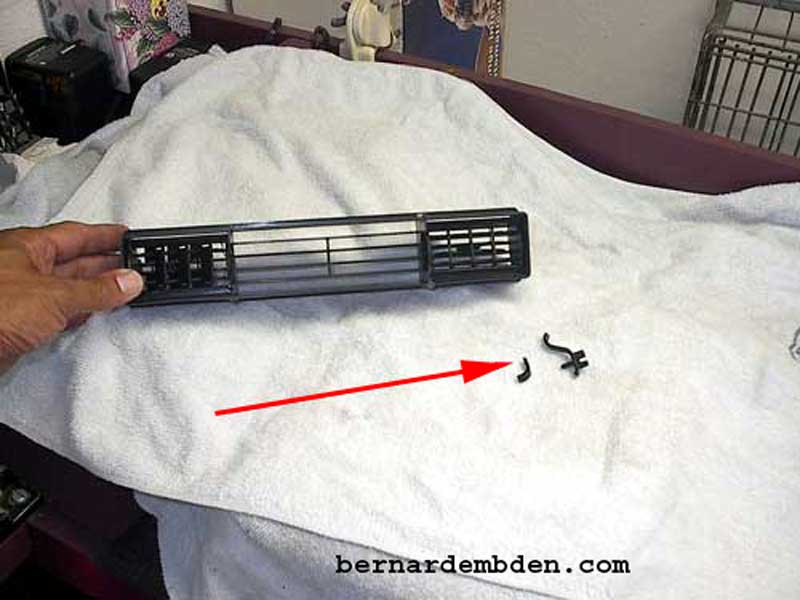
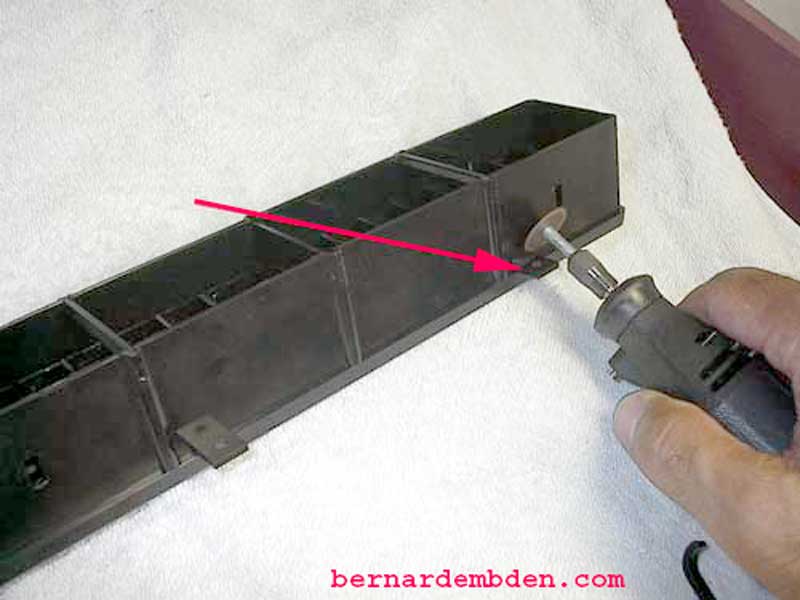
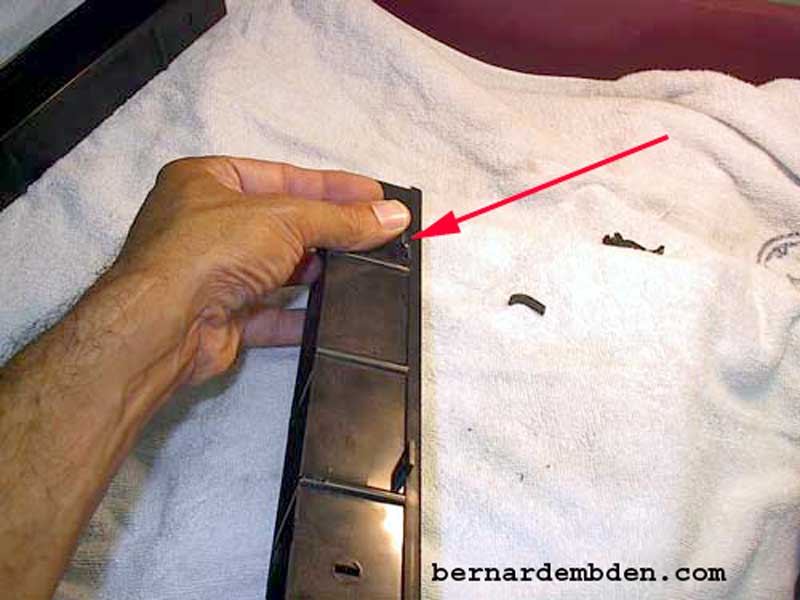
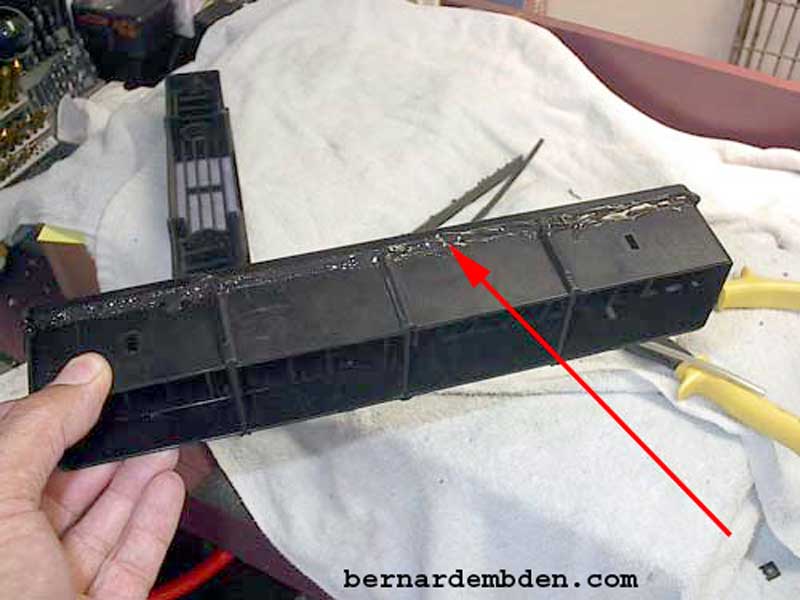
Examination of the old vent indicated that a bracket (arrow) used to hold the vent in place, was broken during the removal process.
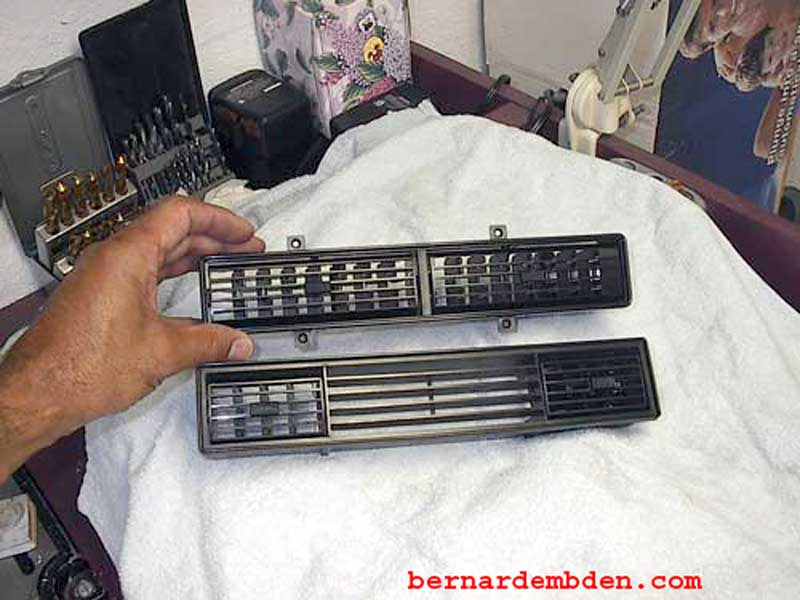
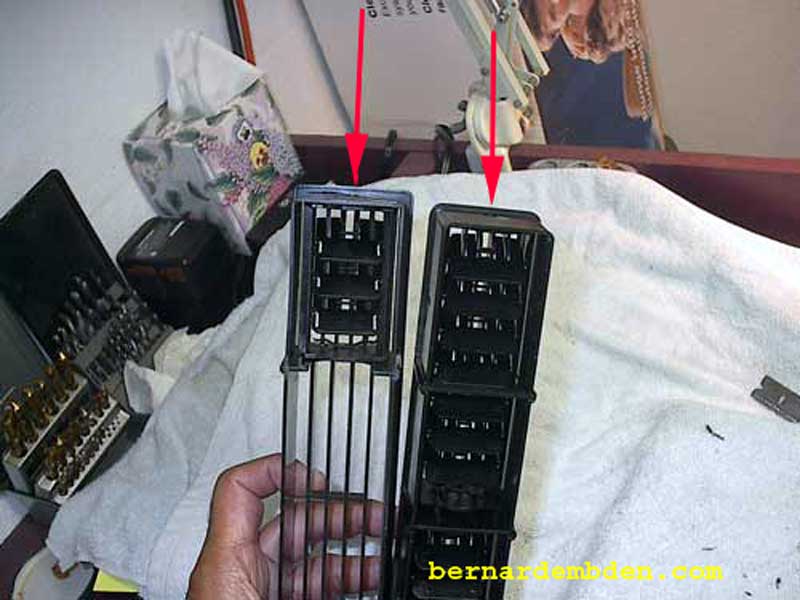
Comparison of the new and old vents (front and back) reveal the major differences. The new vent is adjustable for the entire vent airflow. It also has four tabs and a center rib.

Using the new vent as a template, mark the location (top and bottom) of the center rib.

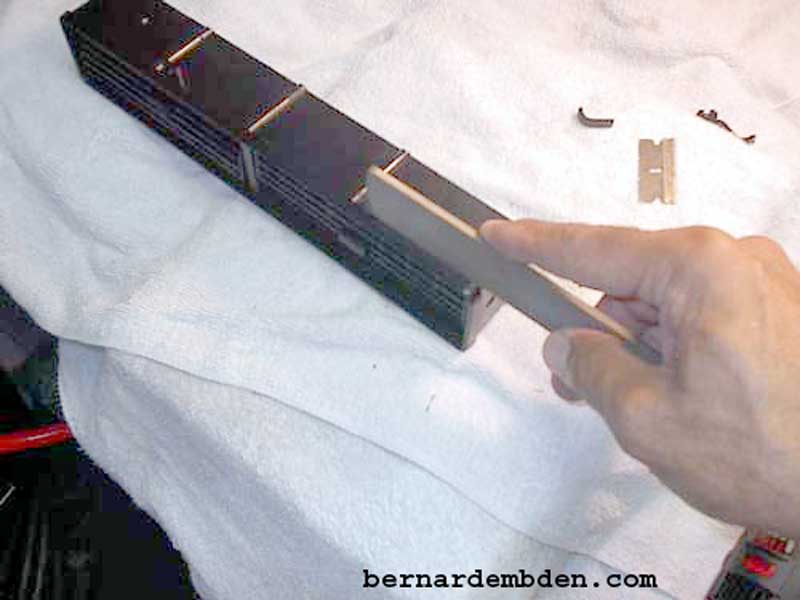
Carefully grind notches for the vent ribs. Grind to the same depth and width as the existing notches.

Vacuum the debris from the vent outlet. You don't want this stuff blowing in your face the first time you activate the A/C.
Trial fit the center vent fascia. If necessary, massage the notches until the fit is satisfactory.
Cut all four tabs from the new vent fascia. (red arrows photograph below) Cut at an angle and then break the tabs off. File the edges flat. Take your time on this as some of this work will be visible when installed.
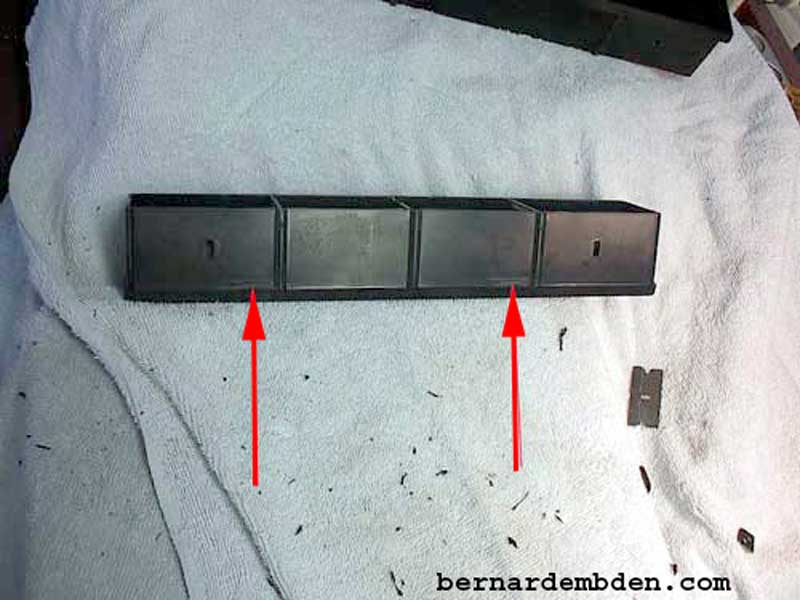
Completed vent (without tabs) should look professional. Red arrows photograph below indicate the position of the old tabs.
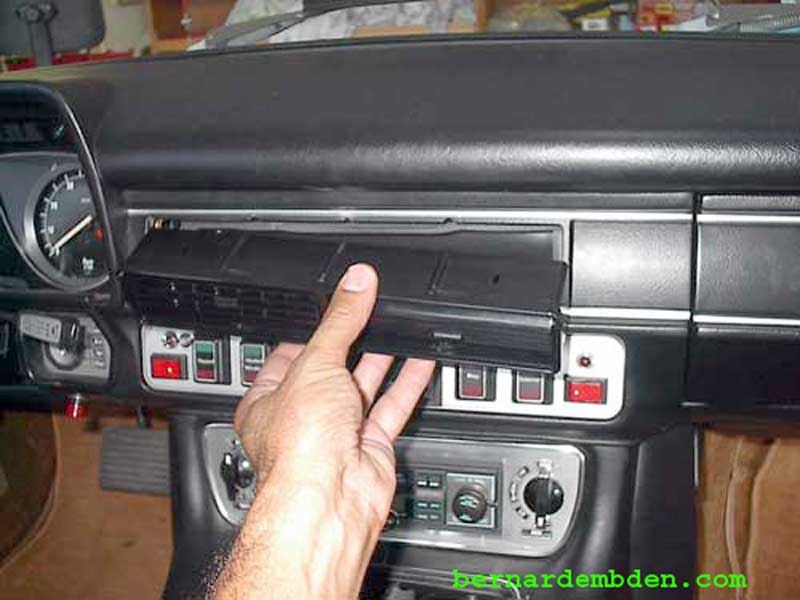
Fit modified center vent to vent opening. If done properly, vent should install with a minimum amount of force.
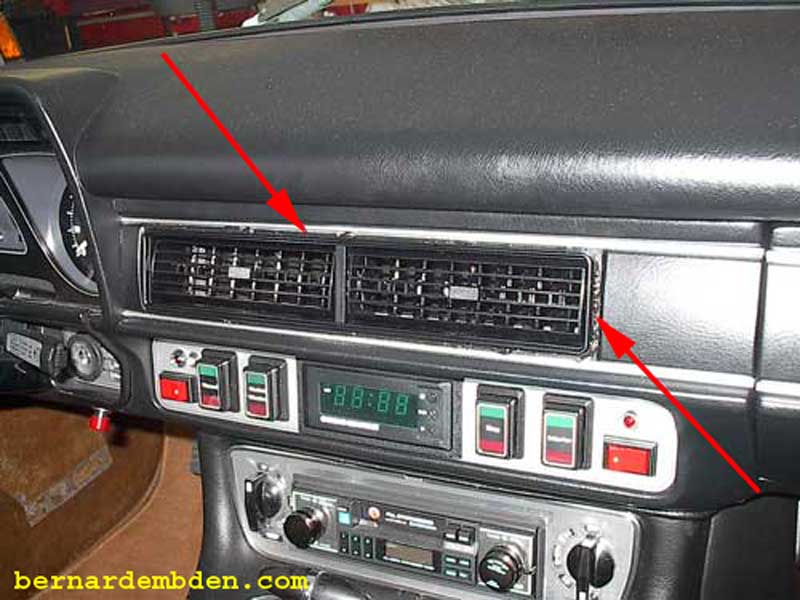
Preliminary fit revealed a potential problem. The notches could be seen from the top and bottom of the new center vent. (red arrows photograph below). This was not a huge problem, it was hardly noticeable, however I considered it unsatisfactory. Note that this might not be a problem for later Jaguars equipped with the wood veneer dashboard.

Examination of the old and new vent fascia's revealed that the old vent fascia has a slightly larger "lip" than the new part. (red arrows). This lip is just large enough to cover the installation "notches" of the old vent.
My solution was to apply black silicone caulk to the outer perimeter of the vent fascia. (red arrow).
Install vent fascia with caulk applied. Push vent in until there is an even bead of caulk pushed out from all sides. (red arrows photograph below).
Wipe off excess caulk. Leave just enough to cover the installation notches at the top and bottom. Don't rush this process, the silicone dries slowly. However, when it dries you better be finished.

Project complete. This upgrade will not cure a poorly functioning A/C, however it will greatly enhance a properly functioning unit.
