

The following photographs illustrate the replacement and rebuilding of the ball joints on my 1978 JX-S. Note: The lower ball joint is designed to be rebuilt. First remove upper ball joint from upper control arm. Be sure to remove, secure and record number and position of alignment shims. (red photograph below)
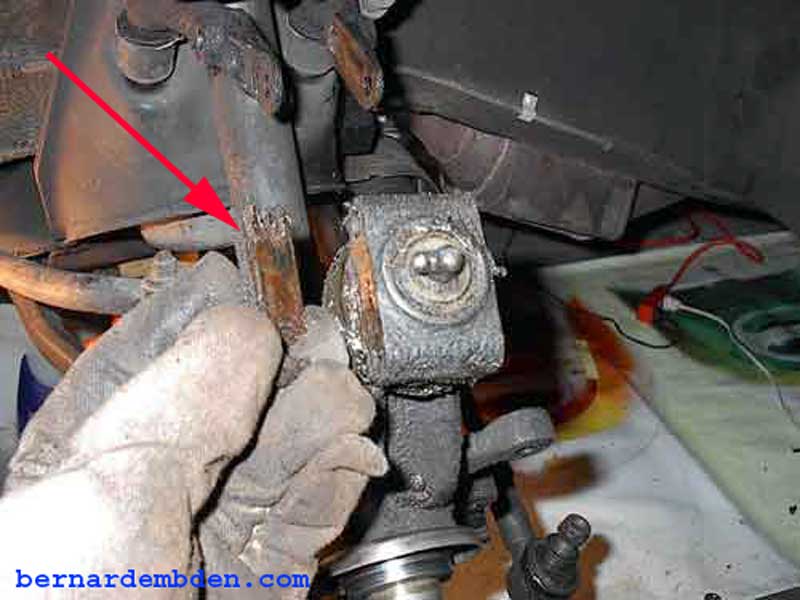
Pictured below is the removal of the lower ball joint from the lower control arm.
Use the correct tool. Do not use a hammer and conventional ball joint separator. It will damage the rubber grease seal-joining boot on the stub axle carrier.
I use one of my favorite tools, my ball joint-tie rod end remover. The "C" clamp is usually not necessary. I used it in conjunction with the ball joint remover to keep the tool firmly against the lower control arm while the tool nut is tightened.
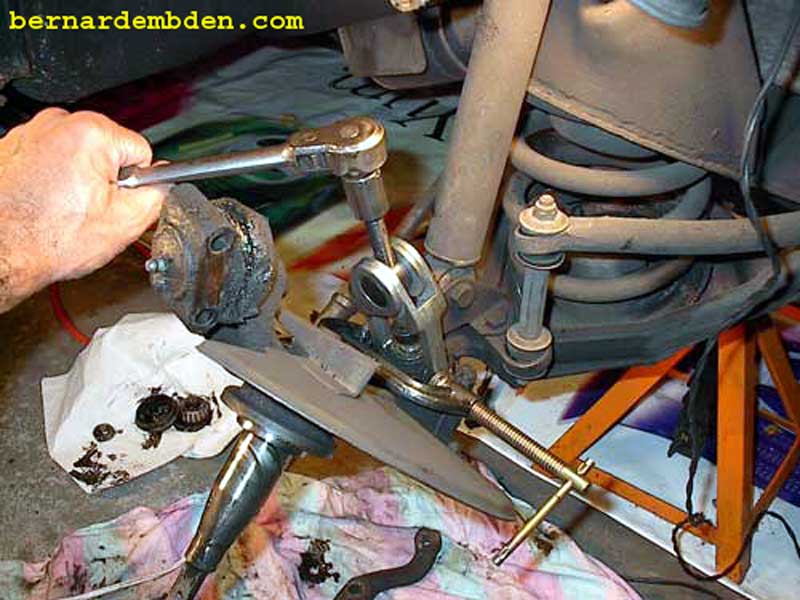
Remove the stub axle carrier to rebuild the lower ball joint. Bend up the locking tabs on the four setscrews and remove the ball pin cap. Recover and secure the adjustment shims.
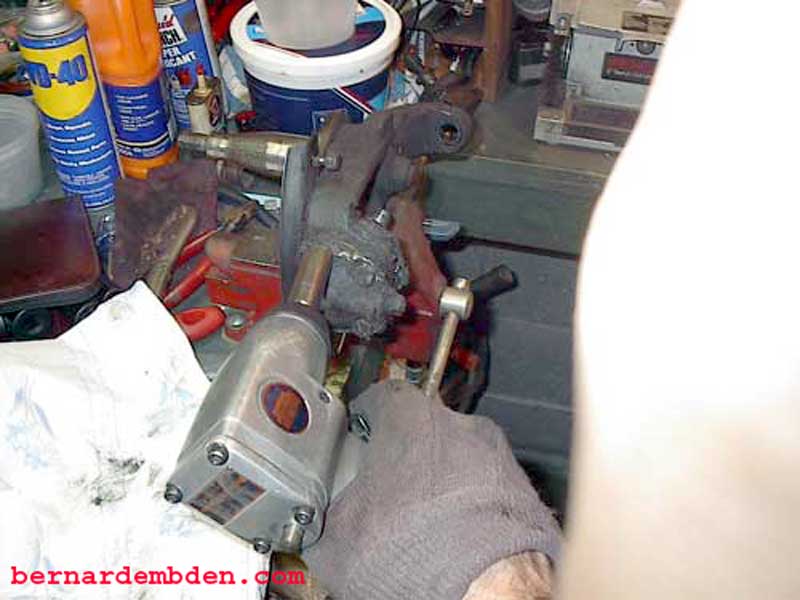
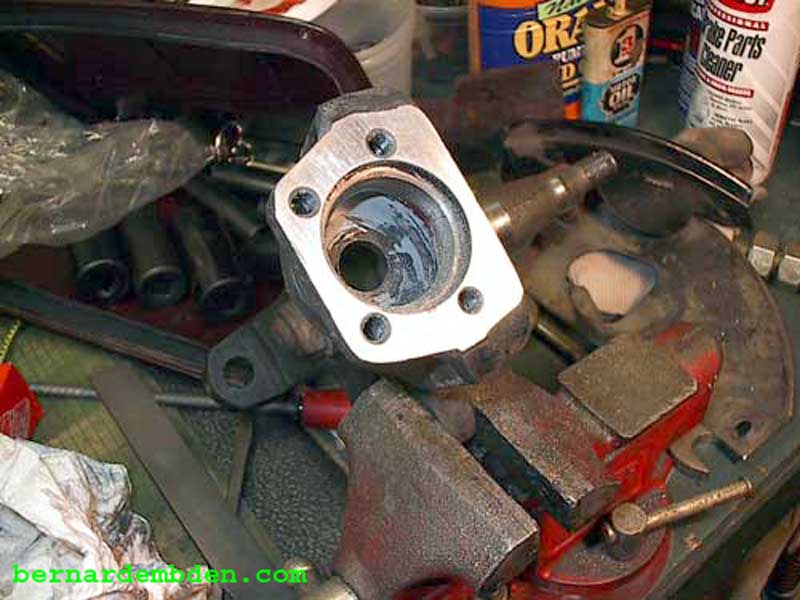
Thoroughly clean and inspect the stub axle carrier. (green arrow photograph below) Address any nicks or pitting with fine sandpaper followed with wet 600 grit sandpaper.
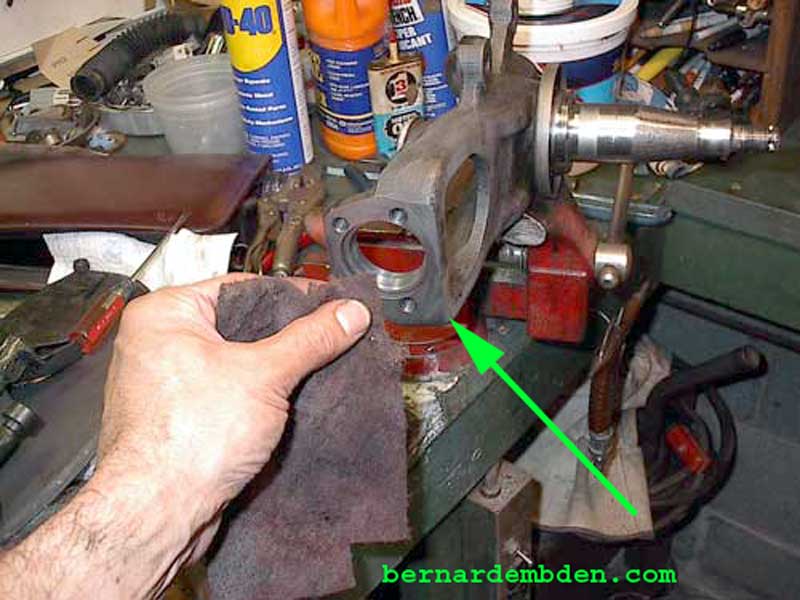
Important. Check lower surface with a straight edge. These lower ball joints take a beating from road debris. I found one side was damaged enough that the grease would exit between the shims under pressure. This had to be trued up. (See photograph below).
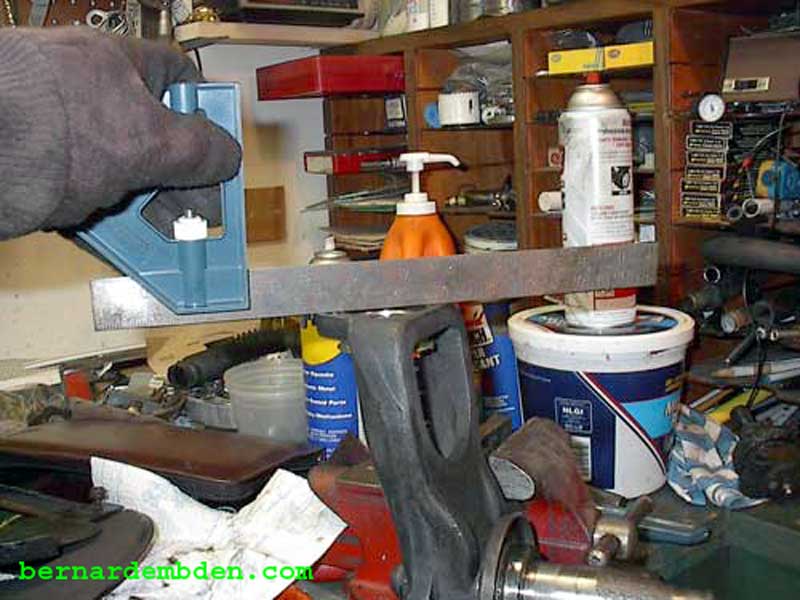
I used a flat hand file. Be sure to hold the file flat against the surface in order to maintain a straight flat surface. Finish the sanding with 600 grit sandpaper attached to a flat surface.
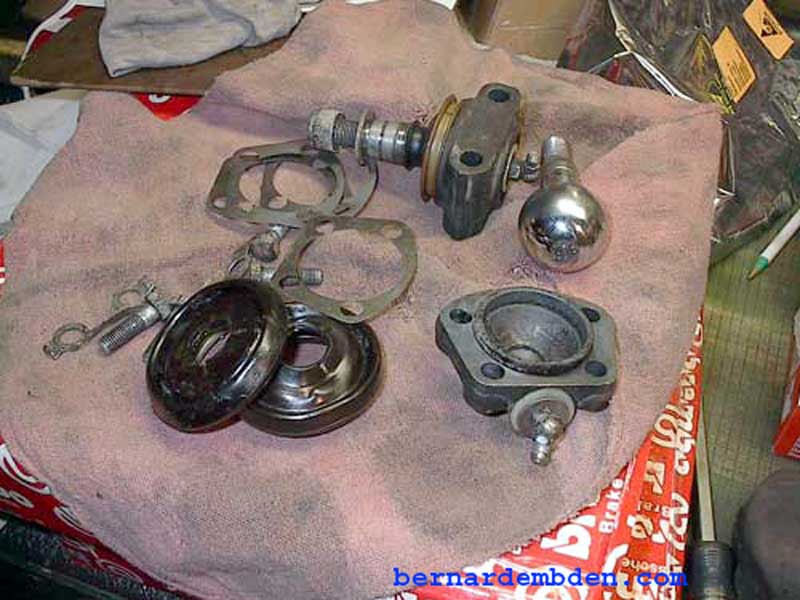
Below is a picture of the old ball joints. (The upper ball joint is replaced as one unit.) The lower ball joint has been disassembled. Carefully inspect all lower ball joint parts. If the ball pin shows any sign of pitting or wear it should be replaced. Notice the adjustment shims. Worn grease boots and screw locking tabs must be discarded and replaced.
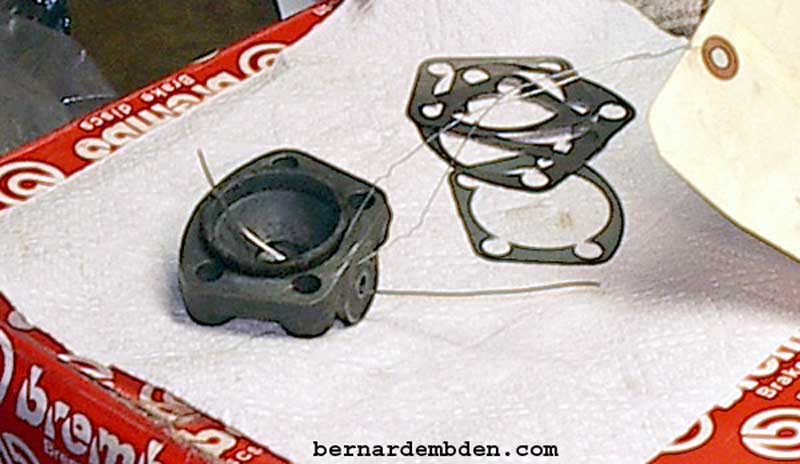
The grease paths through the ball pin cap are pictured below. The grease paths suggest that grease is applied under pressure to the ball pin cap (larger wire). From there it goes pass the ball pin ball to the upper rubber boot. It then exits via the pressure relief hole normally covered with a plastic washer under the grease nipple. (smaller wire). However, under grease application the ball pin ball prevents grease from reaching the upper rubber boot. The grease paths do not seem to support applying grease to the upper boot section.
Lightly grease the ball pin ball prior to assembly.
Note that too much grease will negatively affect the proper shimming process during the rebuild.
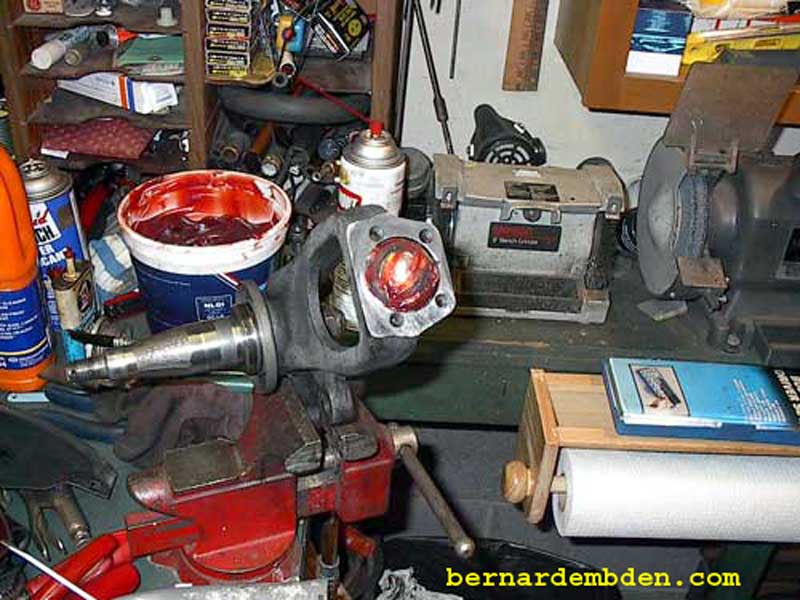
Install shims and ball pin cap to stub axle carrier. Install locking tabs and tighten setscrews to 15 to 20 ft. lbs.
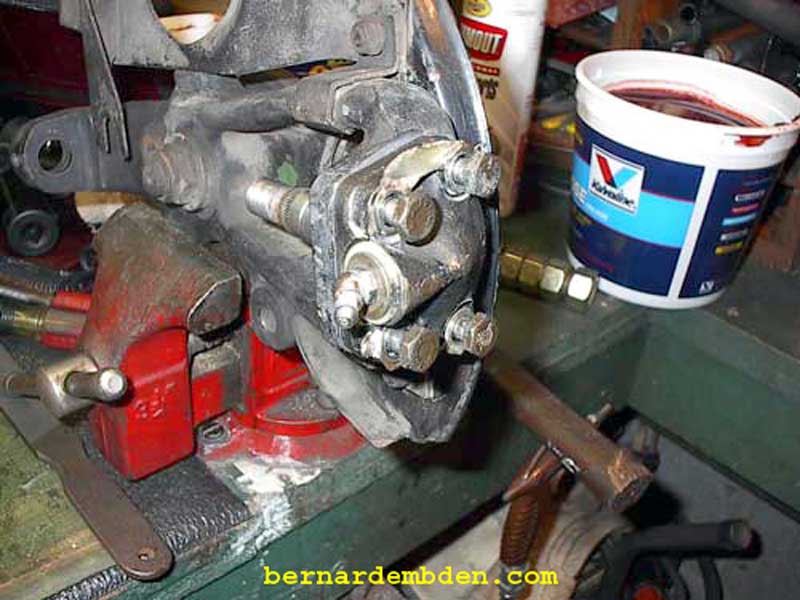
After ball pin cap setscrews are tightened, check ball joint adjustment. Ball pin should move by hand, with tangible friction. There should be some effort required to move the ball pin. If ball pin is too loose, remove ball pin cap and remove the appropriate shim or shims. If you cannot move the ball pin by hand, the assembly is too tight. Remove ball pin cap and add the appropriate shim or shims. (Note that too much grease on the ball pin can give the impression that the joint is within specs when in fact it’s too loose)
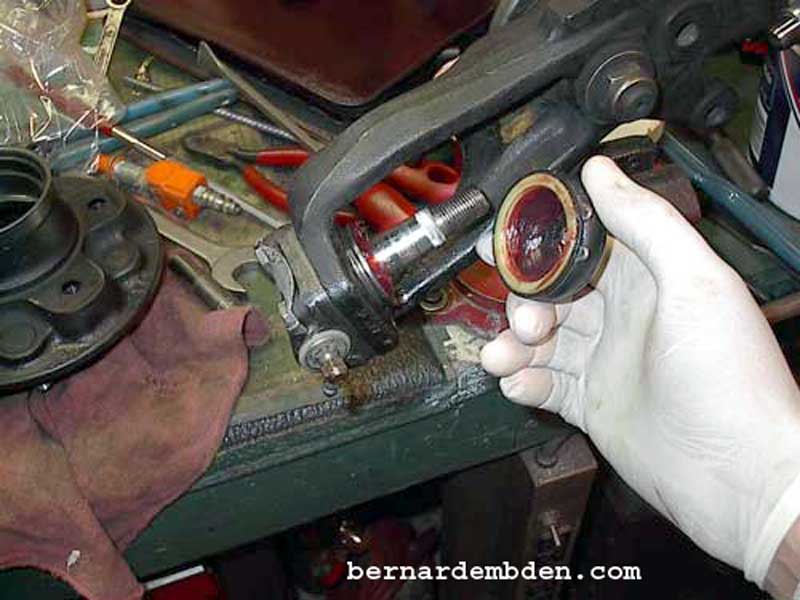
When adjustment is complete bend the four setscrew locking tabs down. Grease the rubber boot and attach to the retaining ring. This can be a real PIA. Secure with an appropriate tie.
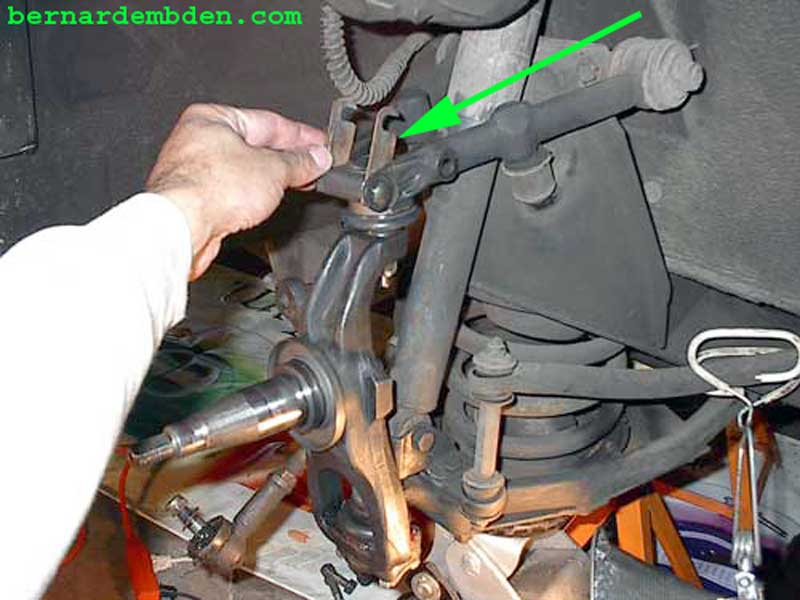
Install stub axle carrier with rebuilt ball joint. Make sure you reinstall all shims in their original position. (green arrow photograph below). Tighten upper ball joint to control arm nuts (that hold shims) to 26 to 32 Ft lbs. Reinstall original washers and tighten ball joint nuts to 45 to 55 ft. lbs.
Grease ball joint until rubber boot swells slightly. If done correctly your ball joints should be good as new.