
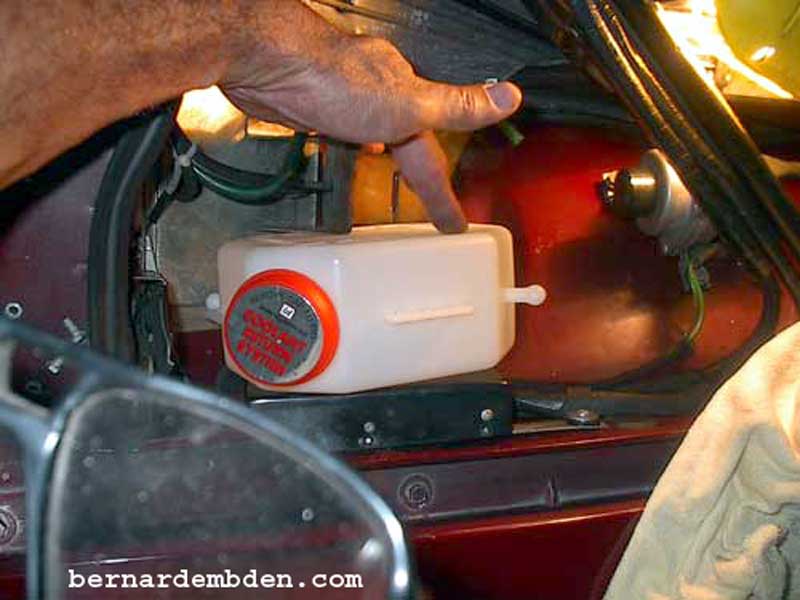
The Jaguar Pre-HE's radiator has an expansion tank but no provision for coolant recovery. In addition, one cannot see the coolant level in the expansion tank, and must rely only on the low-level coolant sensor to monitor coolant level.
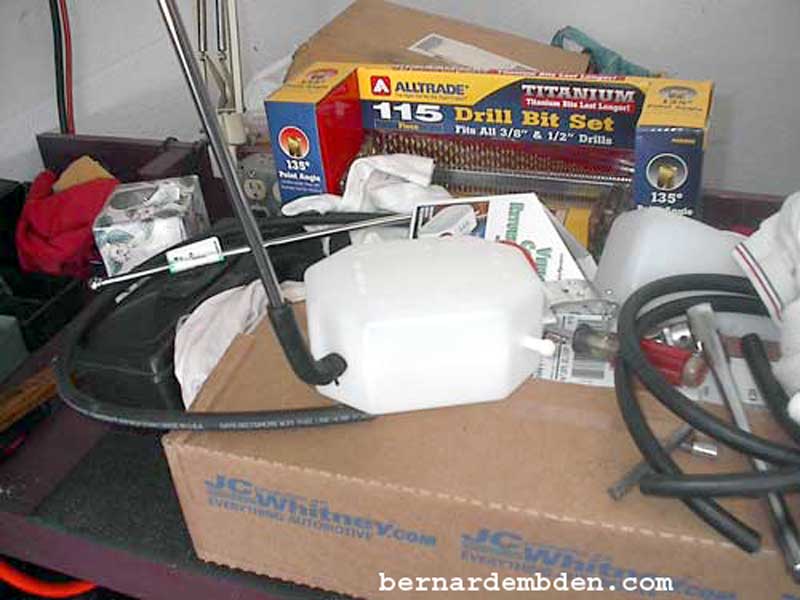
I decided to install a Radiator Coolant Recovery system. I chose a recovery system manufactured by Interdynamics, available from a number of automotive stores and mail order companies. (This system was sourced from JC Whitney.) I chose the narrow container, approx. 7x6x3.25 inches. Although the capacity is only 1.5 quarts, it would be sufficient for this project. The 3.25 inches width is critical, as there is not an overabundance of space in the XJ-S engine compartment.
Putting in a coolant recovery system meant finding space for it. Finding space usually means that something has to be moved or relocated. The only available space in the engine compartment of the V12 XJ-S is the windshield washer canister location. That space, however was not enough, I needed 3.25 inches. That meant that, among other things, the windshield washer canister would have to be moved.
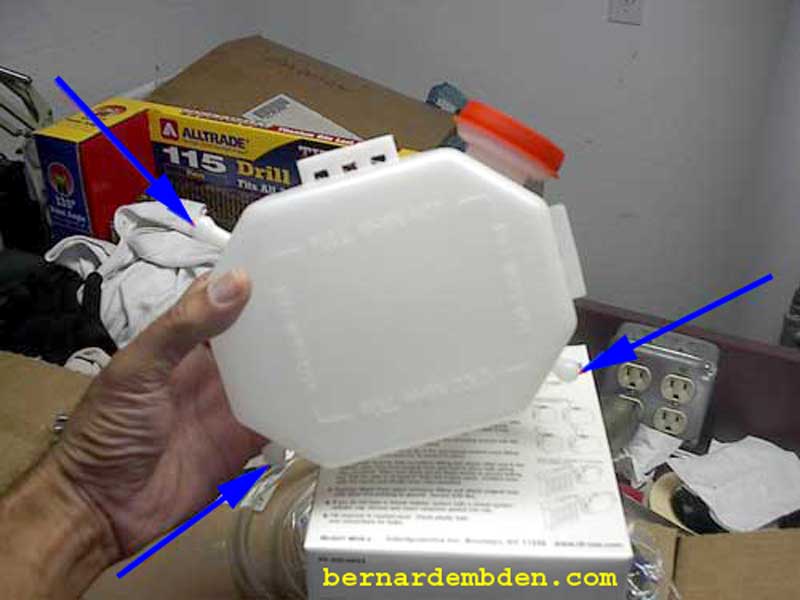
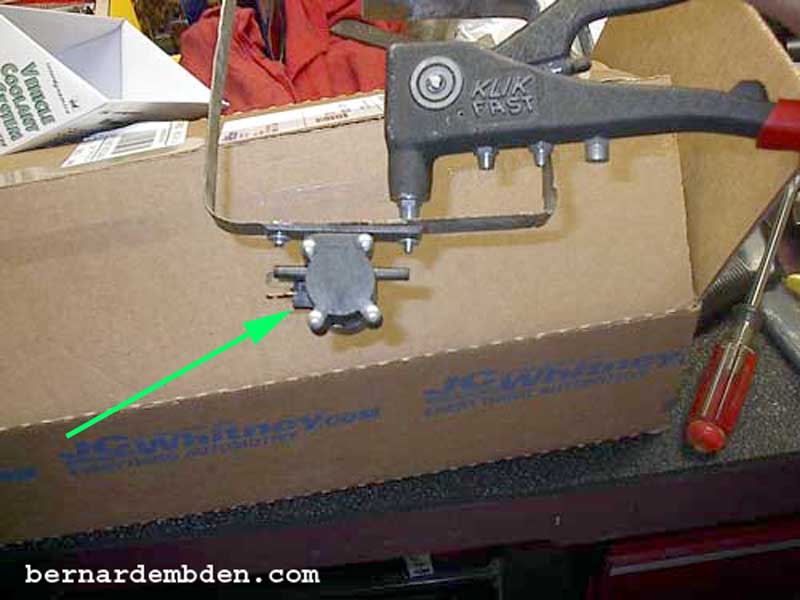
Pictured below is the generic Coolant recovery system, designed for various applications.

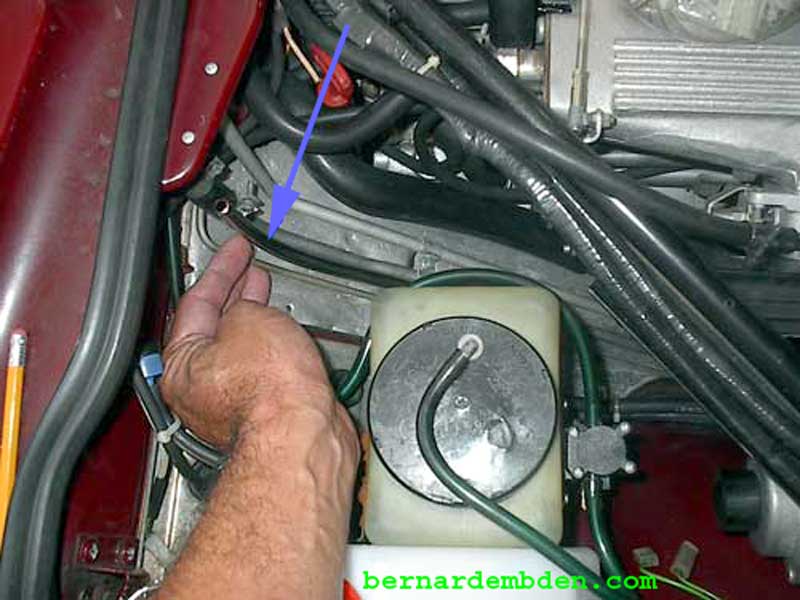
The canister is designed with three "nipples" (blue arrows photograph below). These are the entry and exit points for coolant. Canister orientation will dictate which ones to use.
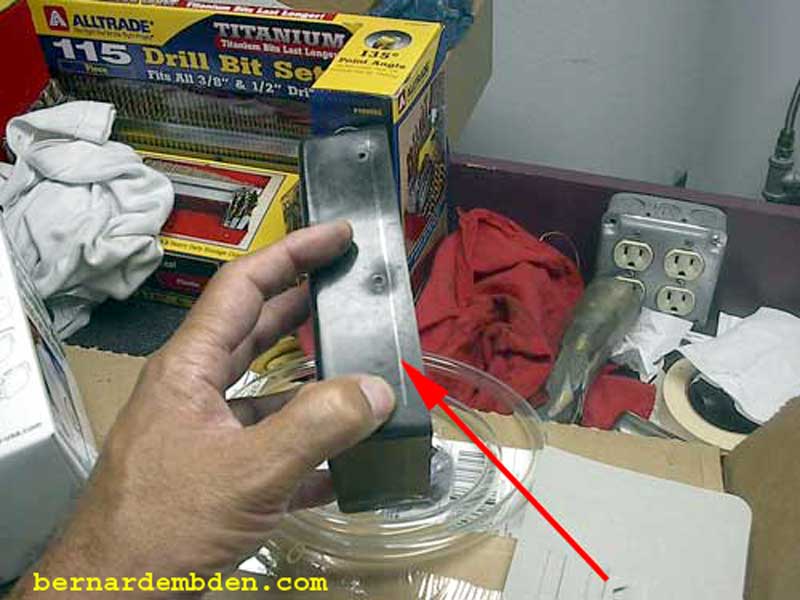
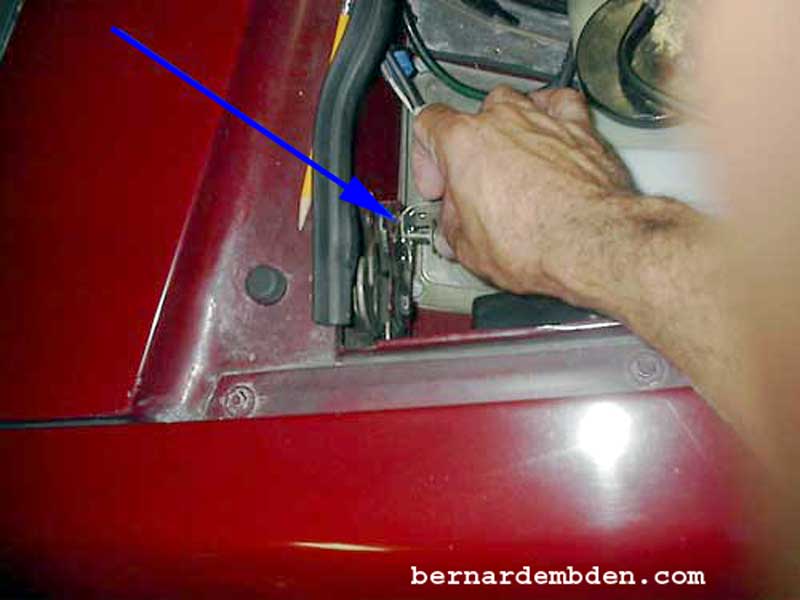
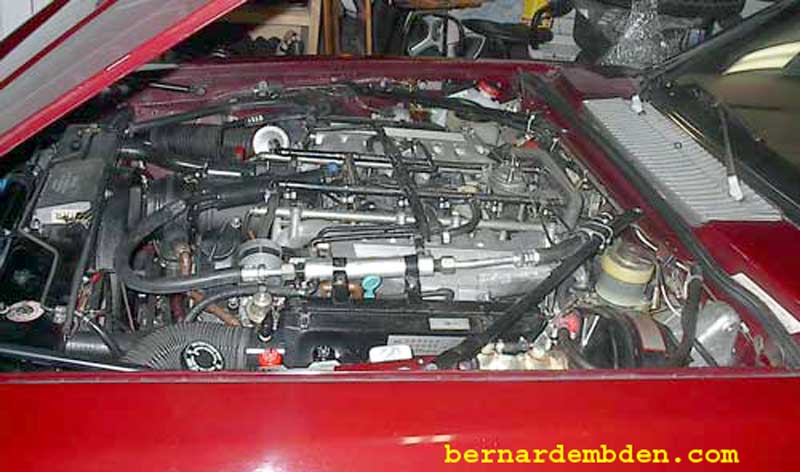
Creating space was the next objective. In order to get the 3.25 inches necessary for the installation the cover for the starter relay had to be modified. First the cover (red arrow photograph below) is removed.

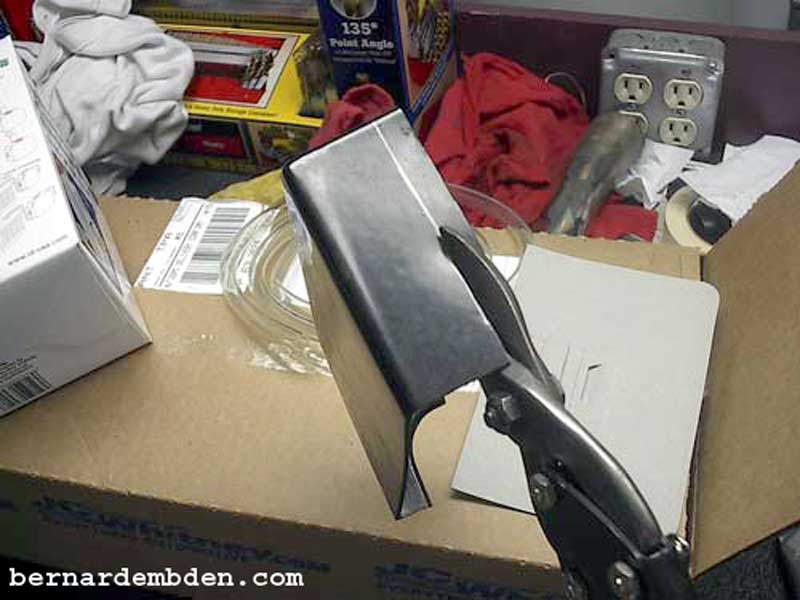
In the photographs below, approximately 1/4 inch of the cover is removed with tin snips.
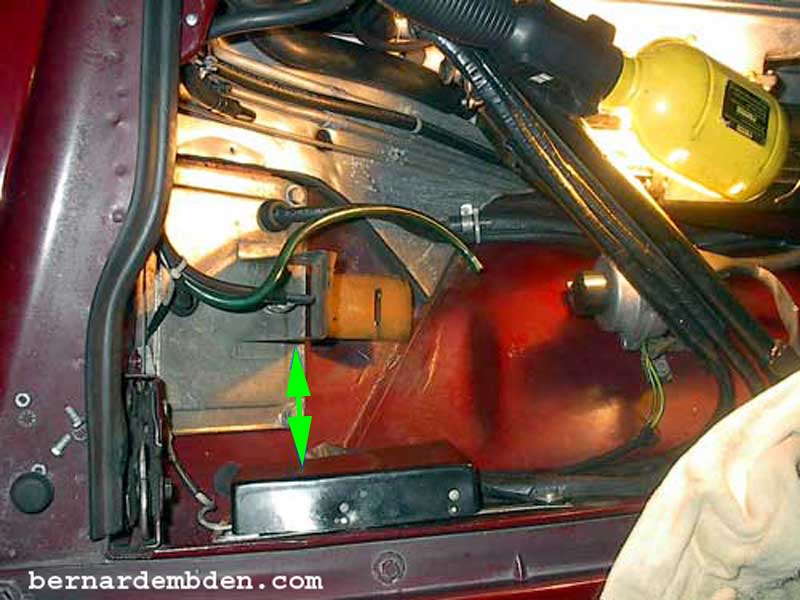
Replace starter relay cover. Now I have the necessary 3.25 inches between the starter relay cover and the windshield washer mounting bracket (double green arrow photograph below).
Initial fit indicates that there is just enough space. Note that the windshield washer canister will have to be relocated.
The windshield washer canister bracket is modified to move the canister as far as possible towards the center of the engine compartment. The non-original windshield washer pump (green arrow photographed below) must also be relocated by riveted it to the windshield washer canister bracket
Note the modified washer canister bracket in the photograph below.
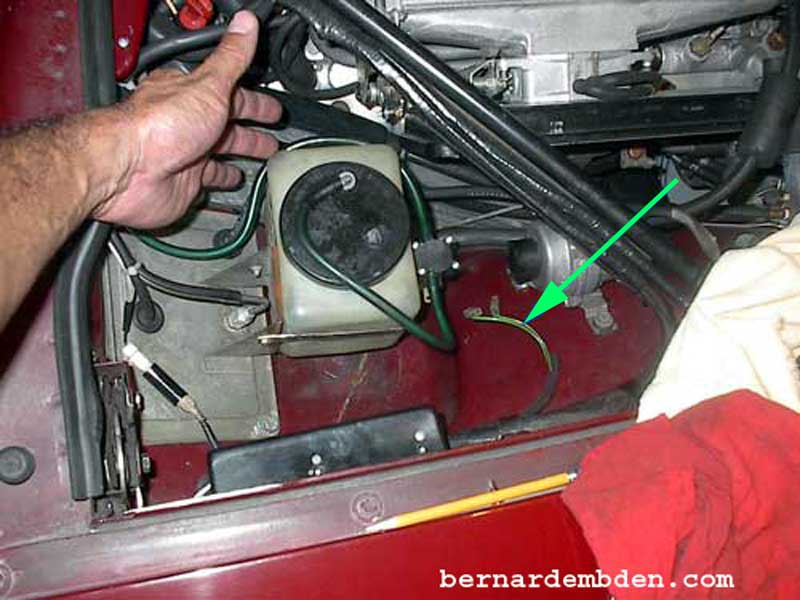
With canister and washer pump installed to new locations, the electrical connecters for washer pump has enough slack to reach the new pump location. (green arrow photograph below).
The coolant entry from the radiator expansion tank must to be at the bottom of the overflow canister. Based on the orientation of the canister when installed, the bottom "nipple" is identified. Use a drill bit to open the correct nipple. (blue arrow photograph below)

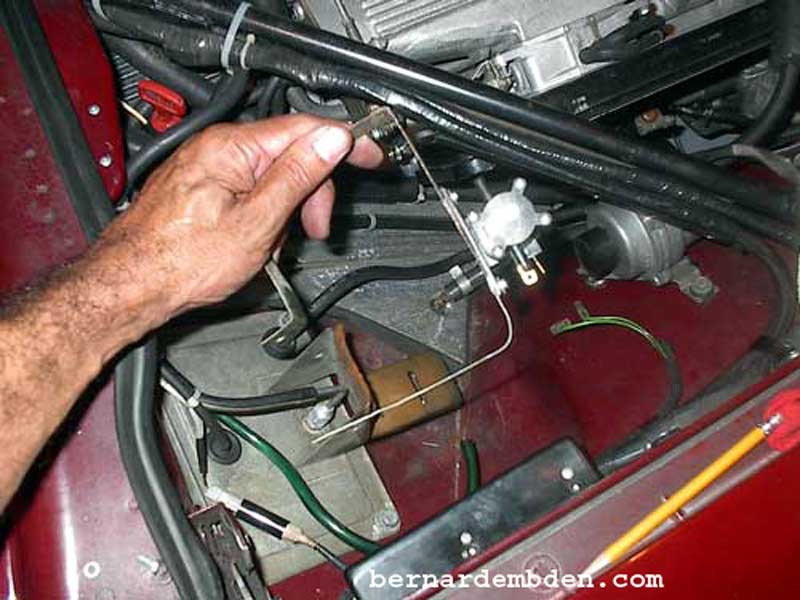
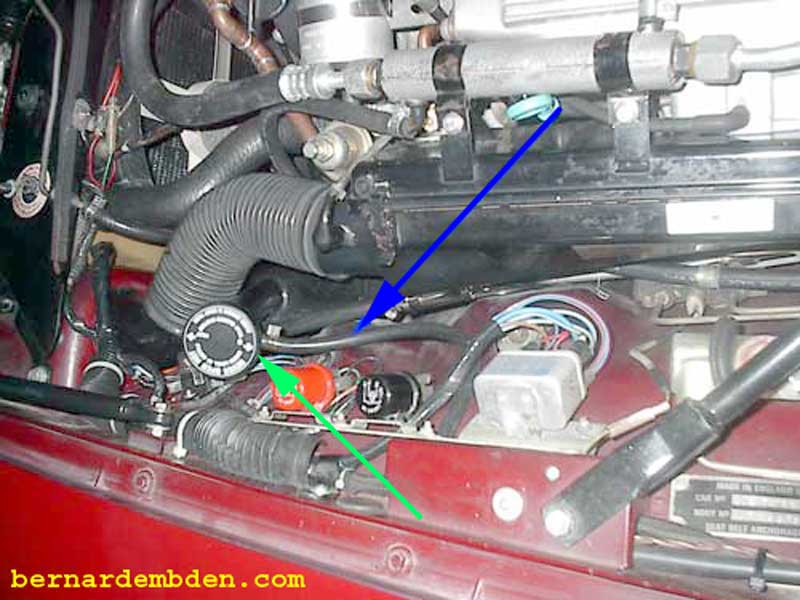
You can just use the correct size hose to connect back to the radiator's expansion tank's overflow connection. My modifications not only must work, they must look good. So I used a 90-degree hose elbow to attach to a chromed copper tubing to route the coolant up the side of the canister. (Blue arrow, second photograph below).
Overflow hose (blue arrow photograph below) is routed from expansion tank through fender bracket, behind brake booster, brake fluid canister, wiring harness and A/C expansion valve and over to new overflow recovery canister.
Note that the Jaguar original expansion tank cap is not designed to work with an overflow system. I used a radiator cap from a 1990 Pontiac Grand Prix. This cap was designed for a coolant recovery system. Instructions on cap indicated that arrows on cap must line up with overflow connection. (green arrow photograph below).
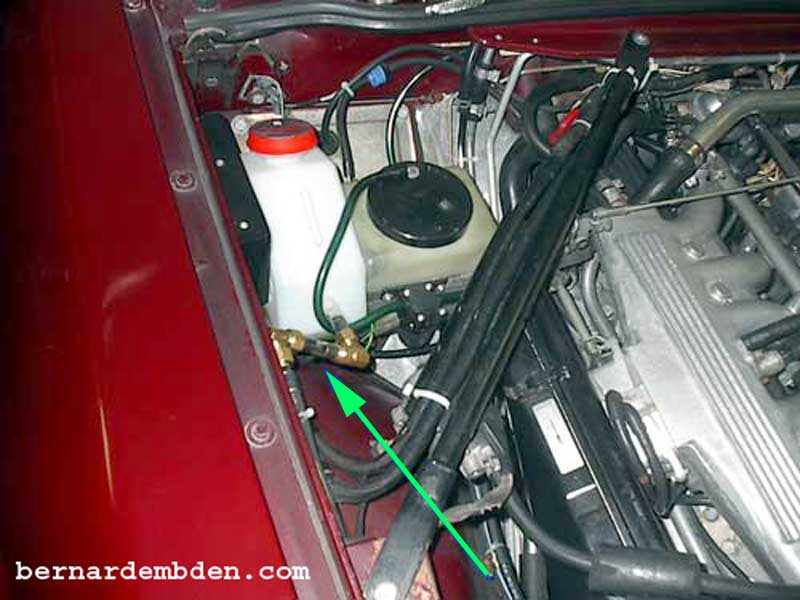
The canister is bolted in place. I modified the bracket that came with the kit and attached it using an existing hood latch bolt. (blue arrow photograph below)
I could have made a hole at the top of the canister for the overflow hose, however I decided to use an existing "nipple". Because the nipple is located at the front center of the canister, it became necessary to install a "dual right angle fitting" so the overflow would be functional at the same level as the canister top. I used two right angle copper compression fittings with a short length of 3/8 copper tubing to fabricate the fitting. (photographs below)
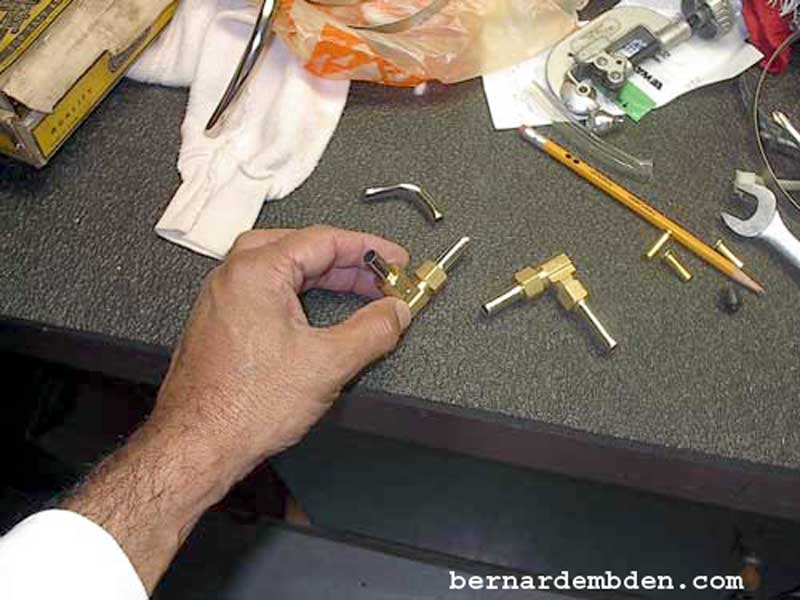
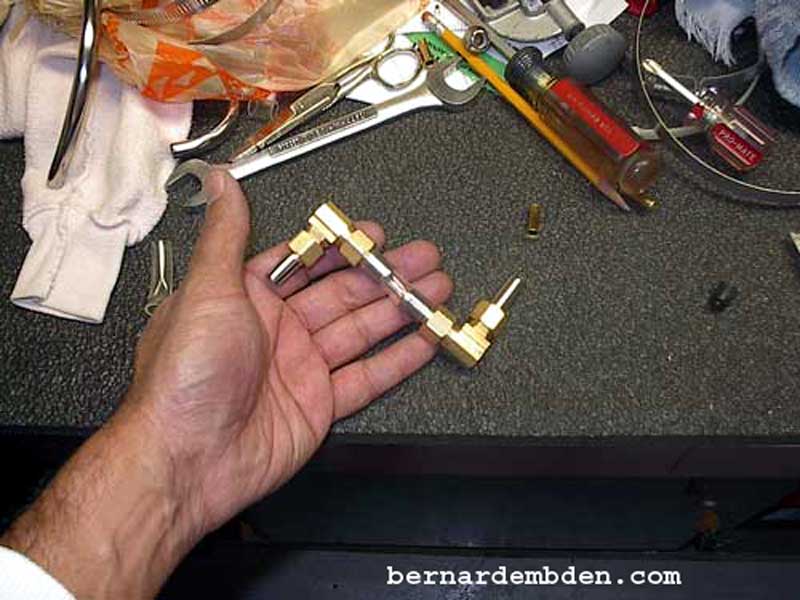
The dual right angle fitting (green arrow photograph below) effectively raised the overflow connection to the proper height.
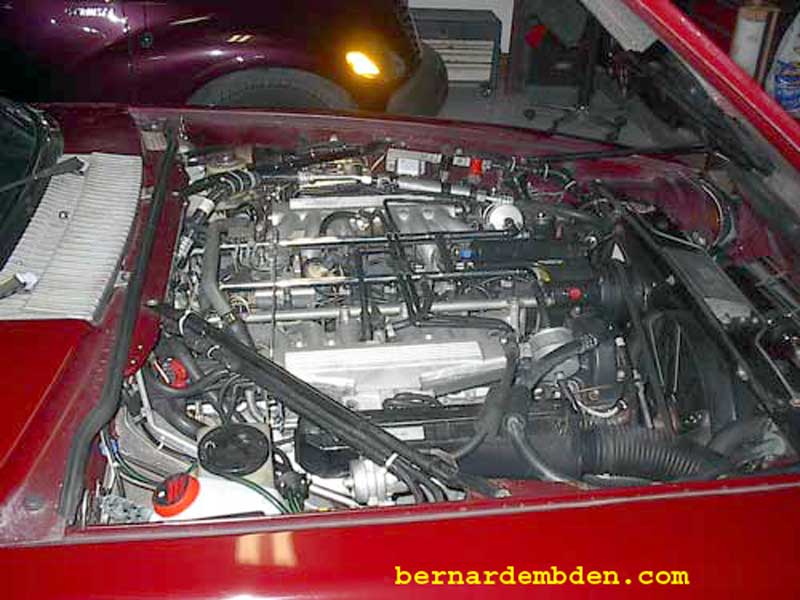
Coolant recovery canister installation project completed.
Using antifreeze fill original expansion tank completely, and coolant recovery canister to half height. Start engine and check for leaks. With engine fully warmed up check coolant level in the overflow canister. It should be approx. 2/3 full. When the engine is cold you should see some coolant in the coolant recovery canister. This indicates that the coolant recovery system is functioning correctly.
