
My 1978 Jaguar XJ-S had accumulated one or two small dents and digs during the last 25 plus years. They were all minor and no one could see them but me. That all changed when I transported the car from New York to Florida. Due to lack of space, the moving company apparently climbed into the car through the window. This resulted in small indentations in the roof, possible from using the roof as support. Again, no one noticed this but me. However now I was perturbed. I was determined to fix the problem.
I ruled out a traditional body shop. My interest was provoked by the many business that claimed to remove dents by pushing them out from the back-side, all without damaging the paint. I encountered a company in Tampa, Florida, (Dent Medic) that convinced me that this was indeed possible. In addition Dennis Palumbo (Owner Dent Medic) assured me that the finished job would be "Perfect". I insisted that I remove the necessary parts to allow access to the "back side" of the dings.
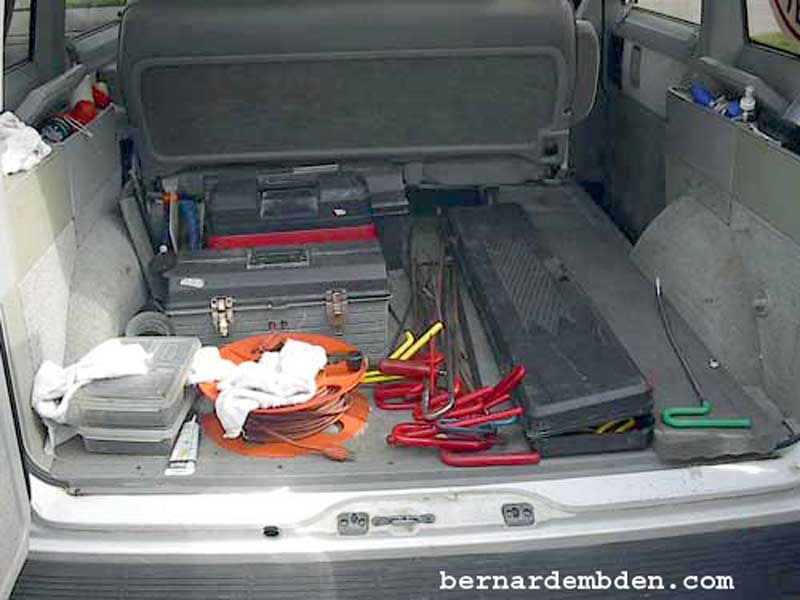
You can judge a man by his tools. Dennis insisted that this was but a small sample of the pullers and pushers that he has. Whatever the situation, there was a tool that would handle the job.
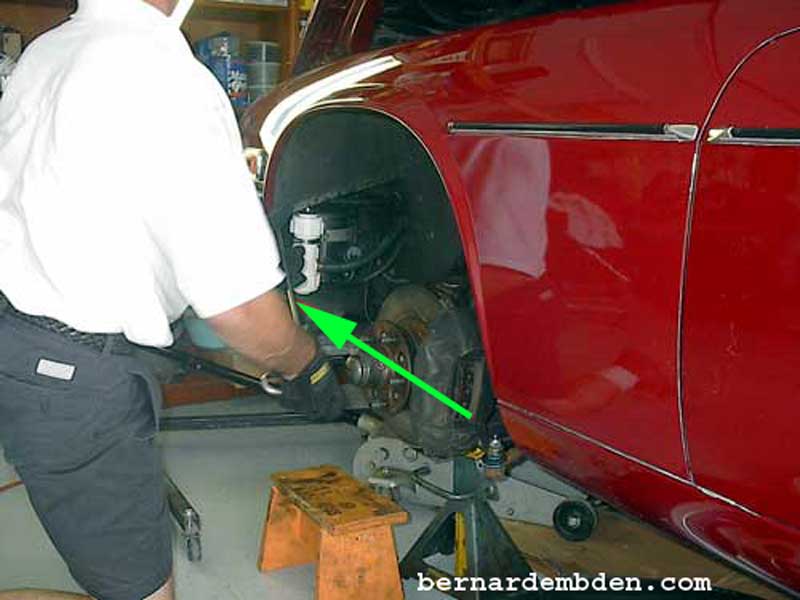
First up a small ding at the left front fender. I removed the access panel and using one of his "tools" (green arrow photograph below) Dennis started the process of pushing the ding out. Visible are the charcoal canister and my custom PCV vent filter.
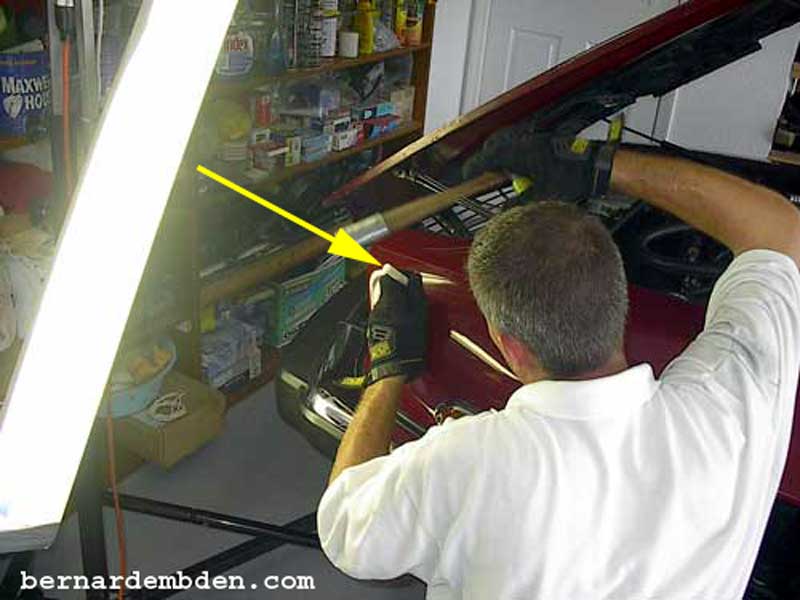
The ding is worked from both sides of the metal. A special nylon stick (yellow arrow photograph below) is used to force the high part of the metal back in via small hammer taps. Note the florescent lights. They are critical to the job. The ding is always viewed at an angle while working the metal.
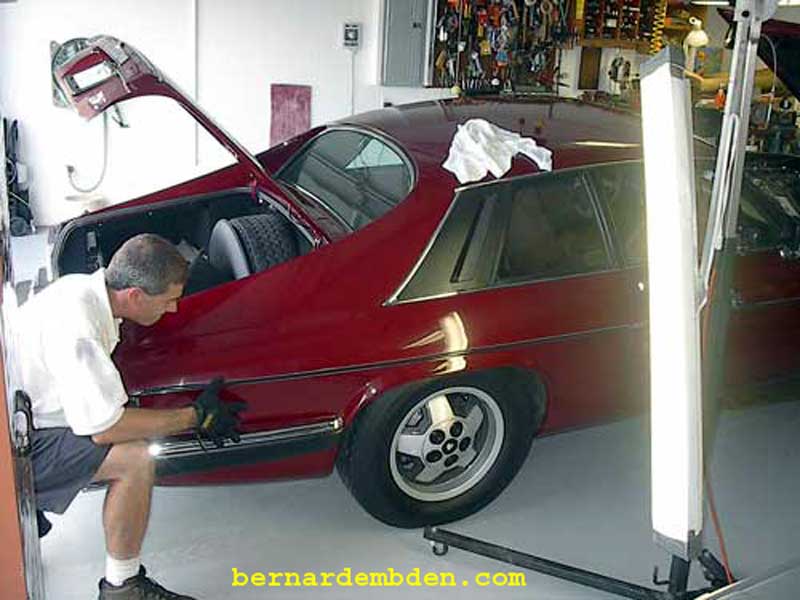
Photographed below is a crease that some miscreant had put in my car. It is in an impossible location, close to the door opening edge. (yellow arrow)

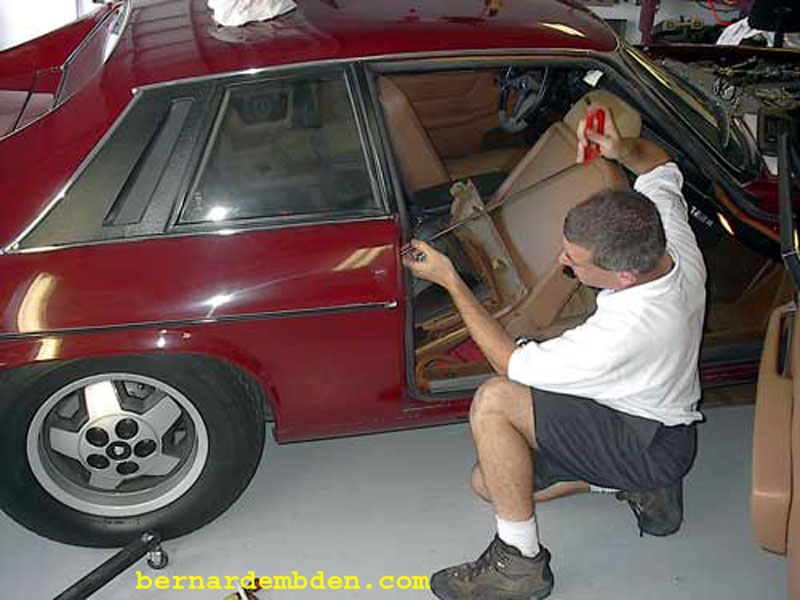
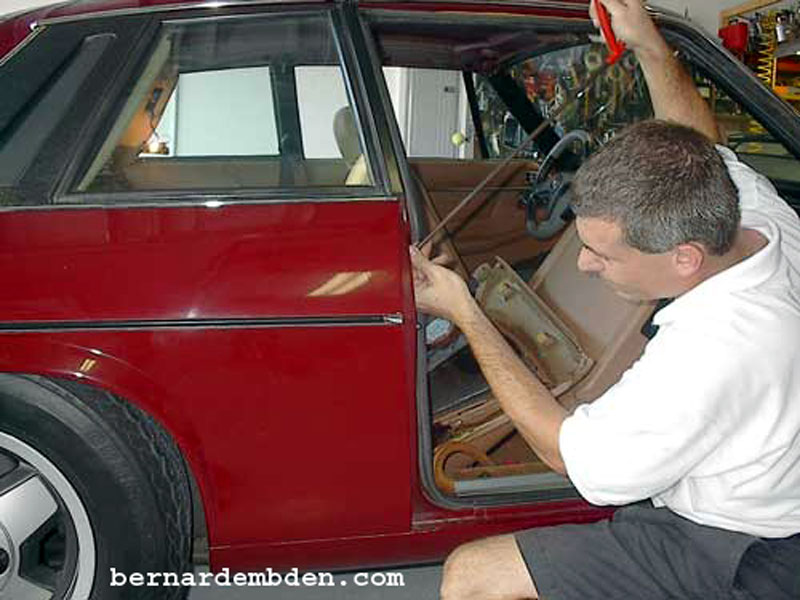
Although he has access to the backside of the ding, Dennis decided to work through an existing hole in the door opening. This afforded him better leverage and control.
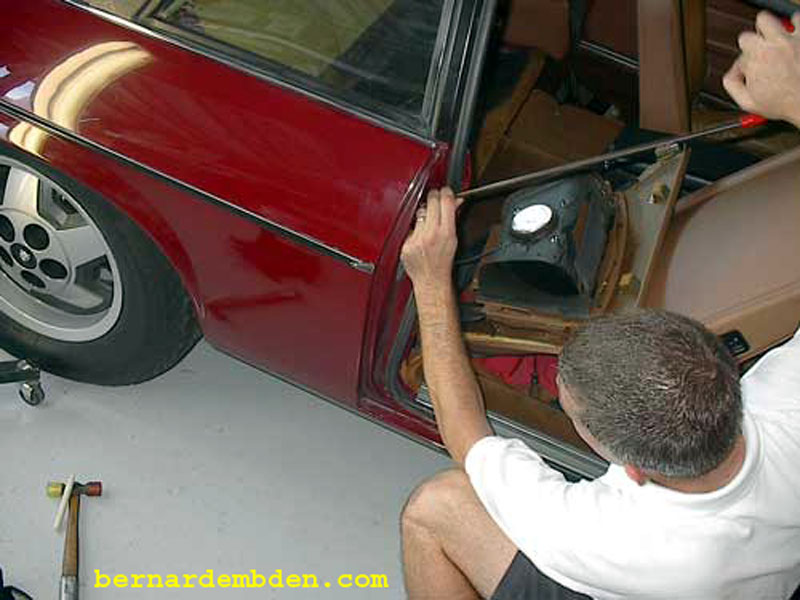
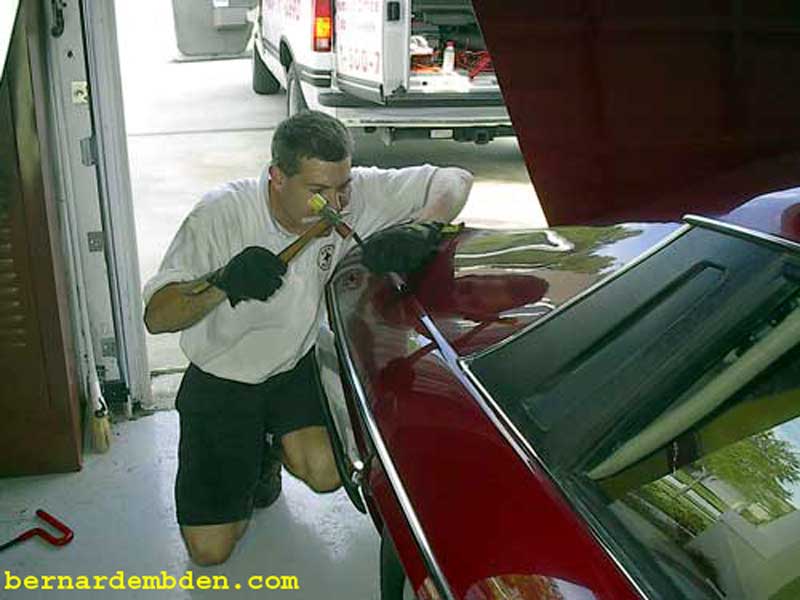
This is one job where there is absolutely no substitute for experience. With the light at the proper angle the metal and paint is observed constantly as the ding is removed. It's painstaking work. Speed is the enemy. The metal has to be massaged and caressed back into position. (photographs below)
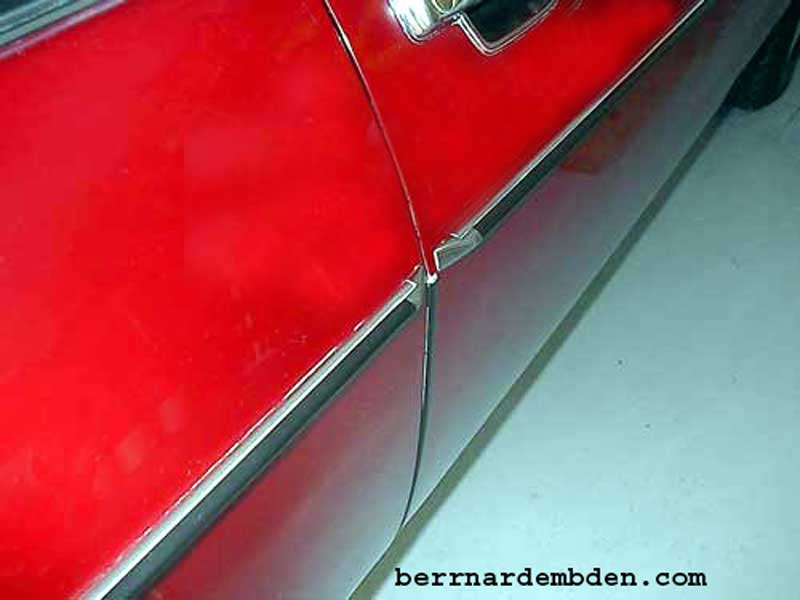
Dent removed. When done properly the dent literally disappears.
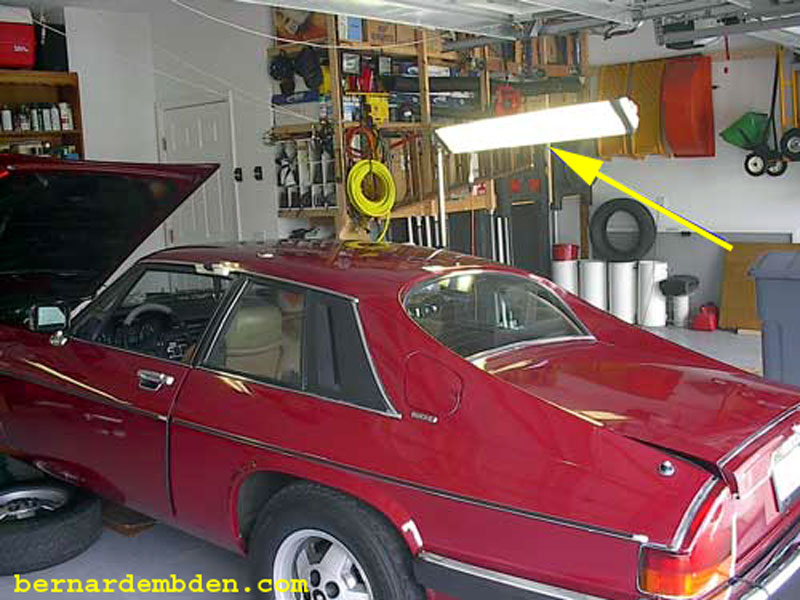
In the photograph below, the light (yellow arrow) is positioned at just the right angle for work on the roof.
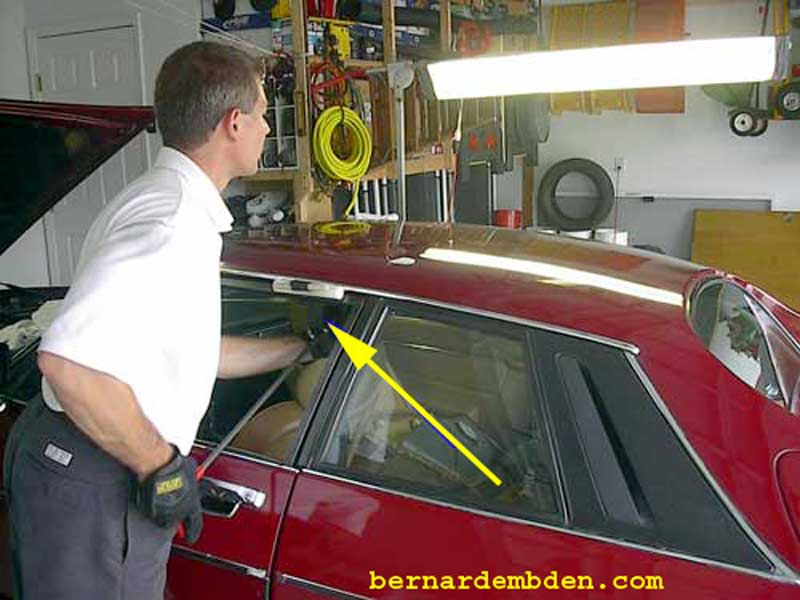
Using a support strap (yellow arrow photograph below) for leverage, Dennis starts on the roof. Notice the angle of the light and the work surface. Where to place the light is based solely on experience.
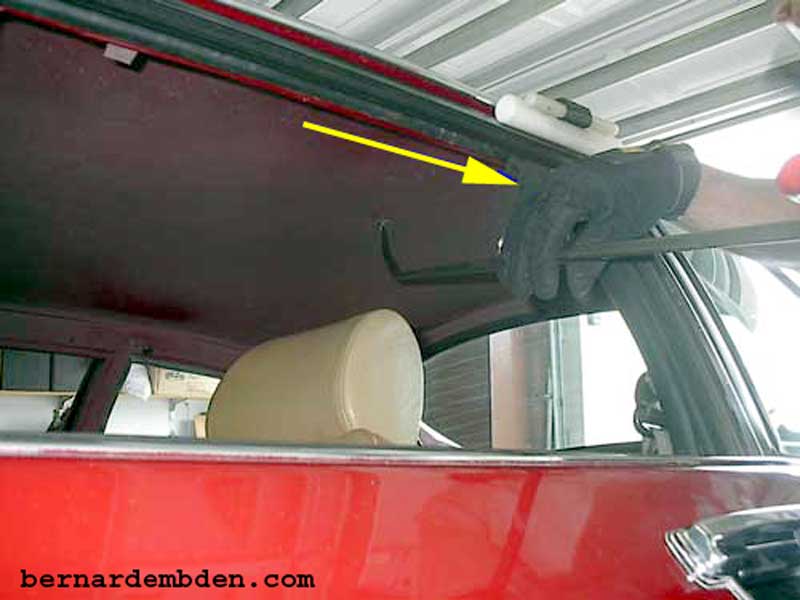
I had removed the headliner for this project. The tool is leveraged via the strap (yellow arrow photograph below).
Small dings require small tools. This process is extremely slow. Each action is viewed for results. The concern is always for the paint.
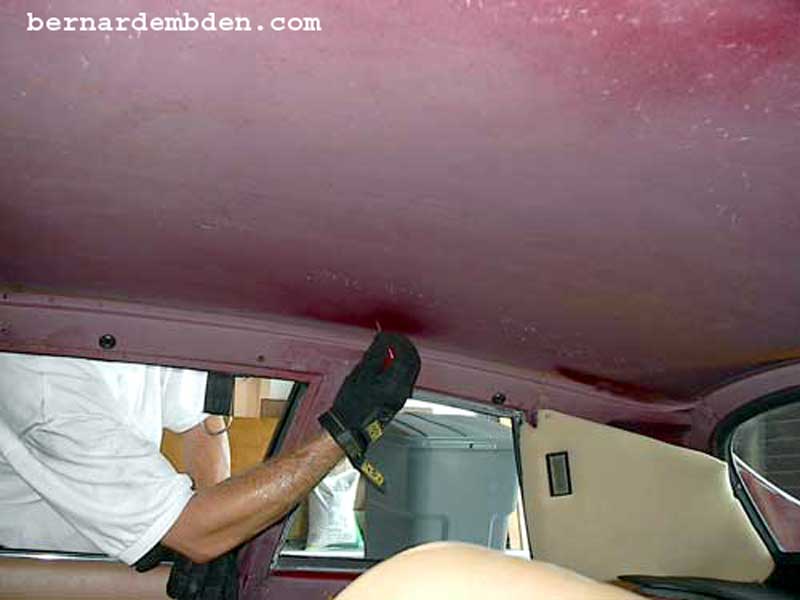
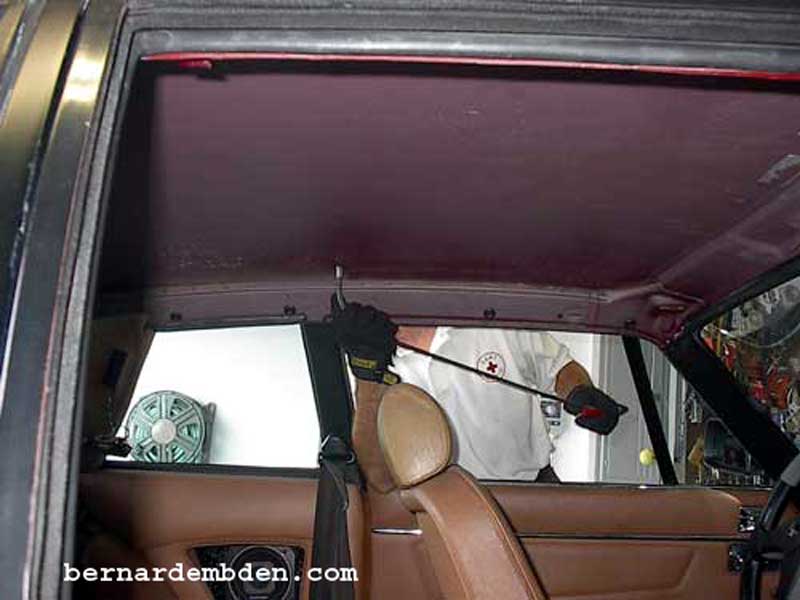
Working the metal from the top side of the roof. Using the nylon stick and judiciously tapping. (yellow arrow photograph below). Experienced technicians will tell you that the metal has to be worked from both sides of the dent.

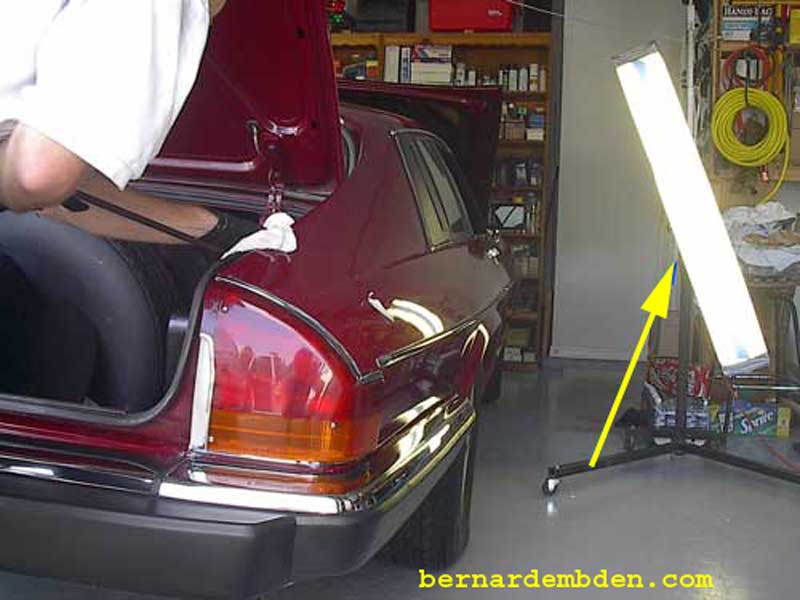
Two small dings on the right rear fender, barely noticeable, are fixed. Working inside and outside the dings. Note position of the light. (yellow arrow photograph below).
Project complete. The repairs are perfect. Even my super critical eye cannot find fault with this project.
Rumor has it that this technique was invented in Germany by a Mercedes Benz technician many years ago. My advice is to use someone who has vast experience. Only someone who has done this type of work for many years could have achieved these results.
