
Whenever doing any work on my Jaguar that required removal of the hood (bonnet), I needed someone to help me remove the hood. In addition, due to projects that often require the hood to be off the vehicle for an extended period, the problem then is to find a place to store the hood. Using another bay of my garage for hood storage was not a viable option.
As my wife has become more reluctant to spend her life in the garage, I had to devise a solution. The solution? Pull the hood straight up to the ceiling, and leave it there until the project was finished. Then lower the hood directly back onto the mounting hinges.
This project starts by purchasing four 2" long eye threaded hooks and two open/closed snatch rings and some heavy-duty twine. 200 pounds test weight should be sufficient. You will also need some flat iron to fabricate brackets that attach to the front and rear of the bonnet.
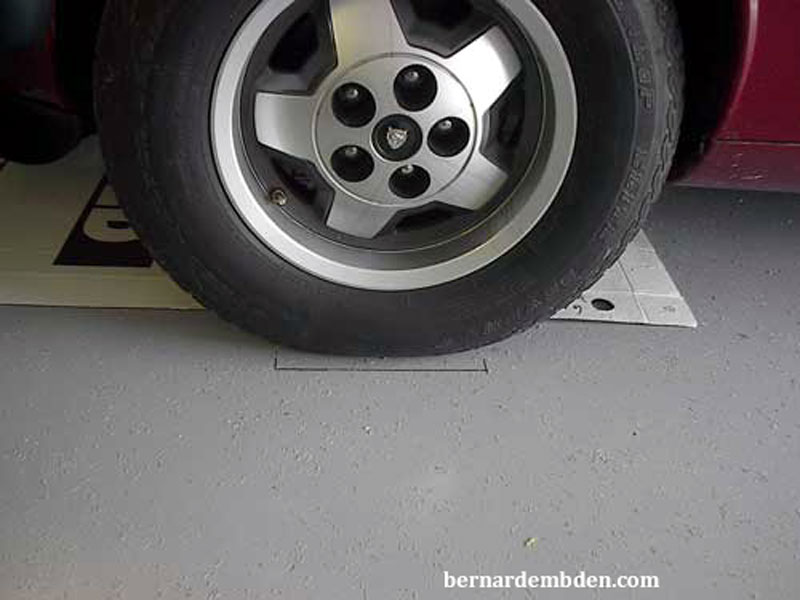
First, park the car in the exact position you will be working on it and, using a permanent marker, mark the position of the front wheels. (photographed below).
Using a string and a weight mark a location on the ceiling directly above the two hood/bonnet front hinge brackets and the rear hood/bonnet locking pins. Screw in the eyehooks into the ceiling at the locations marked.
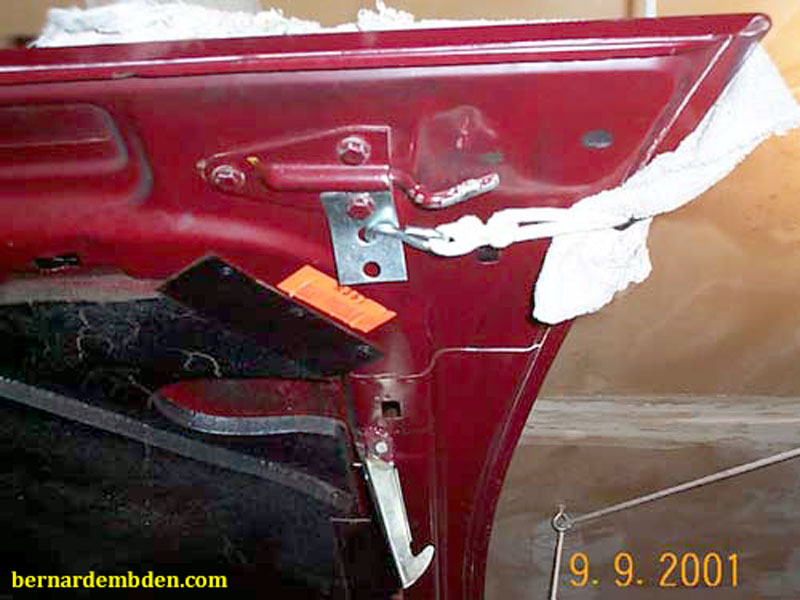
If you can, position the car so you are screwing the hooks into a wood beam. If no beams are available, span the joists with a piece of wood. (photograph below). Attach one "S" hook to twine, loop through the two front eye hooks and attach the end to another "S" hook. Attach "S" hooks to bonnet mounting brackets (fabricated earlier, second and third photographs below). Duplicate the process at the rear of the hood. Attach twine to brackets as shown in photographs below.

Attach fabricated brackets to front hinge and rear locking attachment points. In the photographs below, I used a towel for protection between the hood/bonnet and the twine. Using the twine pull hood/bonnet straight up off the car.
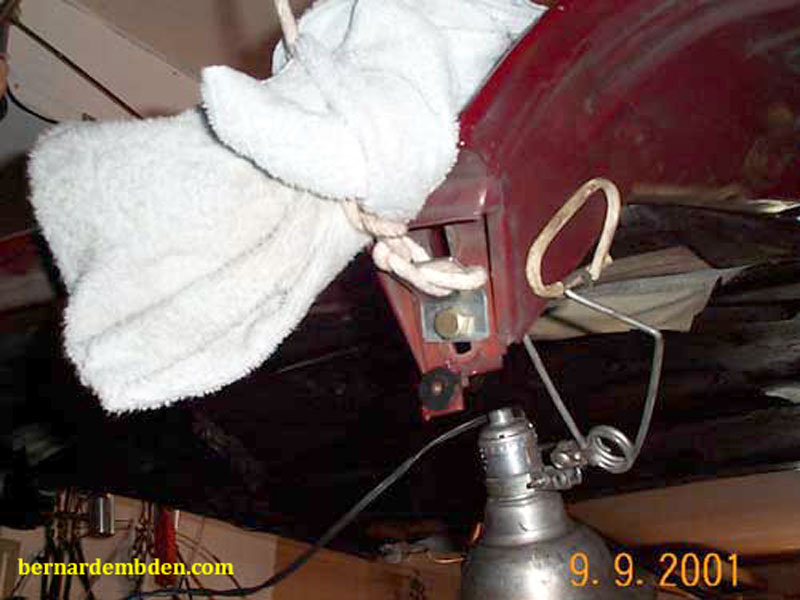
I was not happy. This process seemed somewhat unprofessional, with towels hanging from all corners of the hood/Bonnet. I believe I could do better.
Off to the hardware store to purchase two 6-inch long screws, two 5-inch lengths of 1/2-inch pipe. I do not recommend copper, it’s too soft. (photograph below).
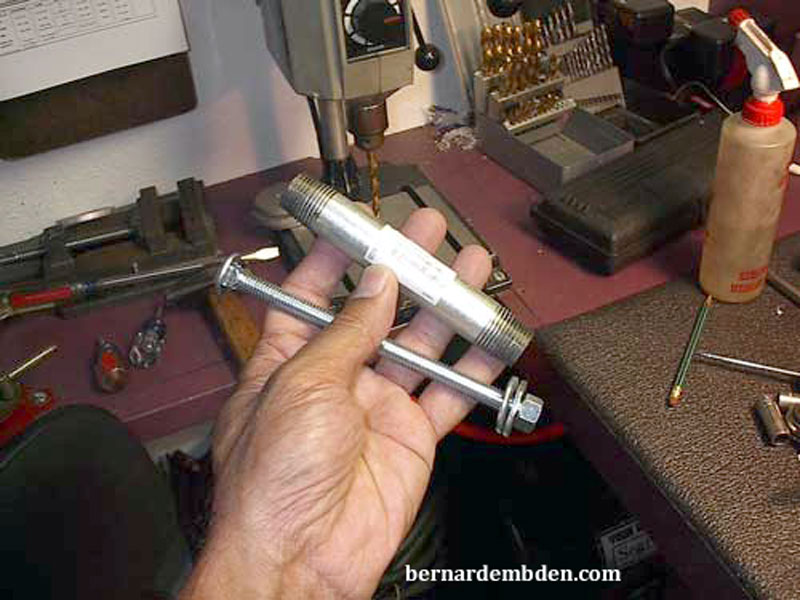
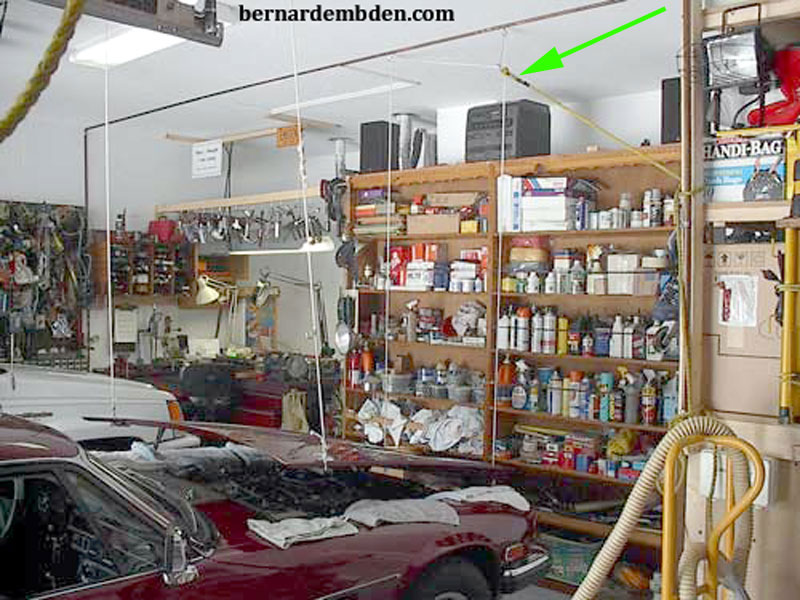
I used the 6 inch screws and 5 inch galvanized pipe as stand-offs for the front hood/bonnet hinges. (green arrows photographed below). This method absolved the hood of towel protections.
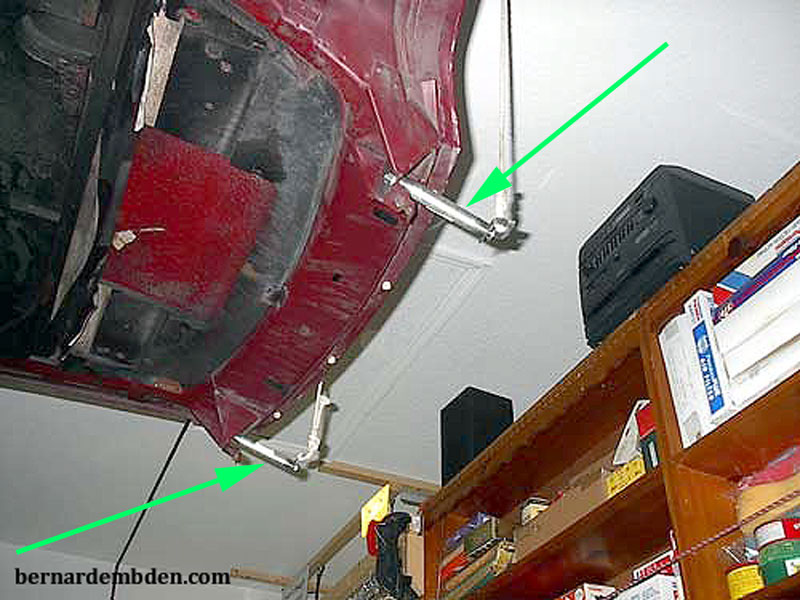
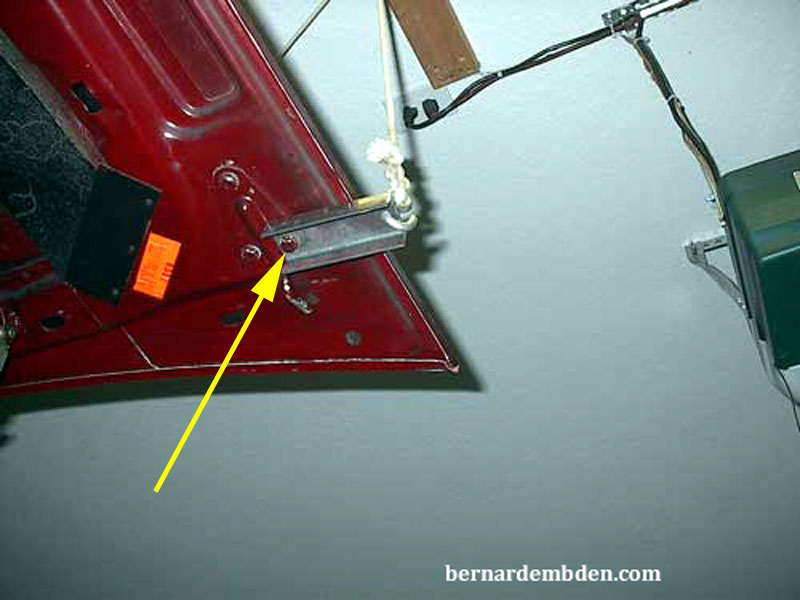
"U" shaped metal stock (for strength) was sourced from my parts bin and cut to length for the rear hood/bonnet attachment. A hole was drilled to allow one bolt to secure the "standoff". (yellow arrow photograph below).
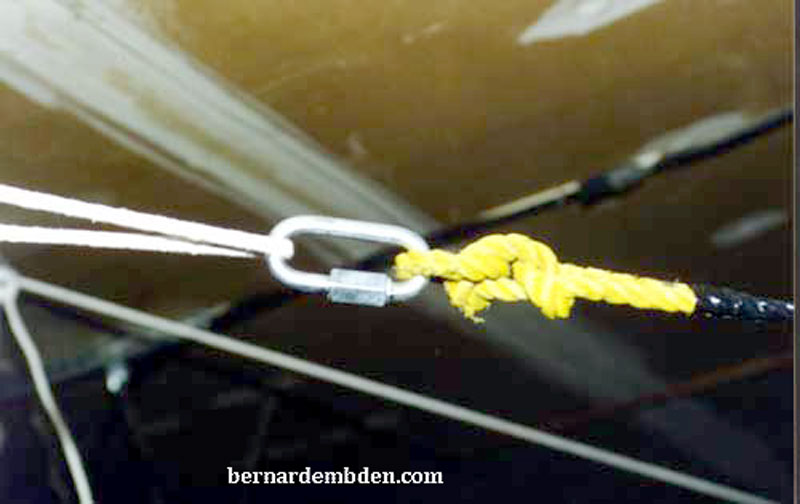
(Photographed below) Feed twine through open/closed (snatch rings) rings and attach snatch ring to rope. If done properly, just two ropes will pull the bonnet up via all four corners.
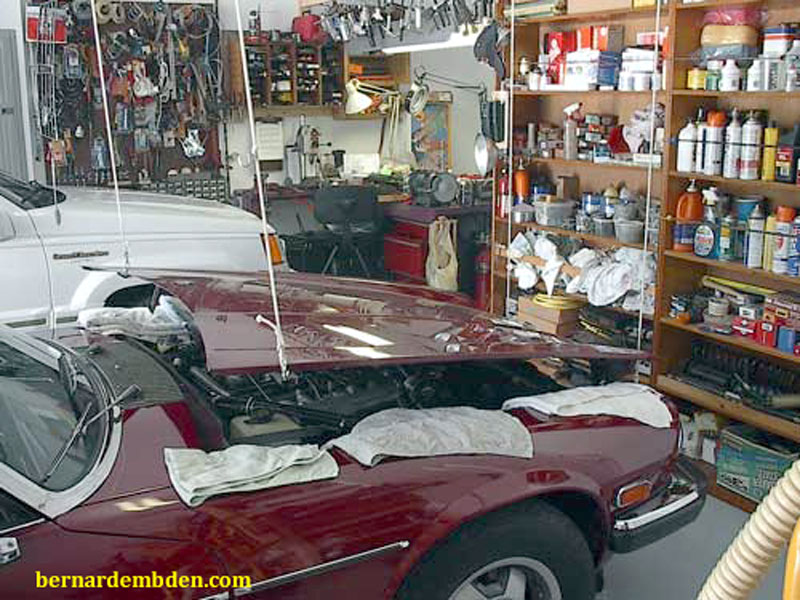
Photographed below is the final version of the hood/bonnet hoist removal system installed in my garage in Florida.
To raise hood, pull alternately front rope, (green arrow photograph below) then back rope. Tie each rope off between pulls.
Tie off rope on something secure. Tell your wife your kids and neighbors not to touch the tie off locations. You don't want the hood to come crashing down on your head.
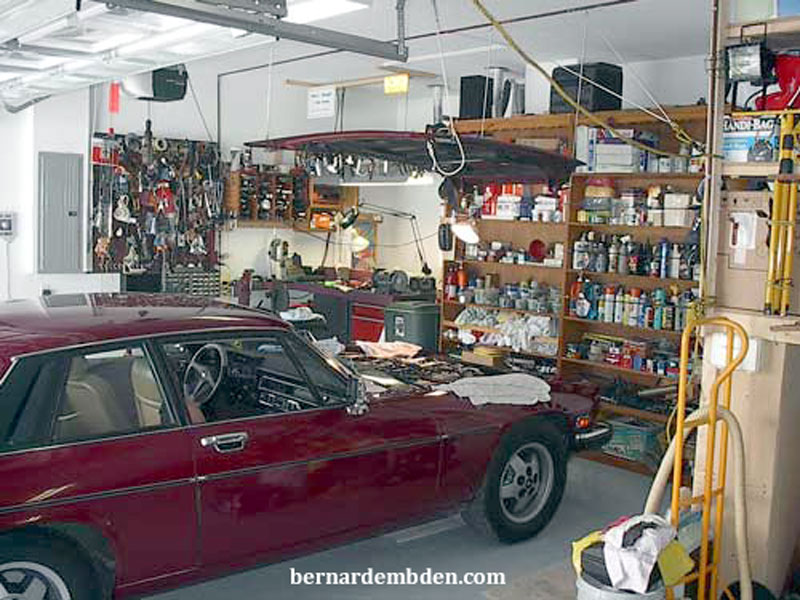
Now that's what I'm talking about. I love this project.
The hood/bonnet is out of the way. Work light and engine access is not an issue. Wife is happy shopping. When completed, just lower bonnet back into position. Pull ropes out of the way and tie off. Trust me; you will need this hoist system again and again.
