
The rebuilding of the front hubs includes replacement of the seal and inner and outer wheel bearings and bearing races. Also included in this project was the replacement of the front brake rotors.
Remove brake caliper (pictured below) by undoing safety wire and removing caliper bolts.
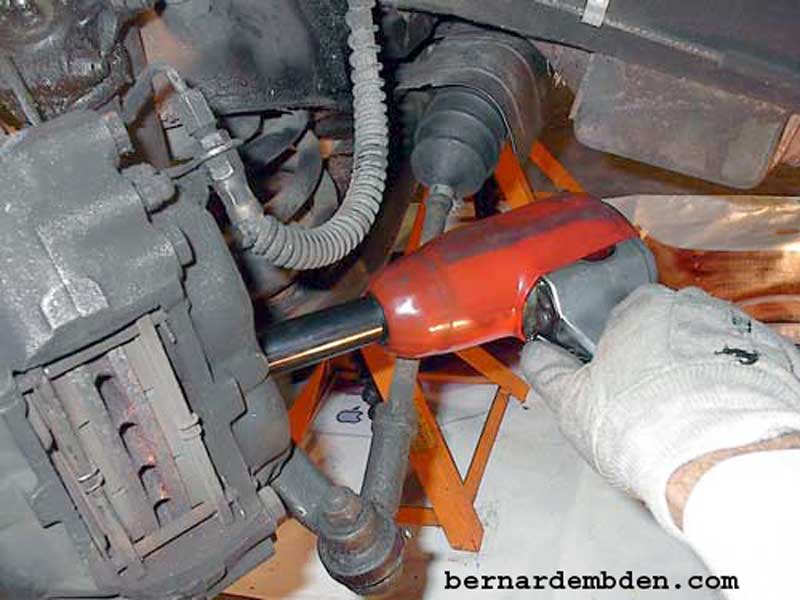
Do not hang the brake caliper by the brake hose.
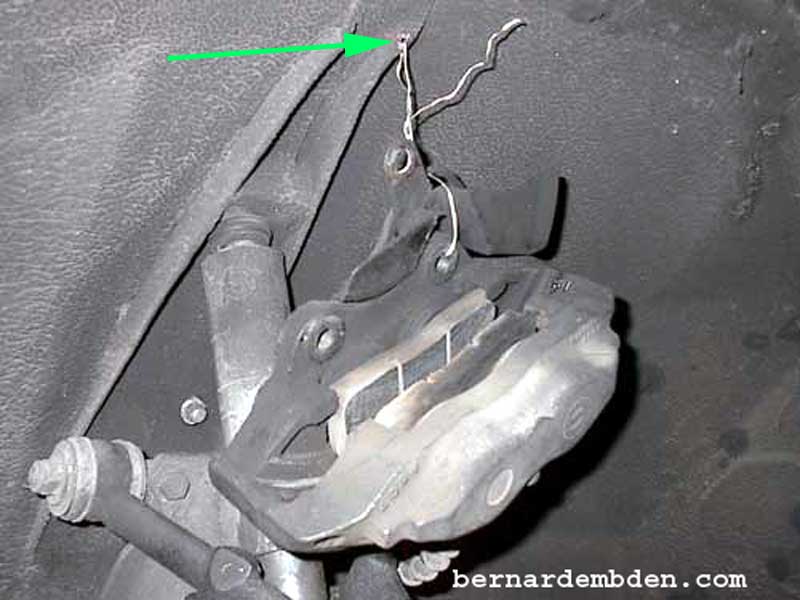
I drilled a small hole in the fender support (green arrow photograph below) and using copper lashing wire, hung the brake caliper above the upper control arm.
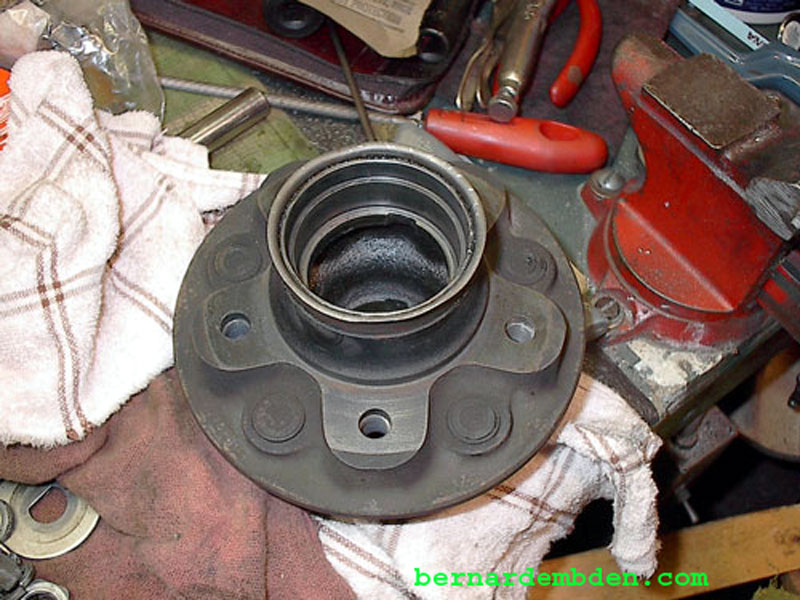
Pictured below is the hub with rotor, seal, bearings and race removed. Clean and inspect hub thoroughly. Make sure the bearing race seating surfaces are not pitted. If pitted or uneven, repair or replace hub.
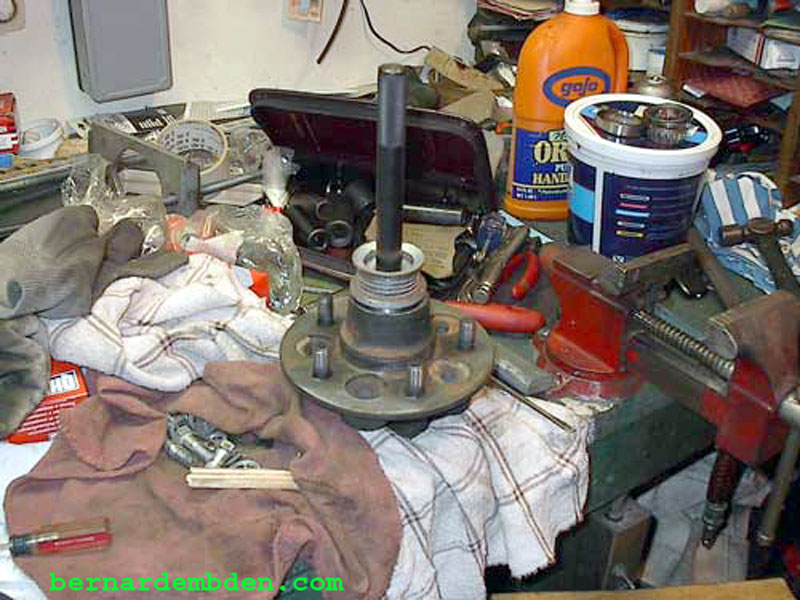
I did not have the proper size bearing driver for the inner bearing race. I fabricated a driver by grinding down the outer surface of the old race just enough to fit easily in the hub. (green arrow photograph below). Note that the bearing race is seated below the outer surface of the hub, (where the grease seal seats) therefore the driver must fit inside the hub's race opening to seat the race properly.

Bearing used are Federal Mogul A-12 and A-13. (Approx. $40.00 US for both wheels).
Note: Both inner and outer bearings must be hand packed with grease before installation.
I was unable to find grease seals at the local parts houses, so I had to purchase grease seals at the Jaguar dealer. They are part number C45711 ($18.00 US)
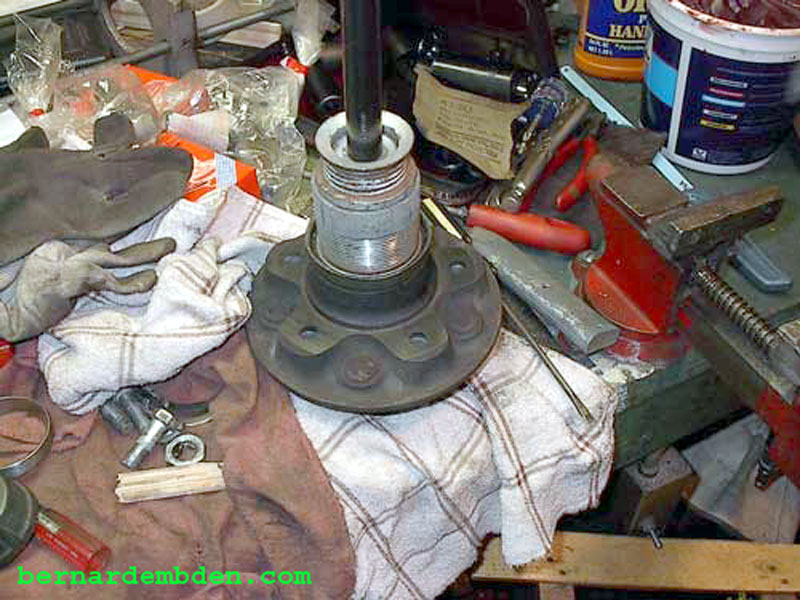
Using the modified bearing race in combination with an old alternator pulley, the bearing race is seated with a hammer. (photograph below).
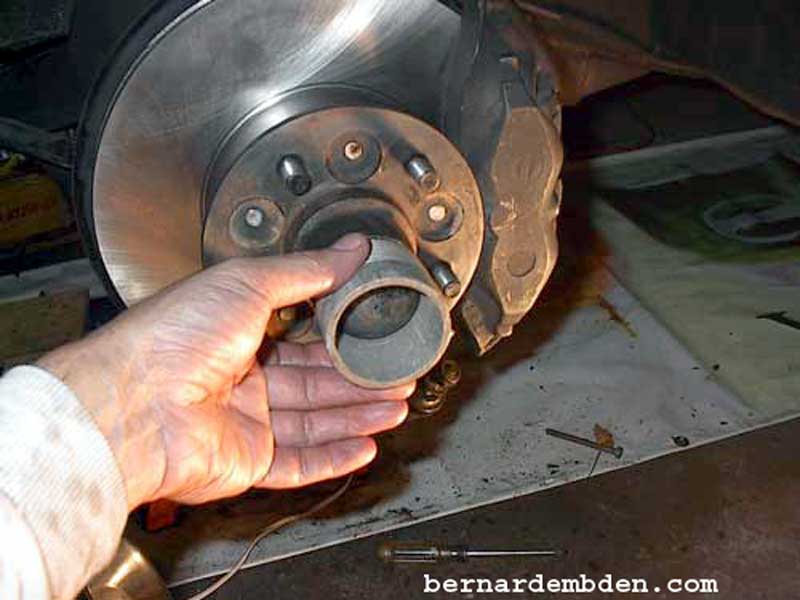
A 2 inch ID pipe handles the installation of the grease seal.
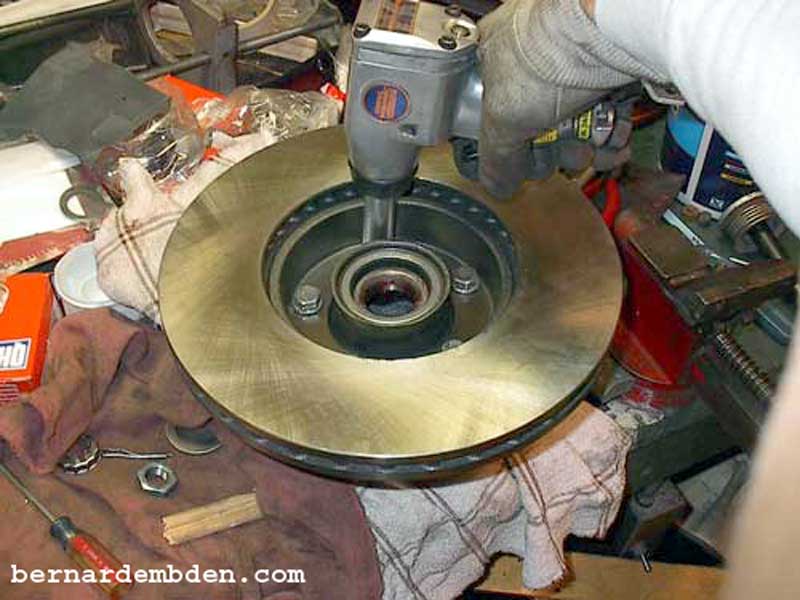
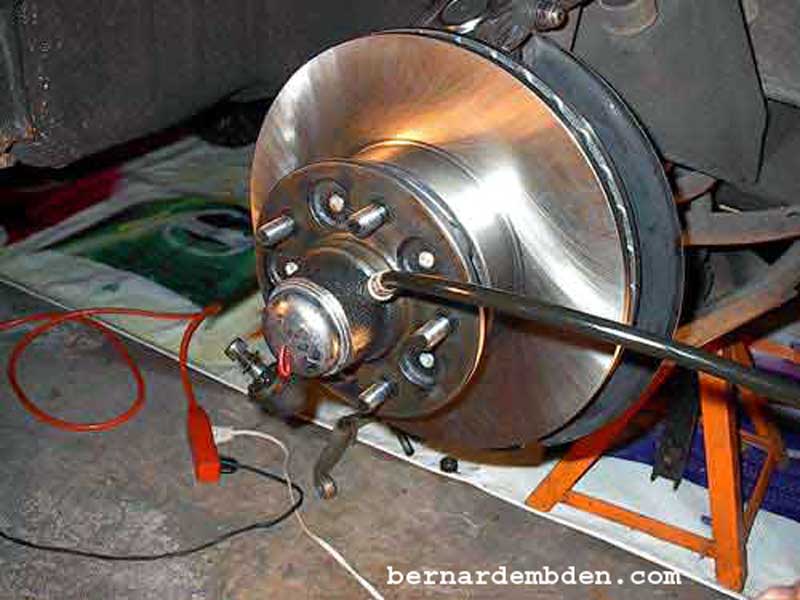
The new Brembo rotor is attached to the completed hub. Torque to specifications. Make sure hub/rotor assembly is grease free and clean before installing on spindle.
There is some confusion about adjusting the front wheel bearings primarily because the Jaguar ROM recommends a procedure that few mechanics follow. The ROM states. "Tighten nut to eliminate all end float and then back off to achieve end float of 0.002 to 0.005 inches." This required the hub to be moved in and out without twisting while measuring the end float with a dial indicator at the hub, (If the hub is twisted, false readings can occur). Note that the end float has to be taken at the "HUB" not the rotor.
In addition, if using a dial indicator, I recommend that the end float should be determined without the caliper attached.
I used Jaguars specs and my dial indicator to set the end float. It never "felt" right. Its hard to explain, however for those who have worked on cars for a long time I am sure you know what I mean. It just seemed that, following the Jaguar manual, that the end play was just a bit too loose.
I went back to the procedure I have always used:
1) Assemble hub to spindle and tighten the spindle nut incrementally while constantly turning the wheel.
2) This procedure seats the bearings and bearing races.
3) Continue incrementally tightening and rotating the wheel until approx. 25 ft. lbs. of torque is applied to the spindle nut.
4) At this point wheel should still be able to turn freely, albeit with some tangible drag.
5) If, with 25 ft. lbs. torque at nut, wheel does not turn, or turns with difficulty, the bearings/races are suspect. Remove and examine. Replace if necessary.
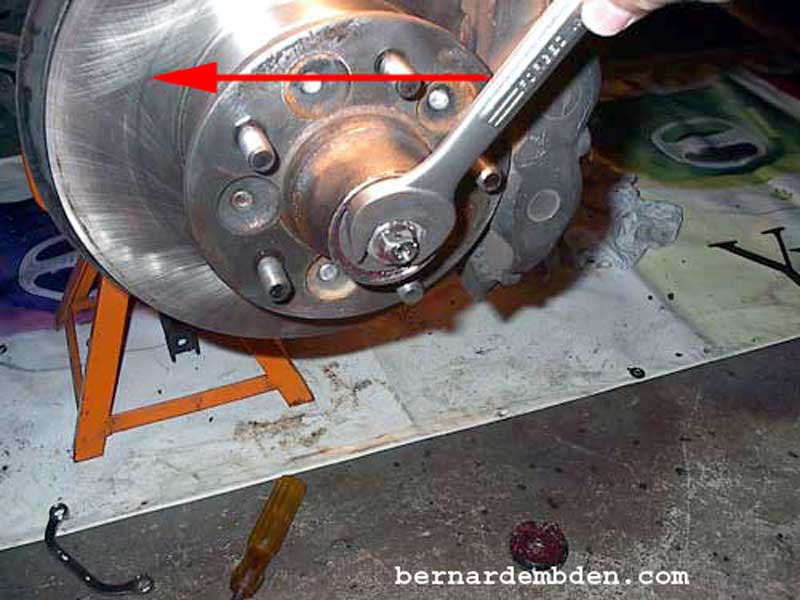
6) With spindle nut at approximately 25 ft. lbs., and wheel turning with tangible drag, but freely, back off one flat at the spindle nut. (red arrow photograph below).
7) At this point, hub Must spin freely.
8) Insert cotter pin washer and cotter pin. If cotter pin does not line up, back off just enough (do not tighten) to line up and insert cotter pin.
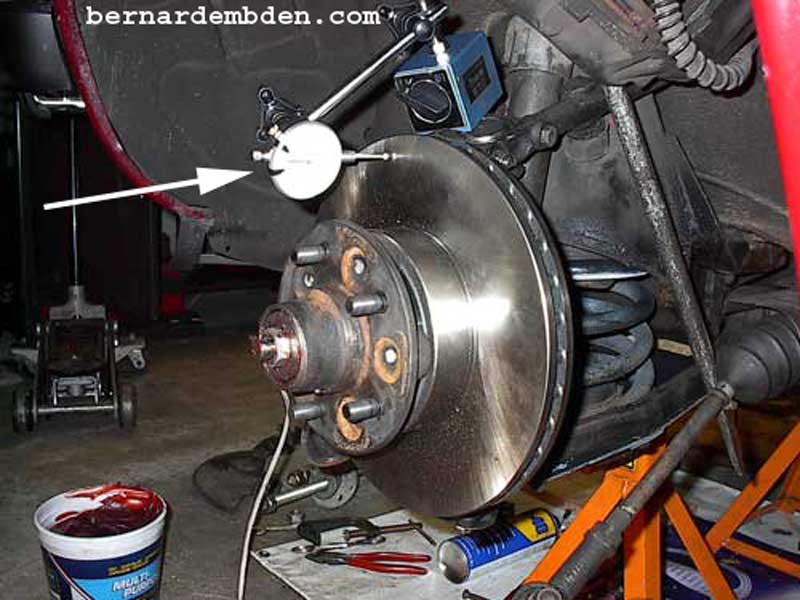
Attach dial indicator to new rotor. (white arrow photograph below) Rotate and check rotor runout. Brembo recommends brake disc rotor runout should not exceed 0.15 mm.
Grease cup is installed using a 2 inch ID pipe and hammer as an installer.
The hub cavity does not have to be filled with grease, however it will not hurt anything. Use a grease gun at the hub nipple. Be patient, the hub takes a significant amount of grease. Continue until the grease exits the bleed hole as pictured below.
Project complete. Re-check bearing adjustment after a couple hundred miles.

