

This is me in 1988 when this fuel rail was made. I was a lot younger and not as good looking. My failing eyesight has convinced me that I am now a handsome devil. Had I known I was going worldwide on the Internet, I would have dressed up a little. The pictures were taken by my daughter Samantha. She was only 10, so she didn't care what I looked like.
To start this project you will need the following.
1) Approx. 7 feet of 3/4 inch thick wall copper tubing.
2) Four 90 degree elbows.
3 Two "T" fittings. These will be modified to form the cross brace.
4) 16 brass or copper fittings sized to accept the correct fuel injector hose I.D. Necessary for 12 injectors, 2 cold start injectors and inlet and outlet fuel lines.
(Photograph below red arrow) Preliminary fitting of one side of the partially completed fuel rail.
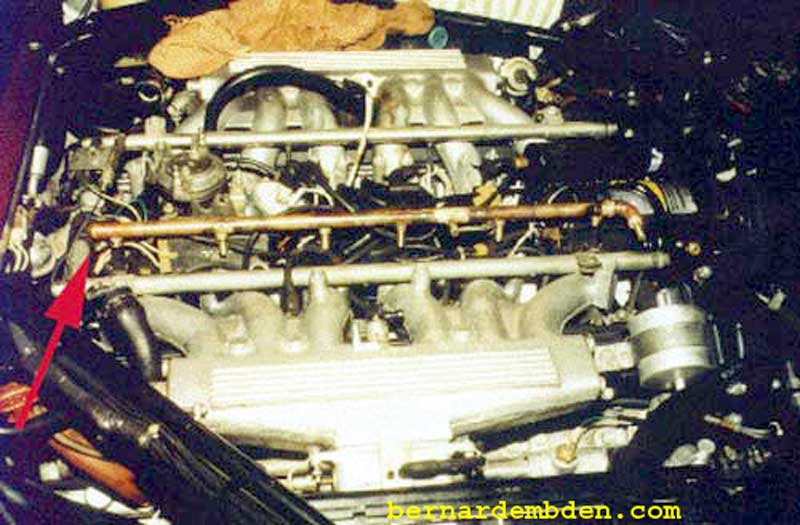
Brazing the rail. Solder is not recommended due to its lower melting point.
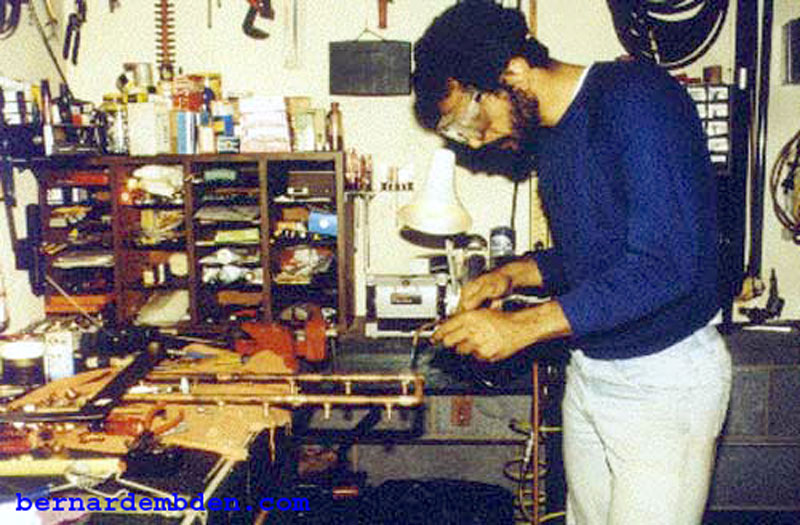
Frequent test fitting on the engine is critical. All hose and fuel injector connections must be absolutely accurate in position and angle.
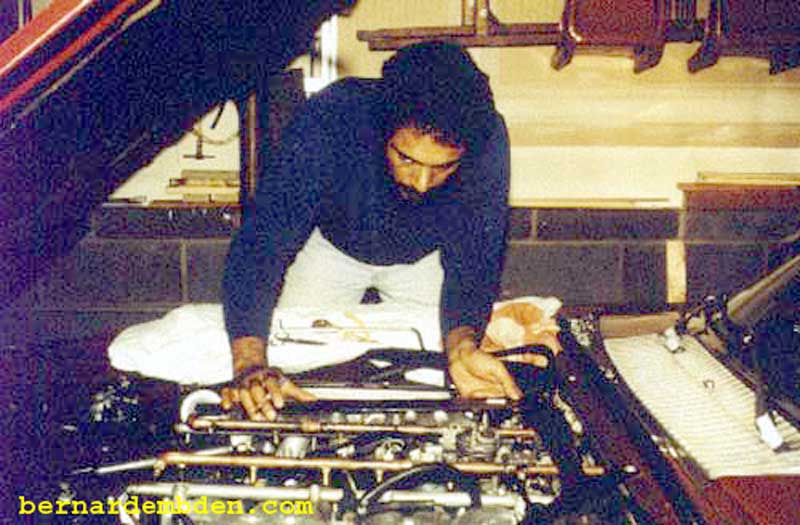
Photographed below is the completed fuel rail ready for attaching fuel hoses and injectors.

Photograph below shows me fitting the completed fuel rail (now painted silver) with the fuel injectors attached.
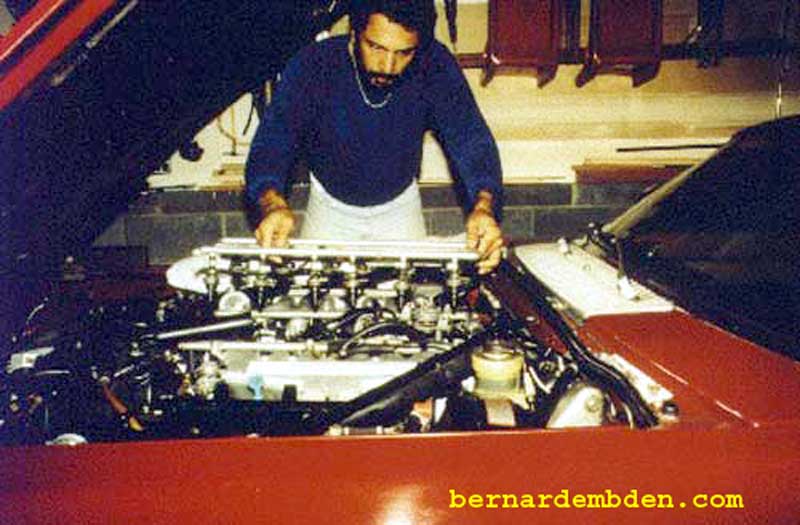
A one-way check valve, originally installed at the inlet of the fuel rail, right after the fuel filter, has been removed. This additional check was redundant. It also defeated any accumulator effect that the fuel line from the fuel pump to the fuel rail might provide. Fuel pressure now relies on the original check valve at the fuel pump.
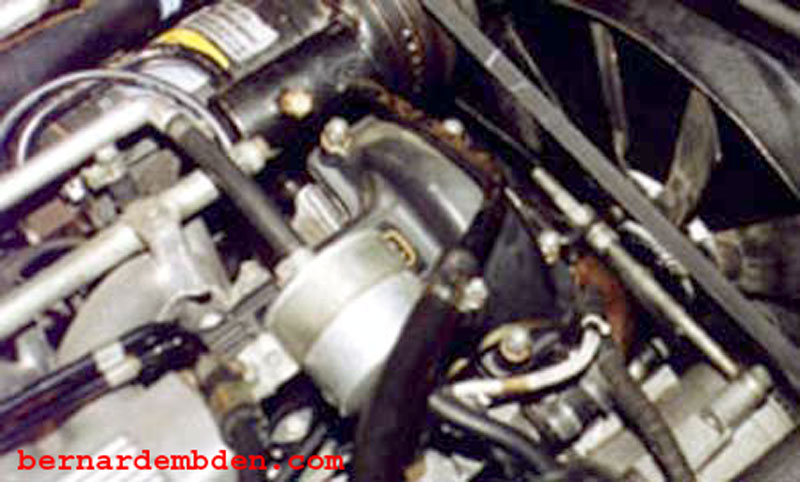
Note the pressure regulator location in the picture below. (red arrow) Only one pressure regulator is used. It's positioned on the left air cleaner mounting.
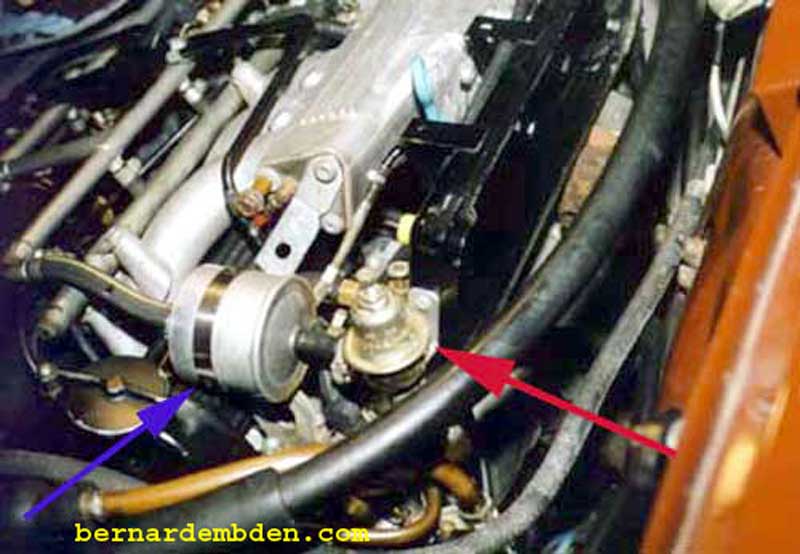
This fuel filter (in above photograph blue arrow) was installed at the exit of the fuel rail. Between the fuel rail exit and the fuel pressure regulator. The purpose was to catch any crap that flaked off the fabricated fuel rail. After a few thousand miles I don't think this filter is still needed, but I left it installed just in case (and it looks cool :-)
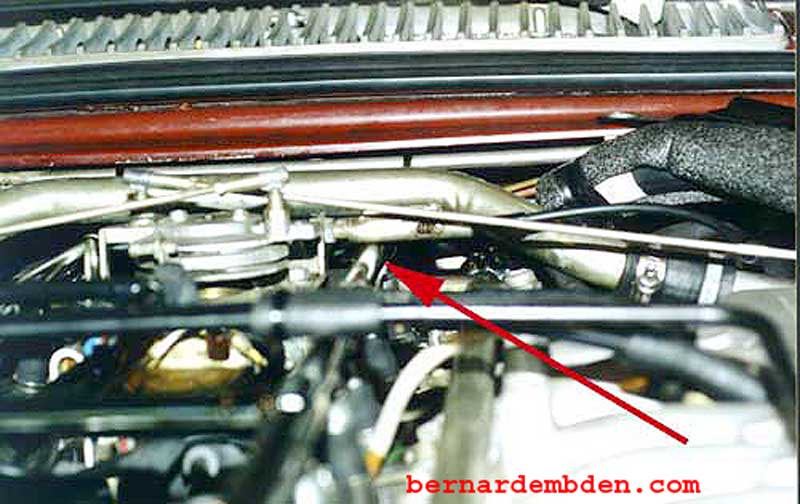
Note tight clearance between fuel rail and throttle kick down switch (red arrow) in above photograph. Injector hoses must be shortened a bit and throttle kick-down bracket had to be trimmed slightly.
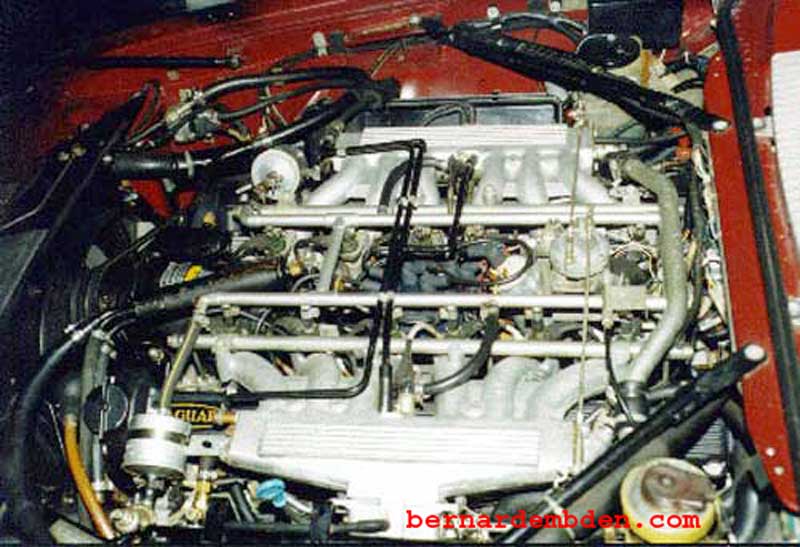
Completed fuel rail installed with two fuel filters. I also replaced the hoses running across the engine with copper pipes, which I then painted black.
In a later project, the fuel rail was removed to change the injector hoses. I then had the fuel rail chrome plated.

Custom chrome fuel rail installed.
This is the single most important modification that I have made to cure the hot start problem that is an issue with the early Jaguar Pre-HE V-12 engines.