
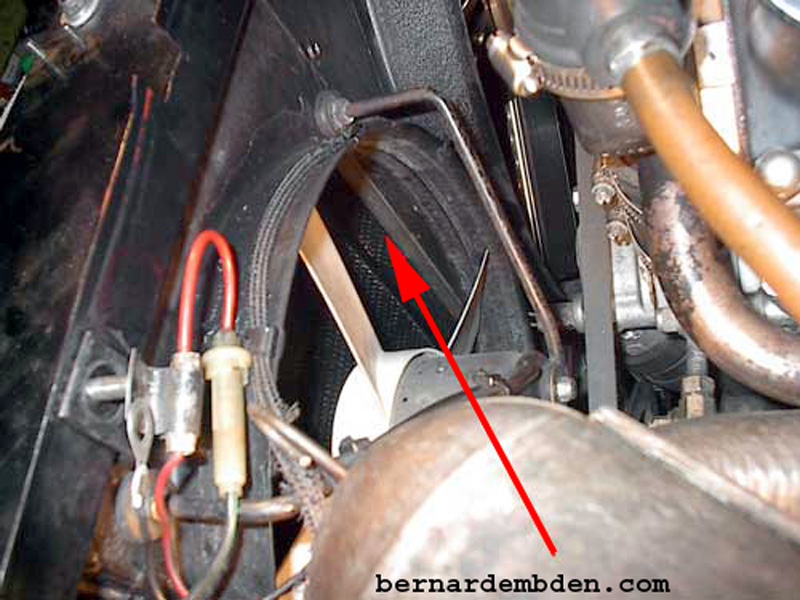
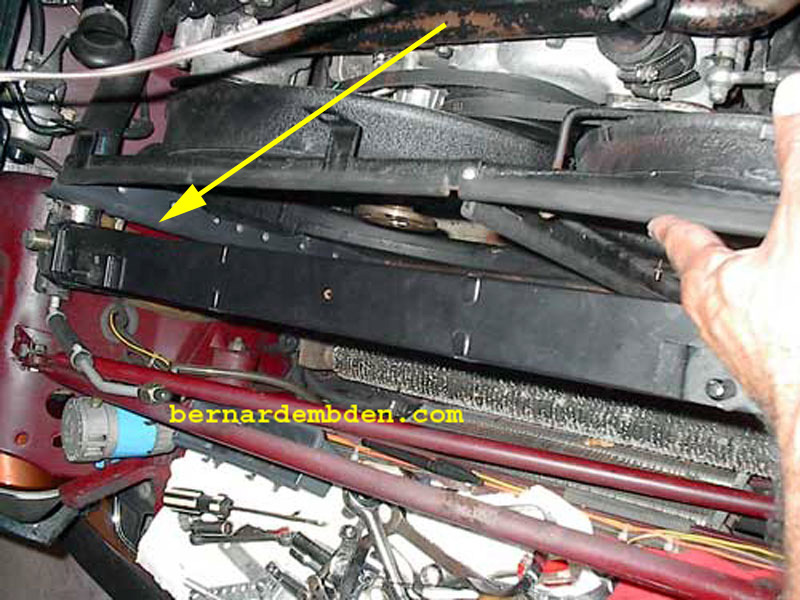
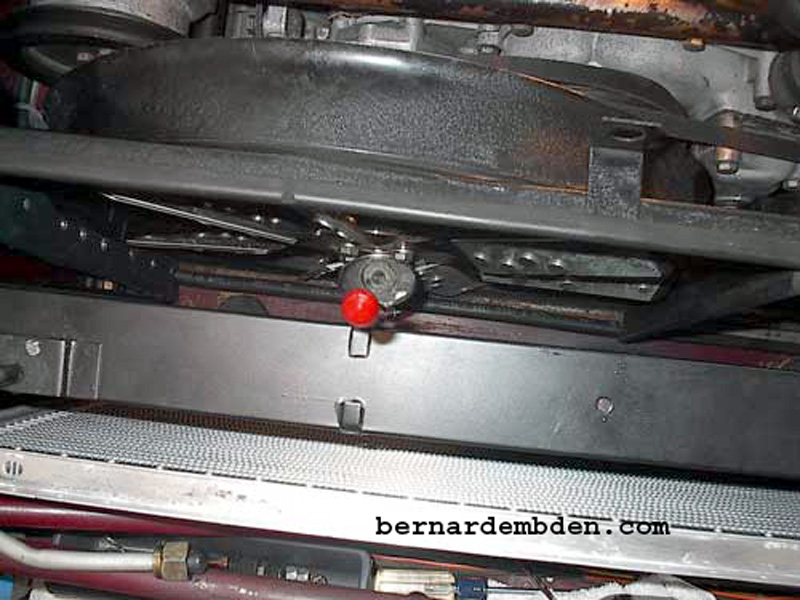
In an earlier project (see appropriate link on this website); I replaced the radiator on my 1978 Jaguar XJ-S. The radiator (designed for a 1990 model) has three rows instead of the original four. Cooling was not a problem, however the new radiator was approx. 1/8-3/16 inch narrow than the original. This resulted in a gap (red arrow photographed below) between the radiator and the fan shroud.
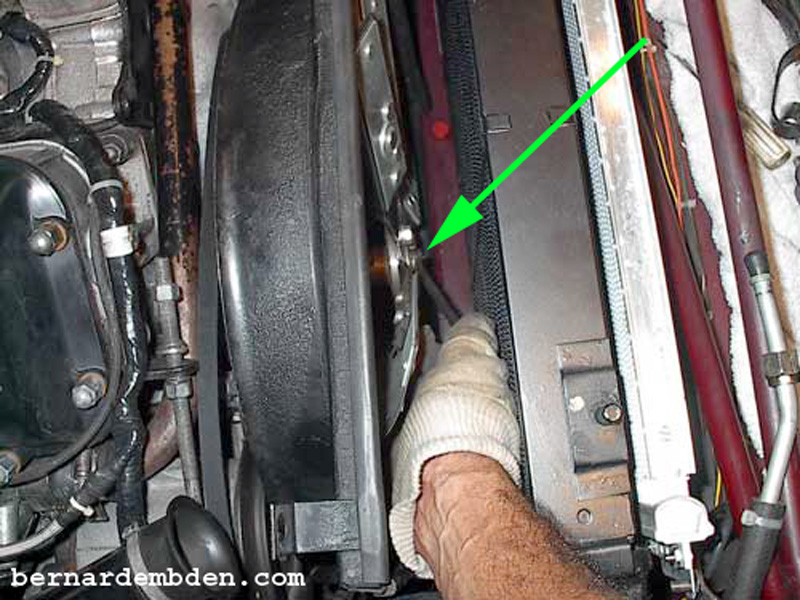
There are a number of ways to remove the fan shroud. None is easy. Invariably, I recommend removing the top radiator support. This will allow access to the fan screws. (green arrow photograph below). I strongly recommend using gloves to remove the fan screws. Radiator fins have an unexplained attraction to human skin.
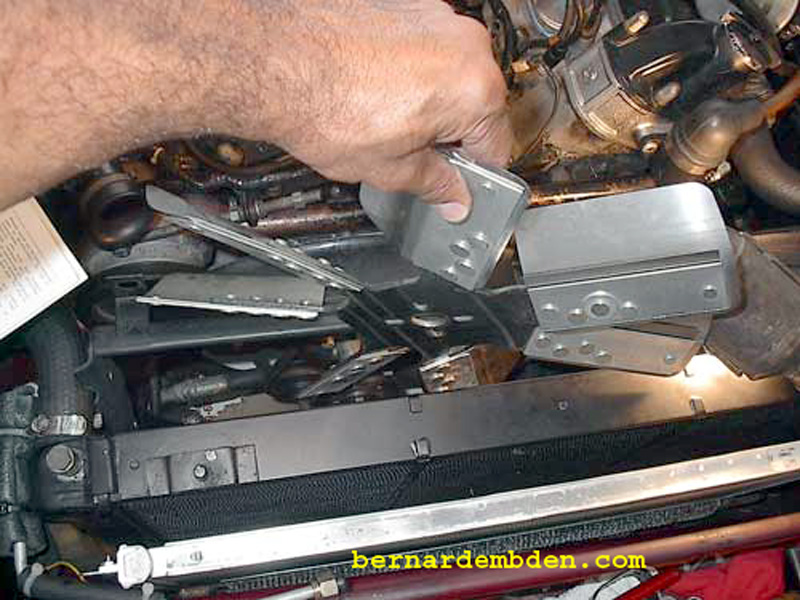
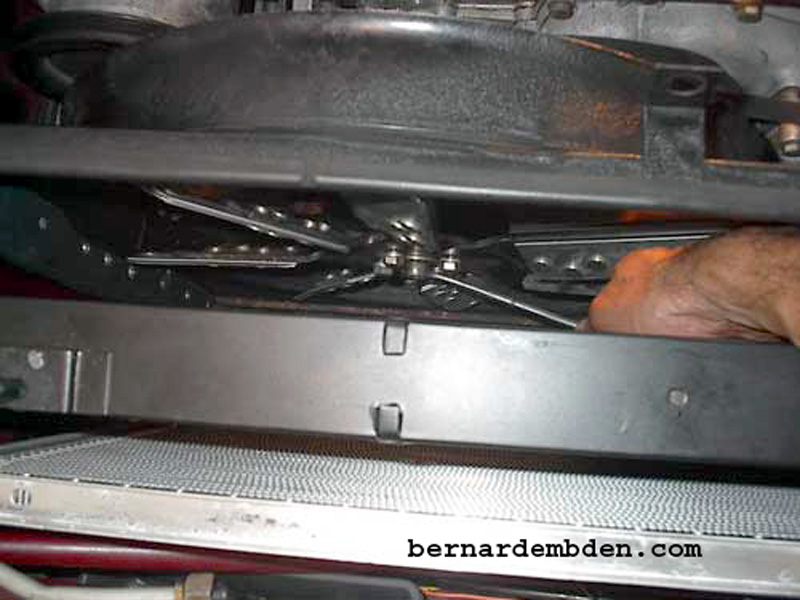
The fan must be removed first, then the fan clutch. Note that I have replaced my fan clutch with an adapter that allows me to use a generic aluminum flex fan.
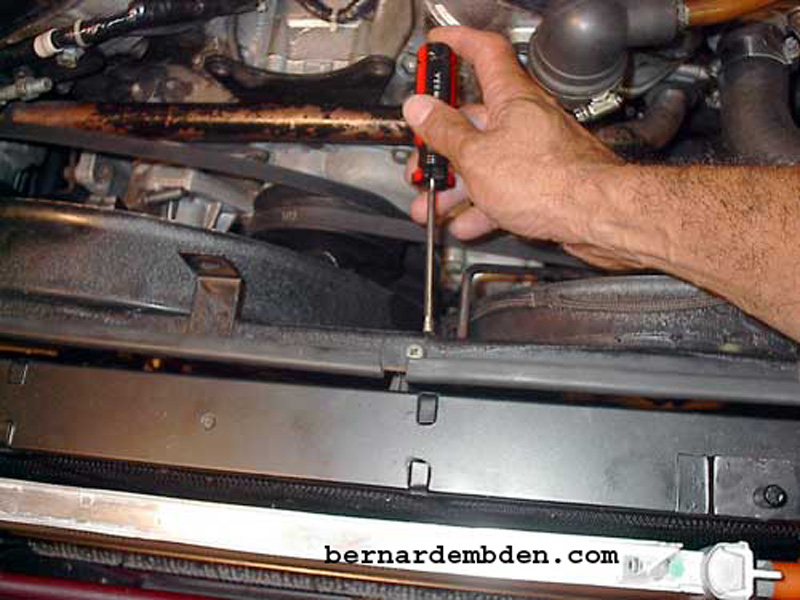
The fan shroud is removed in two parts. Photographed below shows the removal of the top screws. Some screws might be difficult to get to. Don't forget the screw on the bottom.
Inspecting the fan shroud revealed that the rubber flaps at the base of the electric fan no longer worked properly. Age had made the rubber brittle and hard. These flaps are designed to open at highway speed to allow more air to flow through the radiator. When the electric fan is on the flaps are supposed to close.
I thought about this for a while and then made a judgement call based on my experience with this car and its cooling system.
(Stay with me on this) Based on the highway speeds that I drive this car (usually under 100 MPH (smile) overheating at speed is not a concern. A properly functioning cooling system is more than adequate to handle these speeds. My opinion is that there is more than enough cooling reserve at highway speeds that blanking off the flaps below the electric fan will not compromise highway speed cooling.
That said, blanking off the flaps below the electric fan, thus ensuring that all the air is forced through the radiator produces a tangible improvement to low speed cooling, the speed at which I believe the cooling system needs the most help.
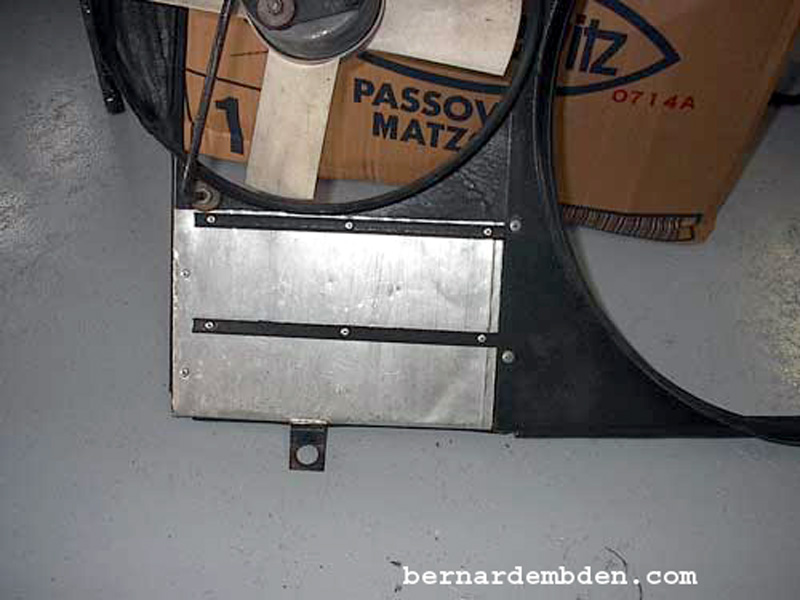
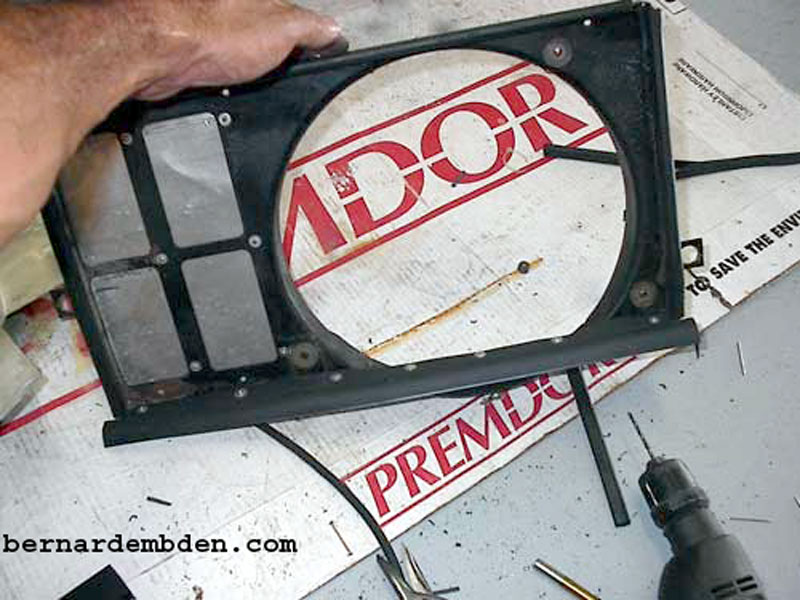
Based on the above reasoning, I removed the rubber strips and riveted aluminum stock over the openings.
Photograph below.
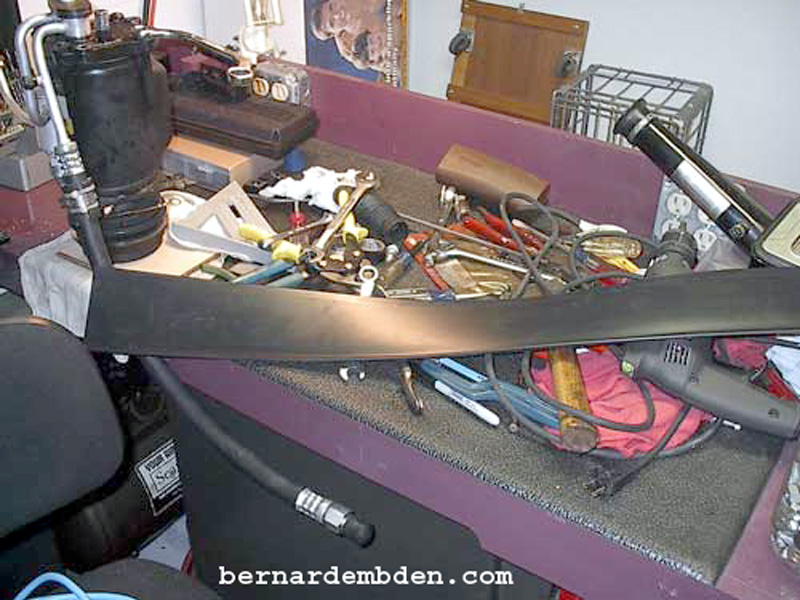
I used 4 feet of vinyl baseboard cove molding (photographed below, available from Home Depot or any similar store) as the donor material for fabricating the seal between the radiator and fan shroud.
Cut the cove molding by measuring 1/8 inch more (or whatever the space is between the fan shroud and radiator) than the rubber strips on the edge of the fan shroud. Make sure you use the curved part of the molding. This will allow the material to compress properly.
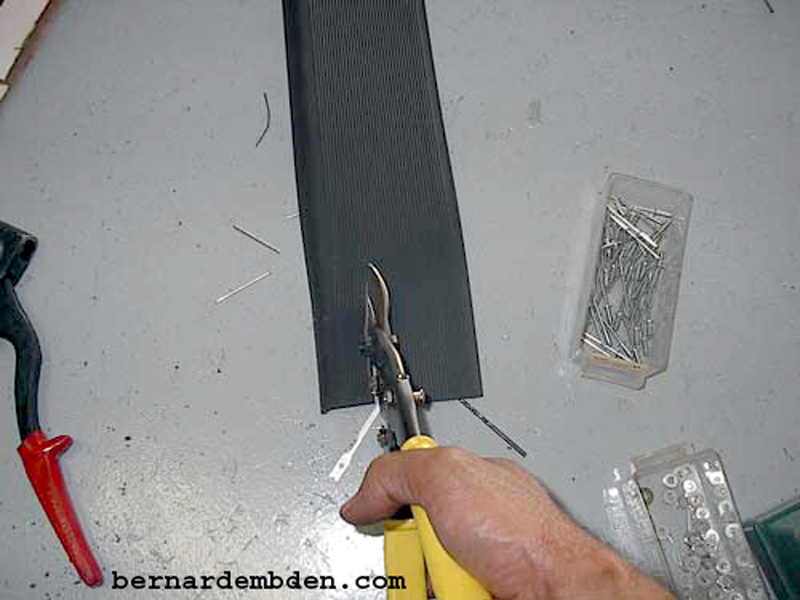
Be careful with your measurements, you only have enough material to do this once.
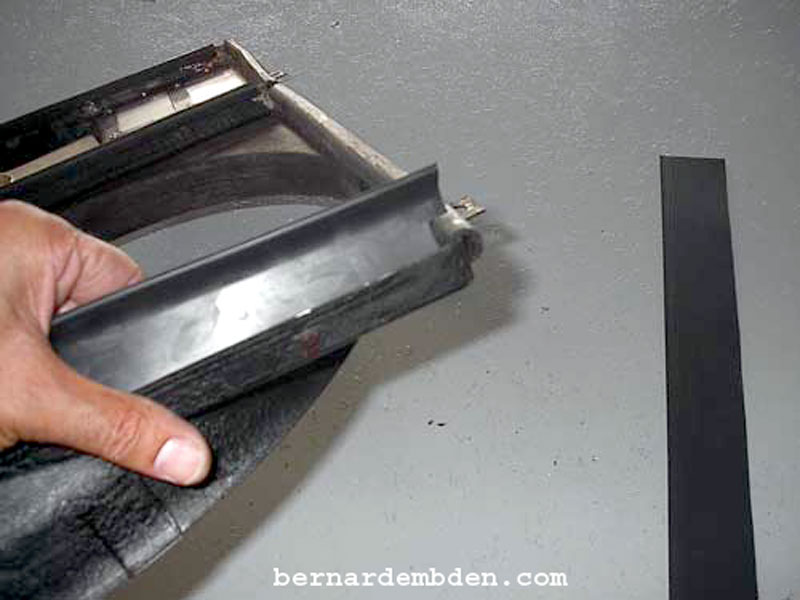
Drill and pop rivet the cut vinyl strip on the side of the fan shroud. Use washers between the rivets and the vinyl.

Rivets completed on the small electric fan side of the fan shroud.
(Photographed below) Fan shroud modification completed.
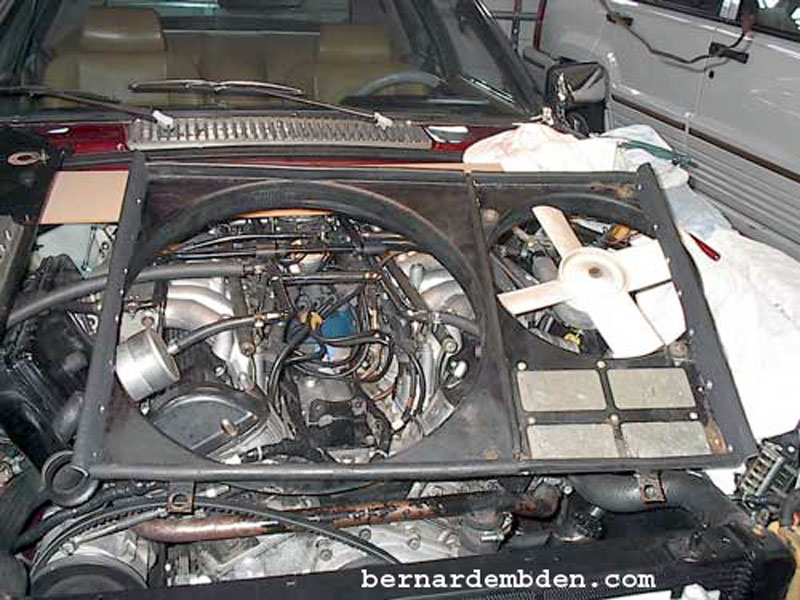
The reason the complete fan shroud has to be separated for removal is that it's wider than the space between the upper radiator hoses. I removed the upper radiator hose on the electric fan side, bolted the shroud together and installed the fan shroud as one unit.
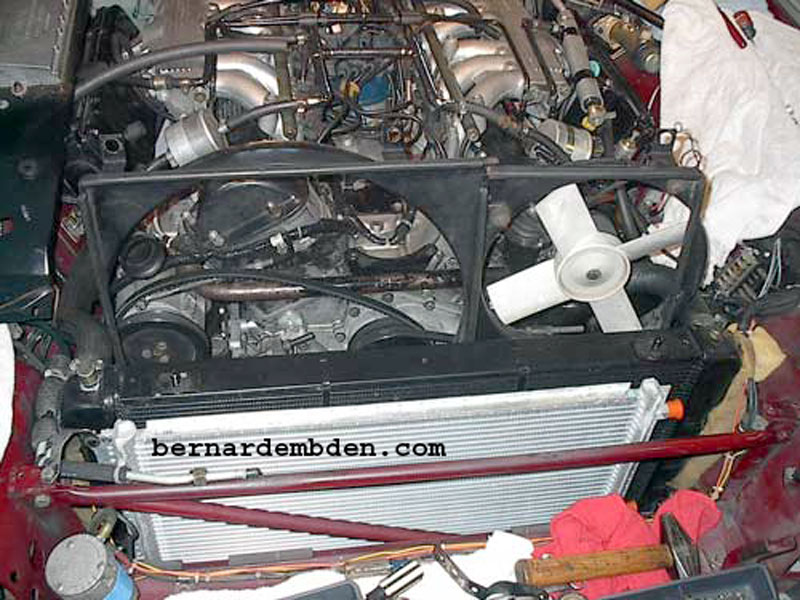
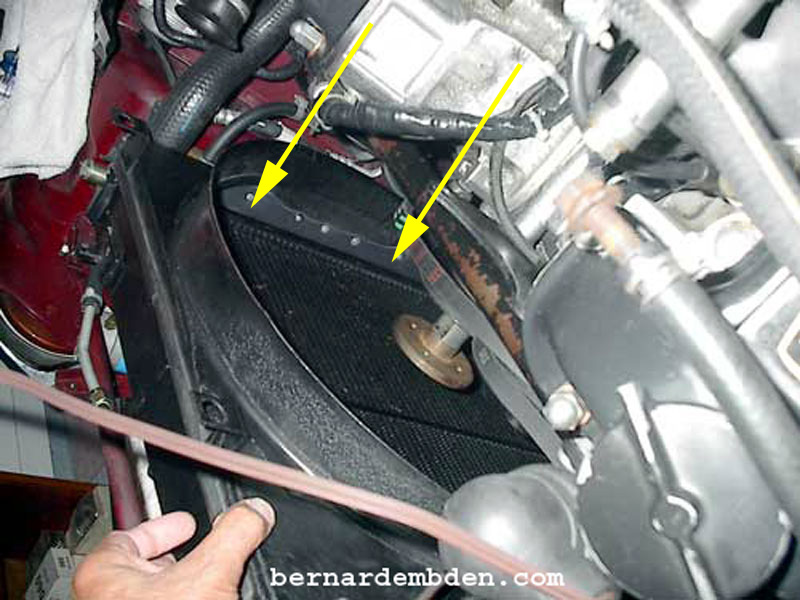
Note the new vinyl side molding riveted to the fan shroud. (yellow arrow photograph below).
If this project is done properly, side gap between fan shroud and radiator should now be sealed properly. (yellow arrows photograph below).
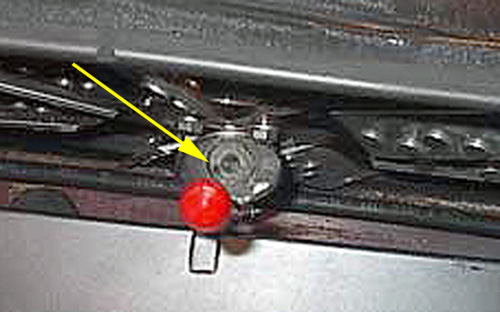
The locating pin on the special fan clutch washer must be used and aligned properly. I used a mechanic's mirror to try and photograph the mounting hole that the pin goes into. (yellow arrow second photograph below).
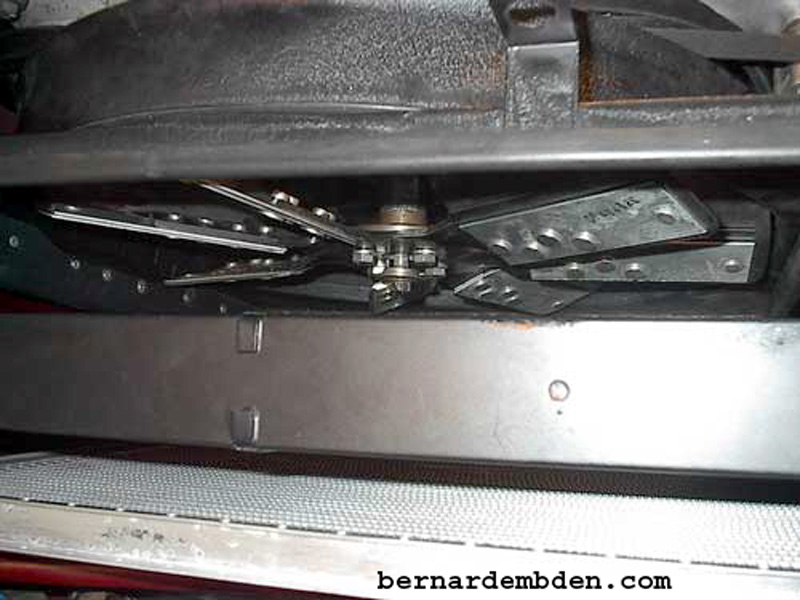
Offer up and align special washer with hole in fan jockey. (as per above photographs).
I strongly recommend a thread locker on this bolt. Tighten to 25 to 30 ft. lbs.
Project complete. For anyone changing from the original 4 row radiator to the later 3 row radiator I strongly recommend this project.
