

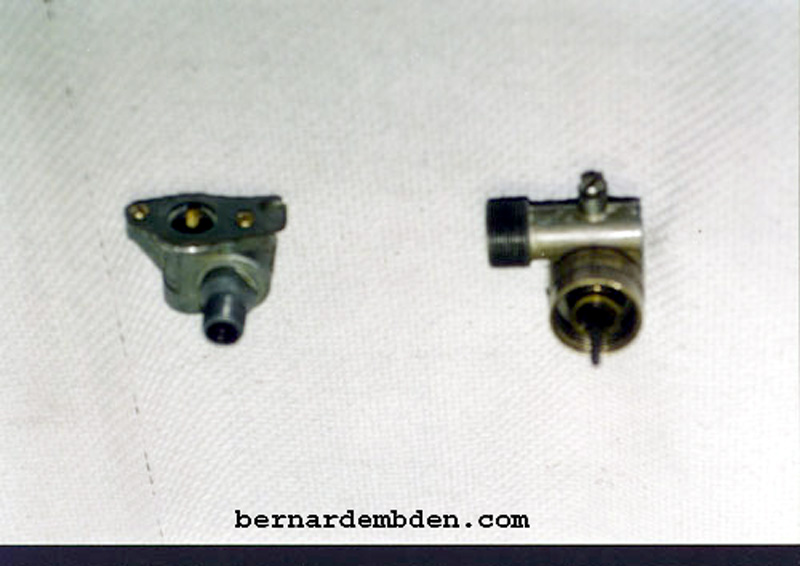
The right angle speedometer gear under the dashboard is a known weak link in the Pre-HE's speedometer cabling system. To further complicate this problem, this part is no longer available from Jaguar. When this part failed I decided to eliminate it. Below is a picture of the two speedometer right angle drives used on the pre-HE's XJ-S.
The right-angle gear on the right, photographed below (part number C-46183) is still available from Jaguar and is used on the post HE models as well. The right angle gear on the left (part number C-38925) is the problem.
In order to eliminate this gear, the speedometer cable has to be re-routed to approach the rear of the dashboard as perpendicular to the speedometer connection as possible. Further complicating the modification, was my desire to use the existing speedometer cable.
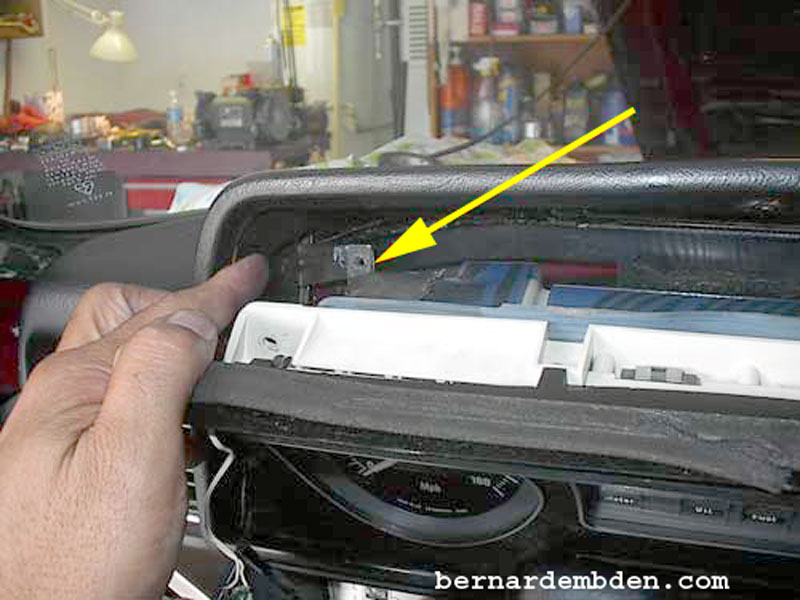
I started the project by removing the steering wheel and dashboard. Be careful when withdrawing the dashboard that the printed circuit board clears the attachment points. (yellow arrow second photograph below).

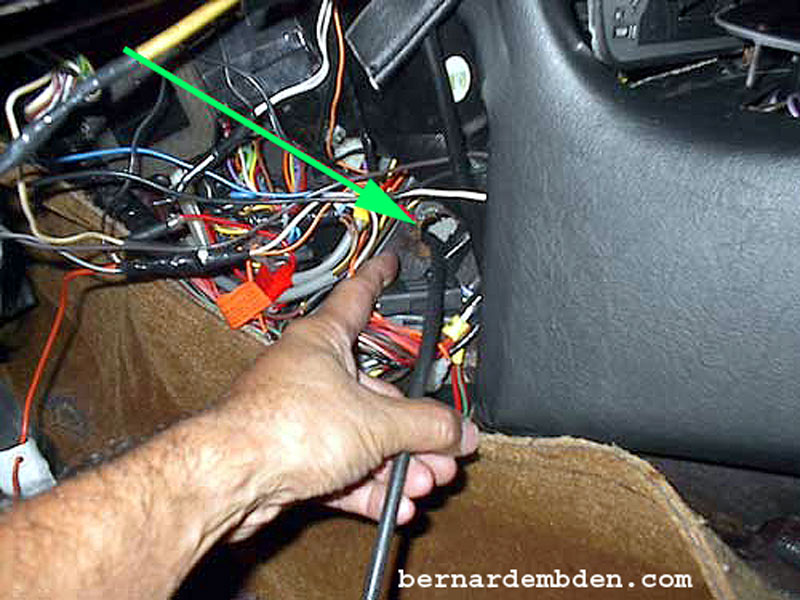
First problem became apparent. In order to eliminate the speedometer right angle, I wanted to route the speedometer cable from the transmission, through the engine compartment and straight into the back of the speedometer. As the photograph below shows, there is just no room to bring the cable in on the left side behind the dashboard. The only place to enter from the engine compartment was on the right side at the screwdriver location. (green arrow photograph below).
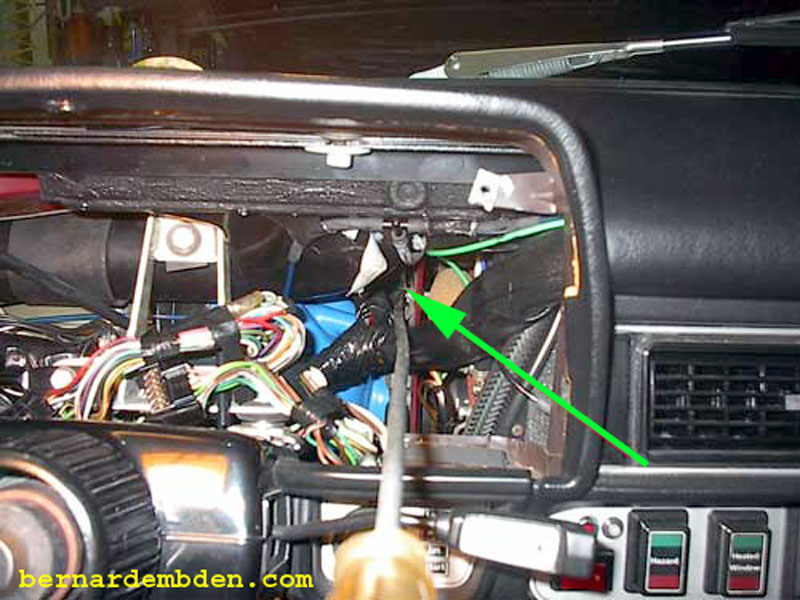
This would be unacceptable. Not only is the cable too short, bringing the cable in at this location would require double 90 degree bends to connect to the rear of the speedometer. This would eliminate the right angle, but create another problem in potential binding of the cable.
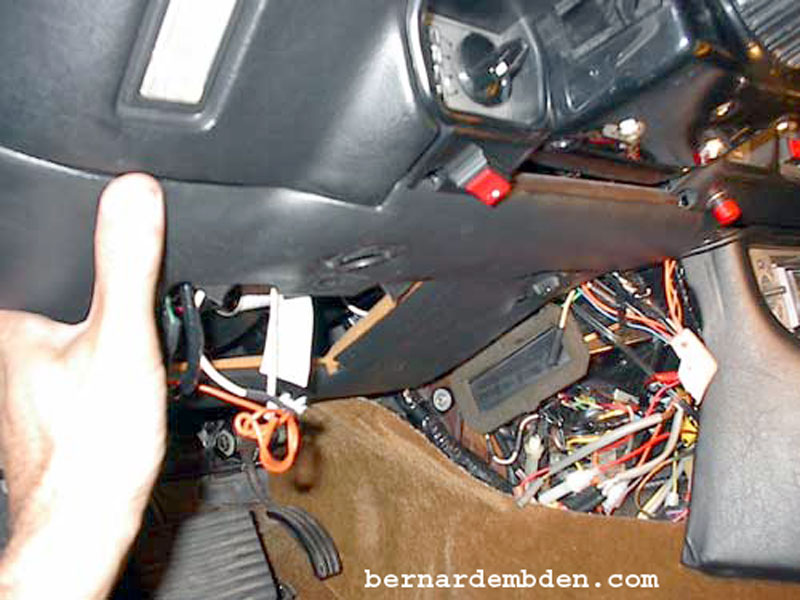
The cable routing would have to be changed. I removed the vent cover and under dash scuttle.
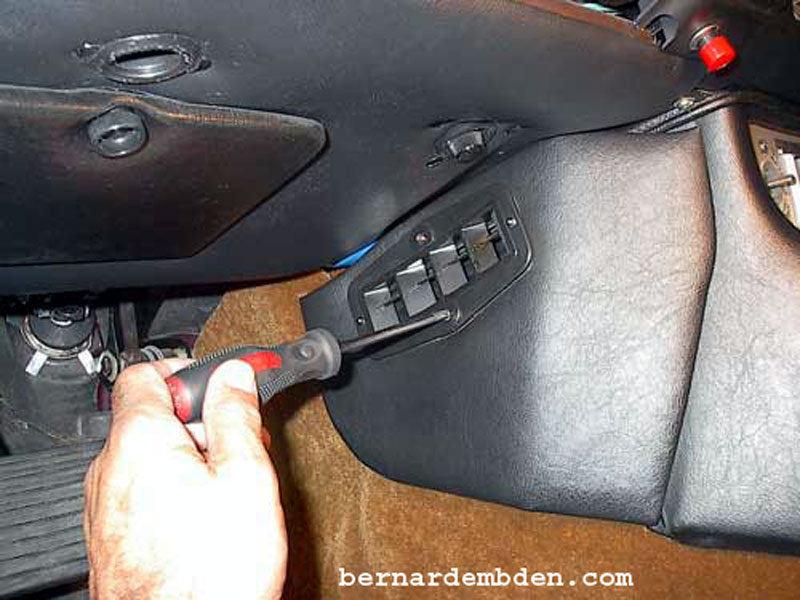
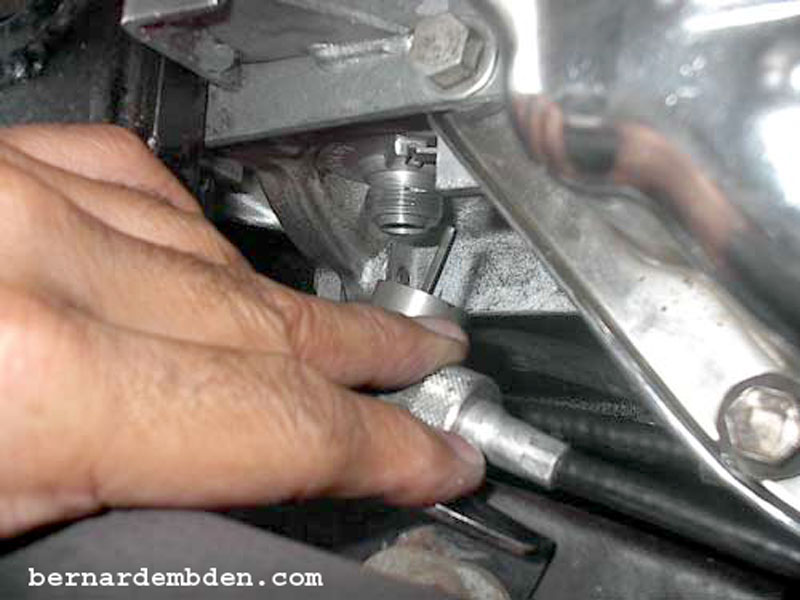
Put the car on jack stands and disconnected the speedometer cable and right angle drive from the transmission.
The old speedometer cable was removed. On the left hand drive models (US) the cable is inexplicably routed through the console tunnel at the right side, behind the clock and switches in the dashboard and over to the instrument cluster on the left. The cable then makes a sharp bend into the right angle drive mounted on the rear of the dashboard mounted speedometer.

If the existing cable shows signs of damage, now is the time to discard it and purchase a new cable. The new cable is part number CD-1037 at the Jaguar dealer. If this part is no longer available from Jaguar, try independent Jaguar suppliers. Failing that, any custom speedometer cable company will make one up. A starting point is http://www.lokar.com.
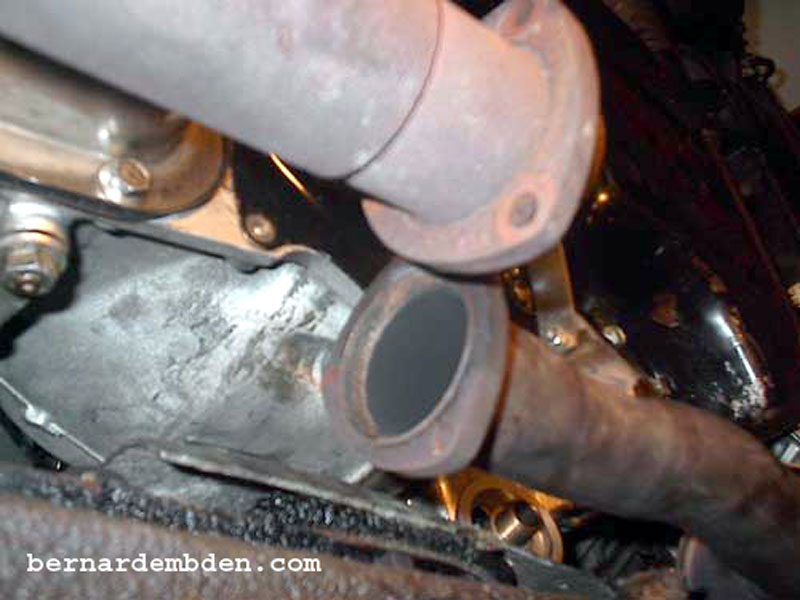
In order to gain access to the transmission tunnel the exhaust pipes have to be disconnected.
The new cable routing would not use the existing hole on the right side of the console that the old speedometer cable passed through. It has to be plugged. I used two large washers coated with silicone weather sealant and a bolt to tighten everything together. (yellow arrow photograph below).

I drilled a new 1-inch hole on the left side of the transmission tunnel. (green arrow photograph below). A 1/2-inch hole would work, but I wanted a slightly larger hole to allow a more parabolic bend on the cable. Be careful, there are a fair amount of wires in this location.

Feed cable through new hole. (green arrow).
Connect the speedometer cable and right angle drive at the transmission.

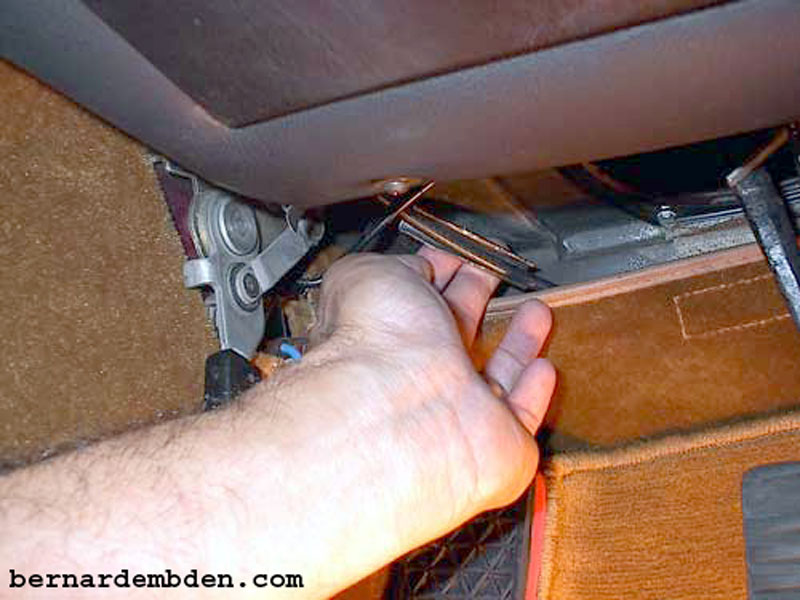
(Photograph below) Peel back carpet. Route speedometer cable (yellow arrows) behind the carpet, wires and wiring harness. (light blue arrow).
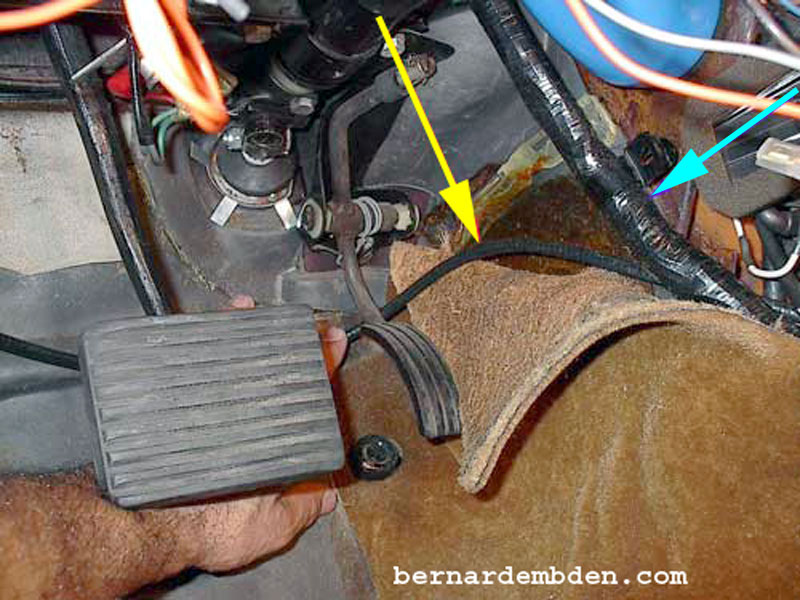
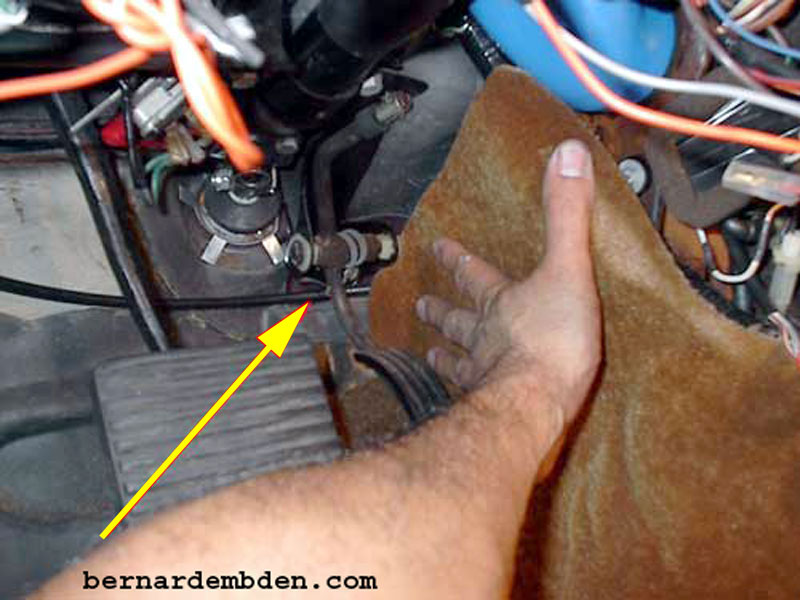
Route cable under accelerator pedal assembly (green arrow) and reinstall side carpet.
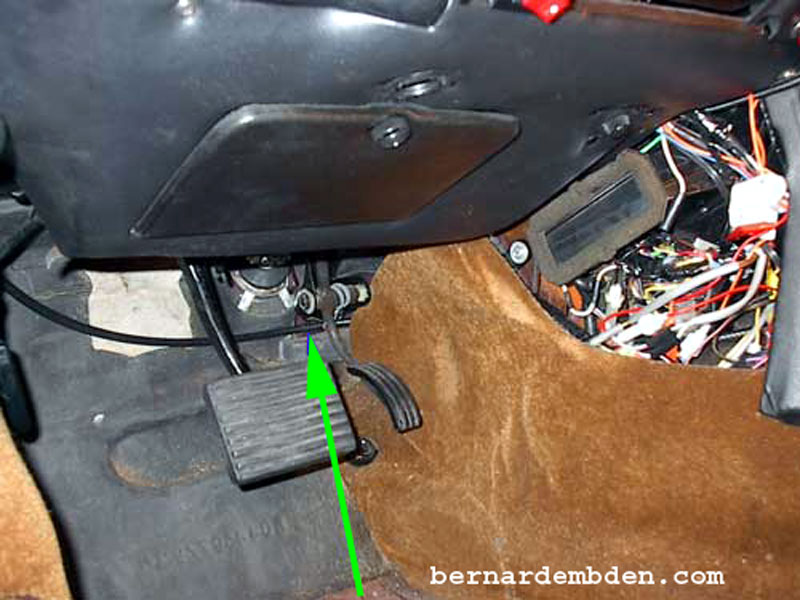
Feed cable through the left side of the dashboard, directly behind the speedometer location. (green arrow photograph below).

Note: I installed a small tie-wrap on the cable (red arrow) to prevent the speedometer attachment ring from sliding down the cable.
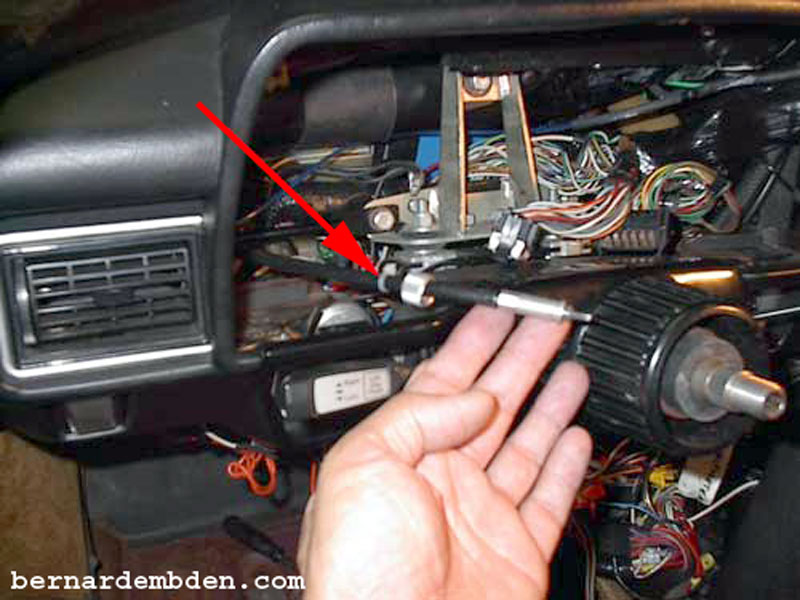
Offer up dashboard and speedometer to cable and connect. (photographs below).
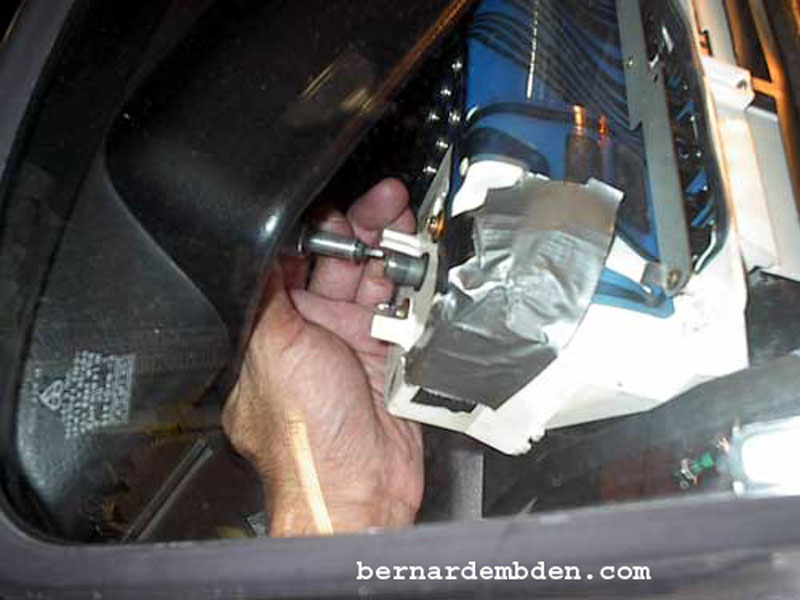
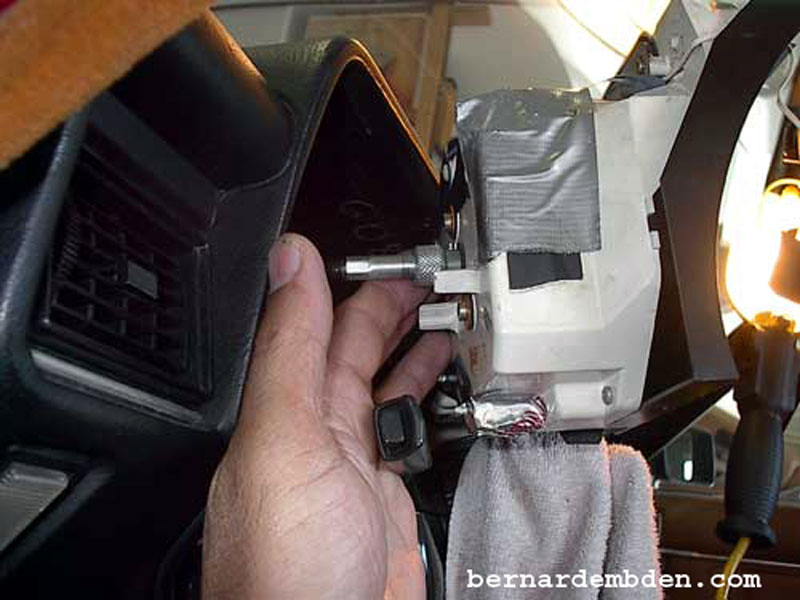
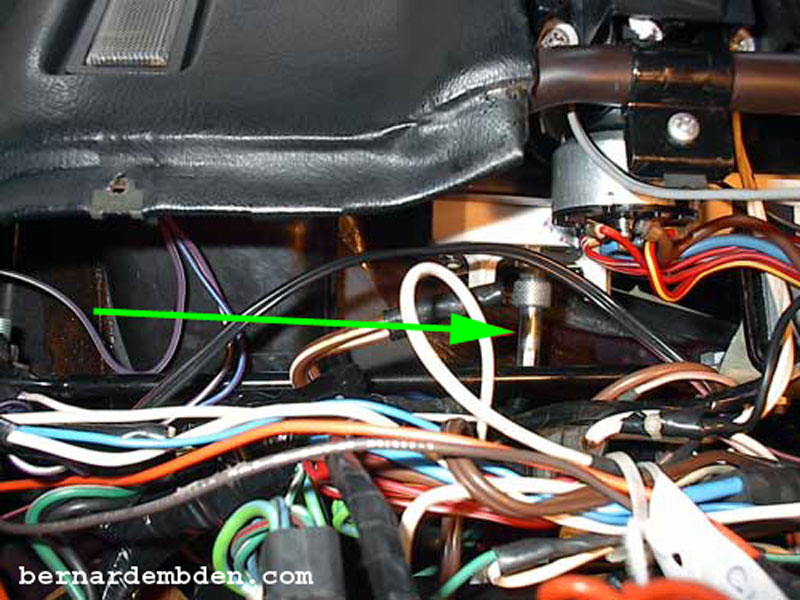
Install dashboard. Note installed speedometer cable after the dashboard is installed. (green arrow photograph below).
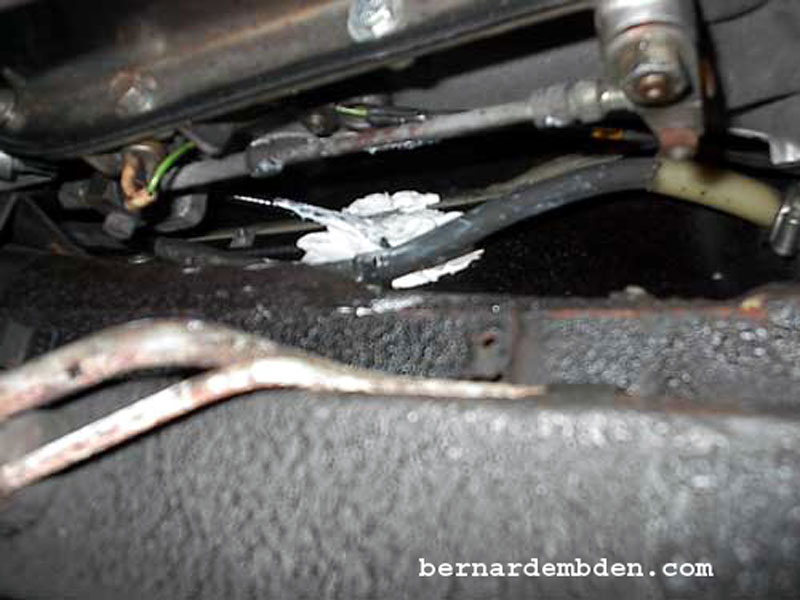
I used foam to plug the hole in the transmission tunnel that I made for the cable. (red arrow).

Working from underneath the car I used silicone caulk to cover the foam to provide a waterproof seal. I only had white silicone caulk available, so white it is. I wasn't worried how it would look. After all its underneath the car.
I needed to address the cable routing underneath the accelerator pedal. It's never a good idea to have unsecured stuff underneath the accelerator or brake. I fabricated a metal clamp that would go around the cable.
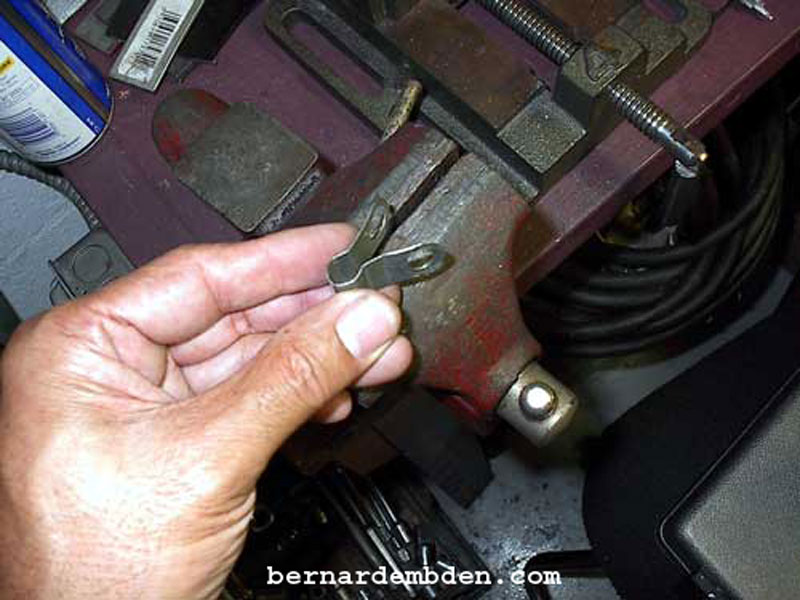

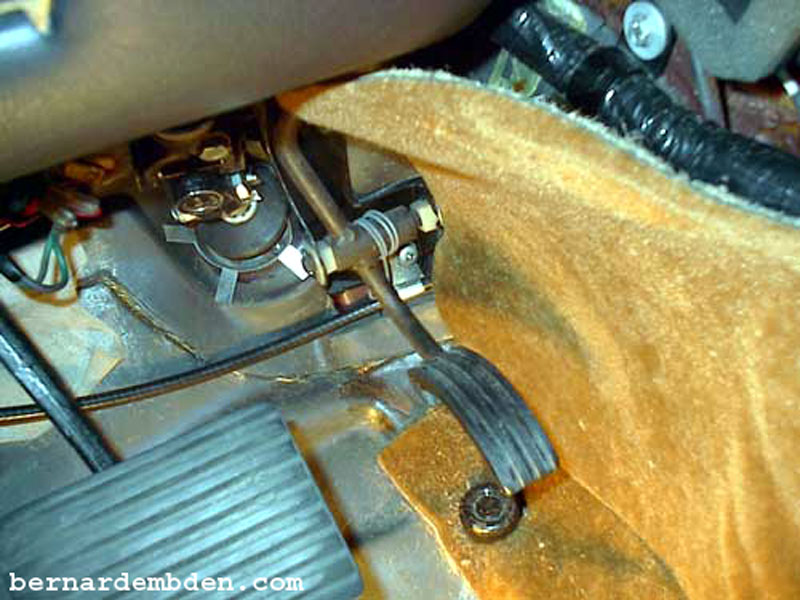
I removed the existing screw that attached the accelerator pedal bracket to the firewall and used it to reattach the accelerator bracket and secure my cable clamp. When secure, the cable easily clears the accelerator pedal when fully depressed.
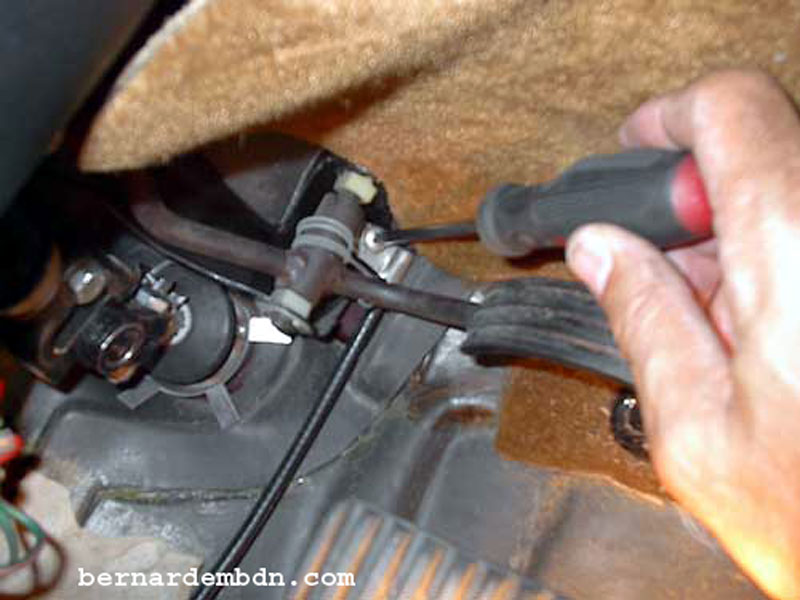
The cable is designed to lie underneath the installed carpeting.
In order to achieve as few bends as possible the cable was routed next to the hood (bonnet) release/ close control mechanism. Normal opening and closing of the hood could chafe the cable. I needed to protect the cable at this location. (yellow arrow photograph below).
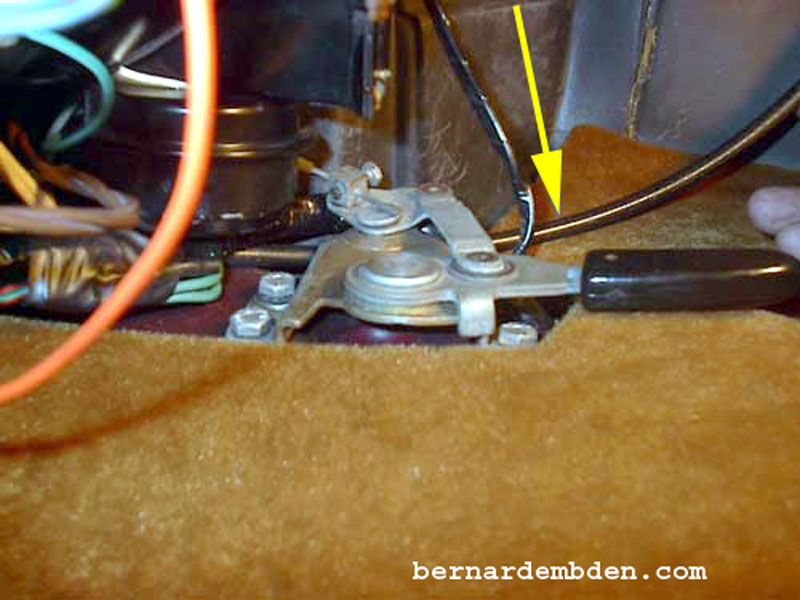
(Photographs below) I cut a portion of 3/8 steel tubing, split it down the center to allow me to install it around the cable.

Position the steel tubing (yellow arrow) to the correct location by the hood control mechanism and squeeze the split pipe just enough to prevent it from moving.

Project complete.
This project not only eliminates the obsolete right angle, it routes the speedometer cable is a far more effective manner.